This topic covers configuration information for Laserfiche Connector profiles configured to import documents or pages the Laserfiche Windows client. To use SAML authentication or to sign in as a Laserfiche user with multi-factor authentication, you must set up Directory Server authentication for the Connector profile.
Other Laserfiche Connector actions, such as launching a search, will bring up the application-specific user interface.
Creating a Laserfiche Connector profile
In the Laserfiche Connector Configuration dialog box, click Add to launch the Profile Creation Wizard.
- Create Profile section:
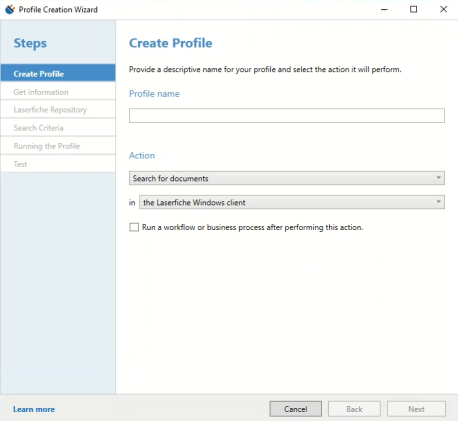
- Enter a Profile name.
- Under Action, choose Import documents or pages into the Laserfiche Windows client using the drop-down menu.
- Click Next.
- Get Information section
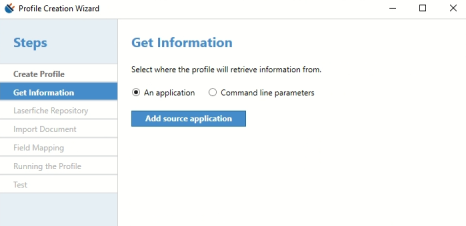
- Click Add source application.
- Grab the target icon and drag to the application where you would like to add the Laserfiche connector. This will automatically capture the Application profile. Click Save.
- Specify the Token name and Token content.
- Click Next.
- Laserfiche Repository section
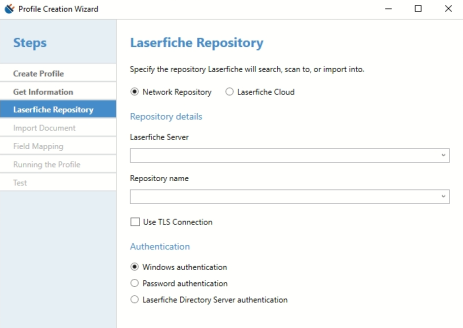
- Under Repository details, type or choose your Laserfiche Server and Repository name from the drop-down menu.
- Under Authentication, click one of the following options:
- Windows authentication: Click this option to sign-in using your Windows credentials.
- Password authentication: Click this option to sign-in using a User name and password.
- Laserfiche Directory Server authentication: Click this option to use the Laserfiche Directory Server STS page, required for SAML authentication or for Laserfiche users with MFA enabled. Specify the Directory Server STS URL and Database.
- Skip the Import Document, Field Mapping, Running the Profile, and Test sections.
- Now, in the application, click the Laserfiche icon to be navigated to your organization's sign-in page.