In the Settings page on the Directory Server administration site, you can configure STS sites for your SAML identity providers.
- Click the add STS Site button to start configuring a STS site for your SAML identity provider.

- For each STS site, fill out the following information:
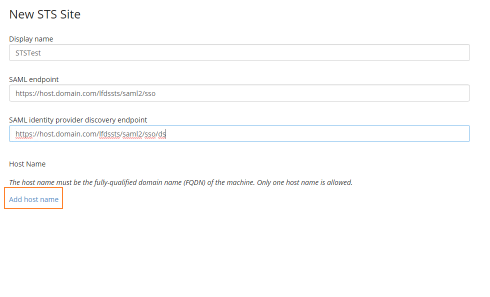
- Display Name: Choose the display name for your STS site.
- SAML endpoint: Figure out the Fully Qualified Domain Name (FQDN) of your machine. Use the default format indicated in the field and replace host.domain.com with your FQDN.
- SAML identity provider discovery endpoint: Use the default format indicated in the field and replace host.domain.com with your FQDN.
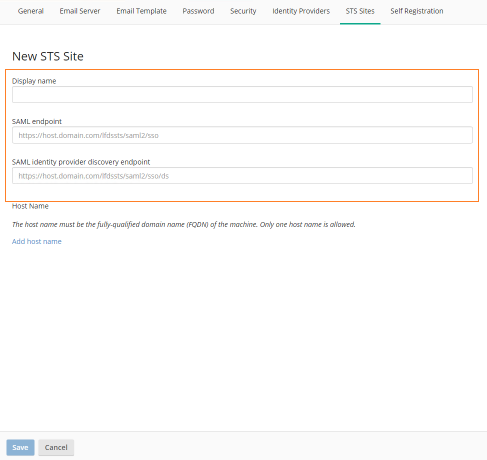
- Host Name: Click Add host name and enter your machine's FQDN. If your STS instance host has a different public DNS name, make sure to register the internal host name.
- Click Save to finish creating your STS site.
Note: The option to specify a SAML endpoint is available only in Directory Server 10.3.1 and later.
Note: To avoid open redirects vulnerability in WebSTS, Laserfiche Directory Server administrators can enable checking against an allowlist to restrict redirects to domains that are sanctioned. To learn more, see Configuring a Redirect Allowlist.