Secure Socket Layer (SSL) is a cryptographic protocol used to encrypt and secure communications. You can configure the Quick Fields Server to take advantage of SSL to secure the connection between the Quick Fields Server and the Quick Fields Administration Console.
To configure the Quick Fields Server to use SSL
- Ensure the Quick Fields Server computer has a valid trusted root authority certificate and a valid server certificate signed by the trusted root authority, both in the Local Computer's certificate store and correctly configured.
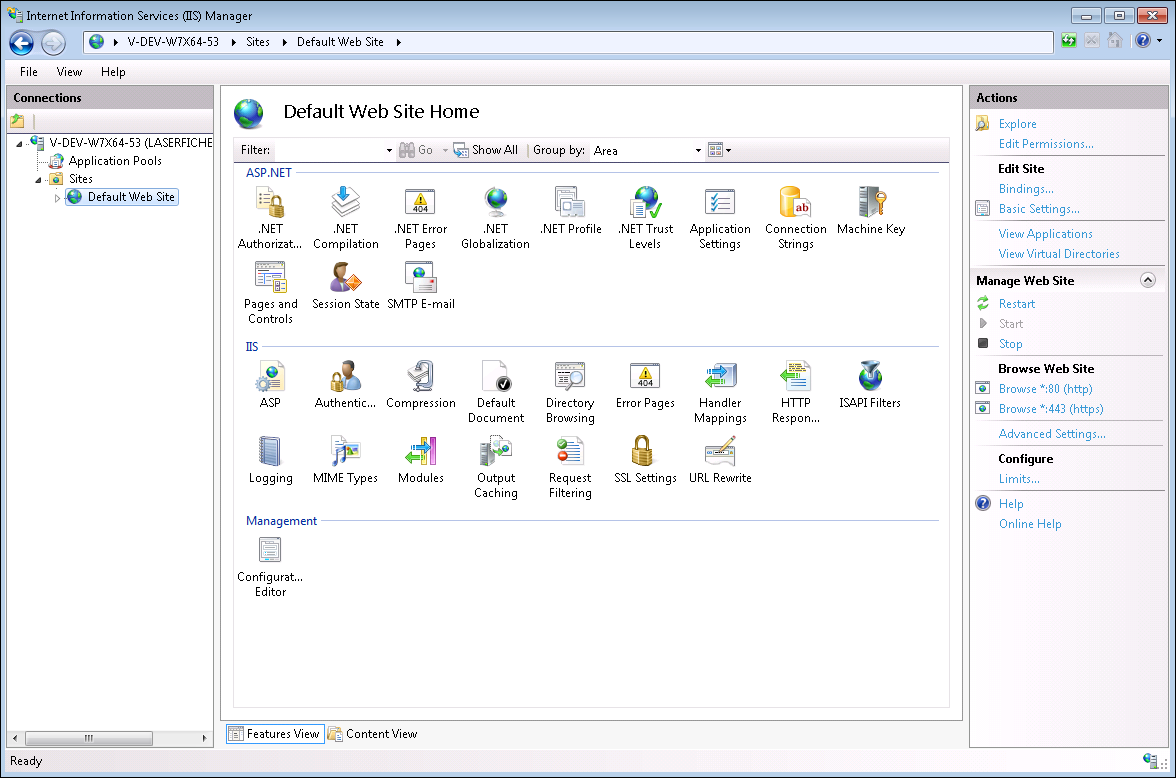
- From the Control Panel, select Administrative Tools, then Internet Information Services (IIS) Manager.
- In the Connections pane on the left, double-click your computer name, Sites, then the
 web site that contains the Quick Fields Server.
 - In the Actions pane on the right, click Bindings.
- In the Site Bindings dialog box, click Add.
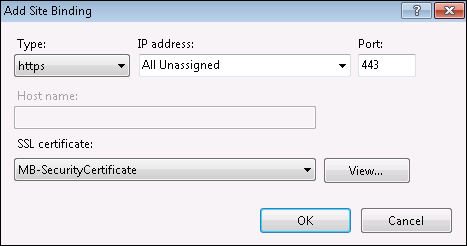
- In the Add Site Binding dialog box
- Select https under Type.
- Select All Unassigned under IP address.
- Type an unused port number under Port. Port 443 is the default https port.
- Select the server certificate mentioned in step 1 under SSL certificate.
- Click OK, then close the Site Bindings dialog box.
- Navigate to C:\Program Files (x86)\Laserfiche\Quick Fields Server\Web Files and open Web.config in a text editor.
- Under the <appSettings> node, for the qfwebapi key on line 26, change the value to
https://CertificateHostName:QuickFieldsPort/quickfieldsapi
- Save and close the Web.config file.
- From the Control Panel, select Administrative Tools, then Services. Right-click Laserfice Quick Fields Server and stop the service.
- In Windows Explorer, navigate to C:\Program Files (x86)\Laserfiche\Quick Fields Server and open Laserfiche.QuickFields.Server.exe.config in a text editor.
- Search for:<add key="Uri" value=
- Next to value =, replace the existing text with the following:https://CertificateHostName:port" />
where port is the port the Quick Fields Server is using. This is the port configured in the Quick Fields Configuration Utility. The default port is 8093.
- Search for:<add key="Origin" value=
- Next to value=, add the following to the existing value:https://CertificateHostName" />
- Save and close the file.
- You will need to run the netsh.exe tool to create a configuration record. For more information on using this utility, see Netsh on the Microsoft website.
- Check with your administrator or IT department to ensure this next step needs to be performed and that you have the appropriate rights to perform it.
Open the Start menu, search for command prompt (cmd), right-click it, and select Run as administrator. Type the following and press Enter:netsh http add urlacl url=https://+:portnumber/ user=Everyonewhere portnumber is replaced with the Quick Fields Server port defined in step 12.
- Next, type the following and press Enter: netsh http add sslcert ipport=0.0.0.0:portnumber certhash=ServerCertificateThumbprint appid={ValidGUID}
where portnumber is replaced with the port defined in step 12, ServerCertificateThumbprint is replaced with the actual certificate thumbprint, and ValidGUID is replaced with a valid GUID. You can use any valid GUID. If you do not have a GUID to use, you can perform a web search for "guid generators" to find an application that will create a random GUID for you.
To find the certificate thumbprint for the step above:
- From the Control Panel, select Administrative Tools, then Internet Information Services (IIS) Manager.
- Double-click Server Certificates.
- Double-click the appropriate certificate.
- Click the Details tab.
- In the drop-down menu next to Show, select Properties Only.
- Copy the Thumbprint value, remove the spaces, and paste it after certhash=.
- From the Control Panel, select Administrative Tools, then Services. Right-click Laserfiche Quick Fields Server and start the service.
- Navigate to the Quick Fields Administration Console using the following address: https://QuickFieldsServerName/QuickFields.
Note: The shortcut added to the desktop during installation does not use https. After configuring SSL, you can add a new shortcut to the desktop by navigating to the Quick Fields Administration Console web site in Google Chrome and dragging the page icon (next to the URL) to the desktop.
Note: If you plan to use SSL, steps 1-7 may already be complete.
