Printing Multiple Documents
Note: Certain types of files must be printed one at time from their native Windows application. To check if a file can be printed from a file management application, right-click it and look for a Print command. This capability is provided by the file’s native application.
To simultaneously print multiple documents using Laserfiche Snapshot
- Make sure Laserfiche Snapshot is the default printer.
- Open a file management application (such as Windows Explorer).
- Select the files from which Laserfiche documents will be created.
- From the File menu, select Print.
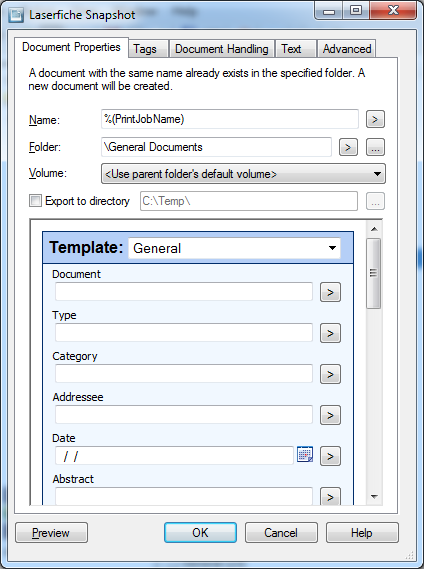
- The
 Laserfiche
Snapshot dialog box, which displays the properties assigned to that document, may appear after each document is printed, displaying the current user's default settings for how image and text files are generated. Make any changes, and click OK.
Note: Snapshot displays up to two simultaneous instances of the Laserfiche Snapshot dialog box. When you print more than two documents simultaneously, subsequent instances of the dialog box will open as you finish assigning properties to the current documents.
Note: When printing from the network, the Laserfiche Snapshot dialog box will not appear. Administrator-defined settings will be applied to printed documents.
