Sessions
The Sessions tab displays a list of all the sessions to which references have been created. These sessions may be included in one or more schedules, or not included in any schedules. You can view the session name, it's path, and whether or not it's referenced in a schedule.
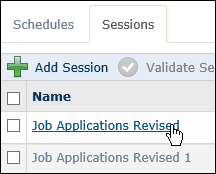
To view a session's details
- Click the session name.
To add a session
- Click Add Session.
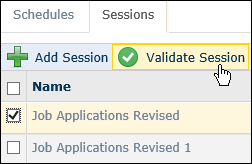
To validate a session
- Select the checkbox next to the session you want to validate and click Validate Session.
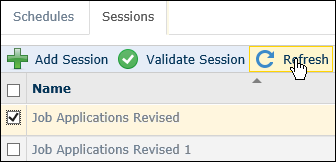
To refresh a session
- Select the checkbox next to the session you want to refresh and click Refresh.
To delete a session, do one of the following
- Select the checkbox next to the session you want to delete and click Delete in the top toolbar.
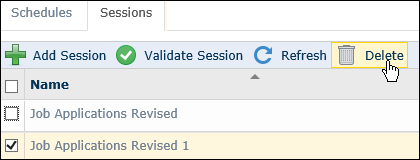
Note: Sessions referenced in schedules can not be deleted. The schedule where the session is referenced needs to be deleted first.
- Click the session name to view its details, then click Delete in the top right corner.
Adding a Session
When creating a schedule, you have to add a reference to the session you want the schedule to run. You can add a session reference from the Sessions tab and then create a schedule to run that session, or add a session reference in the process of creating a schedule.
Note: By default, Quick Fields Agent will log on as the Local System Account for the computer where it is installed, and will have access to other files on the network depending on the security assigned to that account. You can change the Windows user associated with the Quick Fields Agent program in the Services settings of the computer's Windows Control Panel.
To add a session reference from the Sessions tab
- Click Add Session under the Sessions tab.
- In the Add Session dialog box, browse to the session, select it, and click Open.
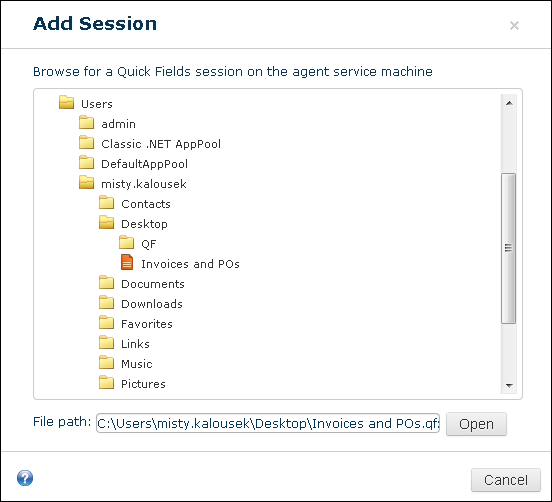
To add a session reference in the process of creating a schedule
- In the Add Schedule dialog box, select the Browse button
 next to Session used to open the Add Session dialog box.
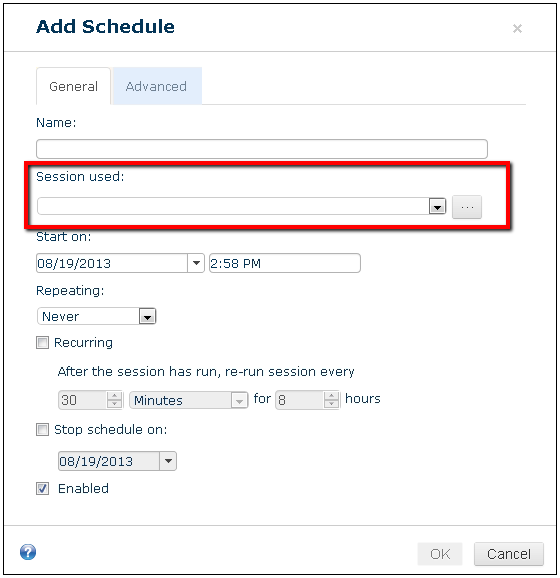
- Browse to the session, select it, and click Open.

Note: If you have previously added a session, you can select it from the drop-down menu instead of re-adding it via Browse.
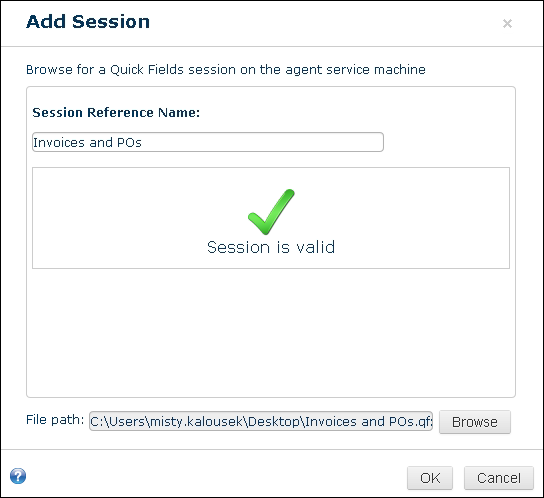
Quick Fields Agent will automatically run the session validation utility on the session. If the validation is successful, a Session is valid message will be displayed. If the validation is not successful, you will see warnings. If there are warnings, open the session in Quick Fields and make the necessary adjustments. Once you have made changes, re-validate the session.
Session Details
Clicking on a session name from the Sessions tab will display its details.

- Path: Session location.
- Description: The description defined within the session.
- Referenced in the following schedules: A list of the schedules in which the session is referenced.
You can also click Validate Session or Delete from the session details to validate or delete the session.
Session Validation
When you first add a session reference to Quick Fields Agent, the session validation utility will automatically check for configurations in the session that will prevent it from running unattended, such as requiring a password or needing to specify a search directory. Based on the warnings generated in this report, you can make the appropriate changes to the session before scheduling it.
Note: Although the session validation utility can identify the most common factors that need to be addressed before a session can run properly in unattended mode, it is still good practice to test each session yourself.
Each session is automatically validated when it is added to a schedule.
To re-validate a session after fixing issues
- Click the Sessions tab.
- Select the checkbox next to the session you want to validate and click Validate Session.
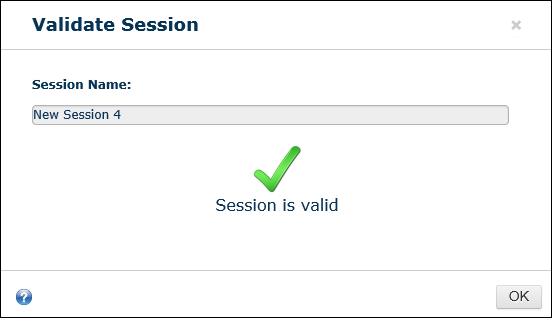
You can also click Validate Session when viewing the session's details.
Session Validation Warnings
Quick Fields Agent validates sessions added to schedules and provides warnings about configurations that are likely to yield undesired results when run unattended. You can review these warnings and revise the sessions accordingly.
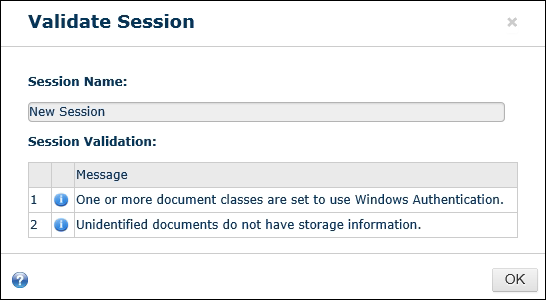
Some of these configurations will prevent the sessions from running at all through Quick Fields Agent, such as if they will open a dialog box that requires user input. Others will run but will most likely produce unhelpful results: for example, a session with a blank required field may be able to scan documents, but since the required field will not be filled out, it will not be able to store them, and the documents will probably need to be re-scanned anyway.
| Warning | Explanation and Suggested Action |
|---|---|
| The session file could not be read. | This message appears when the session file appears to be corrupted. You may need to repair or rebuild the session. |
| There is a blank required field. | The session contains a field that is marked required, but not configured to be filled out during processing. Change the field to make it not required, or add text or a token to the field so that it will be filled out. |
| One or more document classes are set to require a login. | Requiring a login means a dialog box will appear asking for a name and password. Change the session so the username and password are stored in the session (the password will be encrypted by Quick Fields). |
| One or more document classes are set to use Windows Authentication. | Windows Authentication will not work if the Quick Fields Agent Service is logging in as a system account. Either change the session to require a different kind of authentication or change the Windows user associated with the Quick Fields Agent Service. |
| Laserfiche Capture Engine is set to require login. | Requiring a login means a dialog box will appear asking for a name and password. Change the session so the username and password are stored in the session (the password will be encrypted by Quick Fields). |
| Laserfiche Capture Engine is set to use Windows Authentication. | Windows Authentication will not work if the Quick Fields Agent Service is logging in as a system account. Either change the session to require a different kind of authentication or change the Windows user associated with the Quick Fields Agent Service. |
| Unidentified documents do not have storage information. | With the Quick Fields Agent license, you acquire the ability to set default properties for unidentified documents in each session, including a repository and folder path. It is good practice to do so for sessions that will be run with Quick Fields Agent so unidentified documents will not build up in the session. |
| The session is set to use a scanner. | Physical scanners are not generally used with unattended processing, since without a scanner operator present, a glitch such as a paper jam could hold up entire sessions. For Quick Fields Agent, most organizations either scan into a network drive and use the Universal Capture scan source or scan into a Laserfiche repository and use the Laserfiche Capture Engine to retrieve the documents for processing, after which they will be sorted and sent back to Laserfiche. |
| The session contains scripts. |
Sessions that contain scripts may have difficulty running unattended, depending on the contents of the scripts. For example, if the script causes a dialog box to pop up, the session will not finish running unattended. Carefully review any sessions containing scripts to make sure they will not cause problems when run with Quick Fields Agent. |
| Unidentified document storage is set to require a login. | Requiring a login means a dialog box will appear asking for a name and password. Change the session so the username and password are stored in the session (the password will be encrypted by Quick Fields). |
| An unknown validation message was received. | The validation utility found a configuration that seems likely to cause problems but does not fit into any of the above categories. Try opening and examining the session. |