Creating a Folder Structure to Support Repository Security
The key to securing your documents in Laserfiche is leveraging how your documents are organized in your repository and giving users varying levels of access to different sections of your repository. A well organized repository can make the difference between applying and maintaining security with ease and confidence, and drowning in a tangled web of security permissions that takes hours to unwind.
Before designing your folder structure, it's important to be familiar with the following:
Guiding Security Principle
The most efficient and effective security is applied to folders based on groups of users. Scope and inheritance ensure that the security is automatically applied to folder contents so you don't need to update security every time a document or sub-folder is added to your repository. Alternatively, the least efficient way to administer security in a Laserfiche repository is to configure security individually on each document and for each individual user.
Step 1: Determine Your Folder Structure
Identify the broad categories of people that will be interacting with your repository and determine if you can organize documents the same way. Note that most organizations may use one organizational style for their root-level folders and then organize their sub-folders using a different organizational style.
Examples
- Department: If multiple departments or teams will be sharing a repository, and their work rarely overlaps, create folder for each department at the top level of your repository and then sub-folders based on each department's needs.
- Useful for: State or local governments, higher education
- Project: If your organization primarily works cross-departmentally as teams assigned to different projects, you may want to create folders for each type of project at the top level.
- Useful for: Engineering projects (with sub-folders for design drawings, calculations, specifications, and project reports), case work, nonprofit, or event-based work.
- Type: If your organization primarily works on different types of documents.
- Useful for: Finance documents structured around accounting classifications (like assets, liabilities, equity), public works, or retail where sales records, inventory management documents, customer orders, and purchase orders are often organized by product category or retail location.
- Life-cycle: If some or all of your documents are subject to a regulatory life-cycle, especially in conjunction with records management.
- Useful for: Case work, order systems
- Alphabetical or Chronological: Especially useful for archival or reference material. Often you'll use one of the above organizational systems for your root level folders and then an alphabetical or chronological organizational system within sub-folders.
- Useful for: Healthcare records, student records, employee records
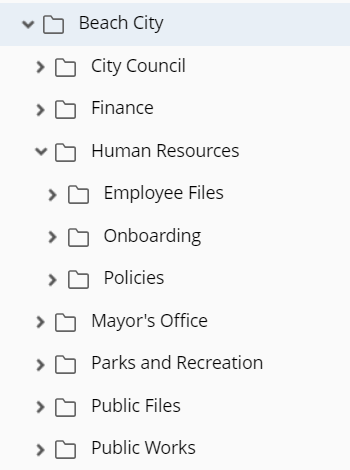
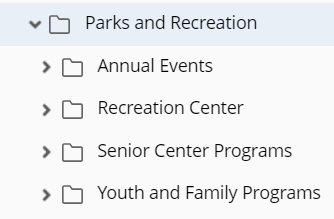
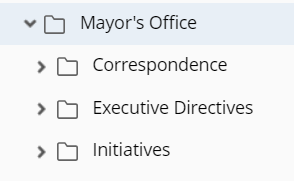
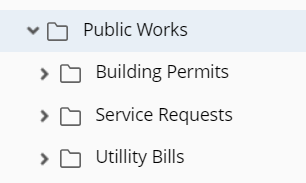
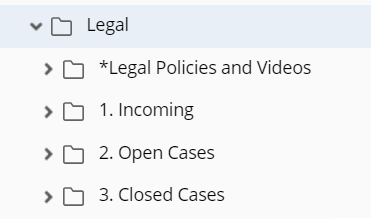
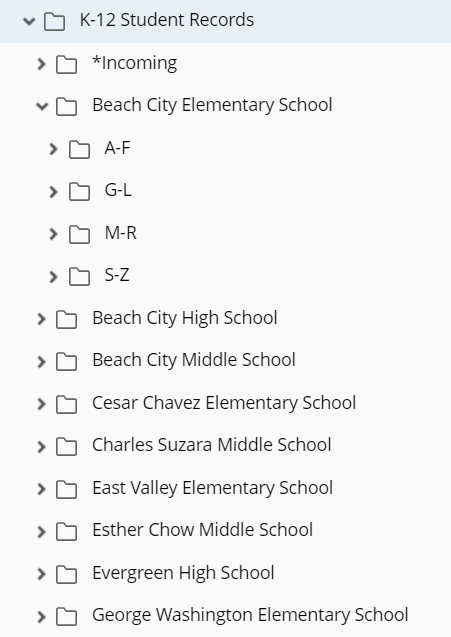
After determining your high-level folder organization, then you can break down your main folders into sub folders, keeping in mind who might need to access each sub folder. See the example under Step 3 for a in depth look at how to apply security down a folder tree.
Step 2: Inventory Your Users
Create groups of users based on what they need to access. Your groups and your folder structure should be organized around the same principles: groups should contain users with similar access needs, and documents with those same access needs should be grouped into the same parts of the folder tree. Don't be afraid of creating concentric or overlapping groups.
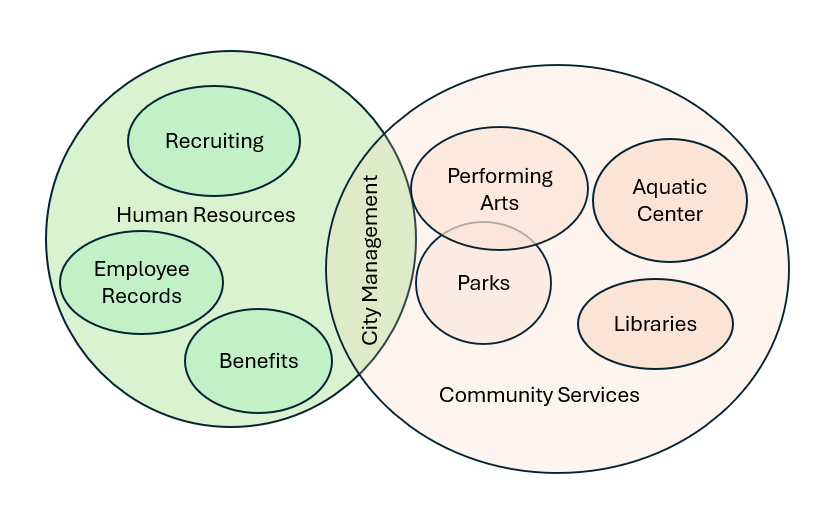
Just as there are multiple ways to group documents, there are also multiple ways to group users.
- Department: Users are often grouped by department; this is especially useful if your documents are also grouped by department as noted above.
- Role: Users can also be grouped by role, which generally determines what actions they can perform: scanner operators need to be able to perform different actions in the repository than departmental leads, records managers have a different set of security needs than users who primarily use the repository to reference policy documents, and so on.
- Project: If your repository is organized by projects, you may choose to also group users by which projects they are responsible for.
In most cases, you will use more than one type of grouping. For example, it is common to use departmental groups to control access to department folders, and to also use role-based groups to control what actions those users can perform.
Note: Laserfiche supports several types of users and groups, including Laserfiche-specific users and groups and directory users such as Windows users. Laserfiche groups can contain any combination of user and group types, making them very useful for tailoring your groups to your exact needs.
Step 3: Apply Access Rights
Start by applying security on the top level folders by giving the biggest groups of users the minimum entry access rights necessary. Use scope so this base-level of access extends down the folder tree. Continue down the folder tree, applying more entry access rights to more specific groups of users.
Example
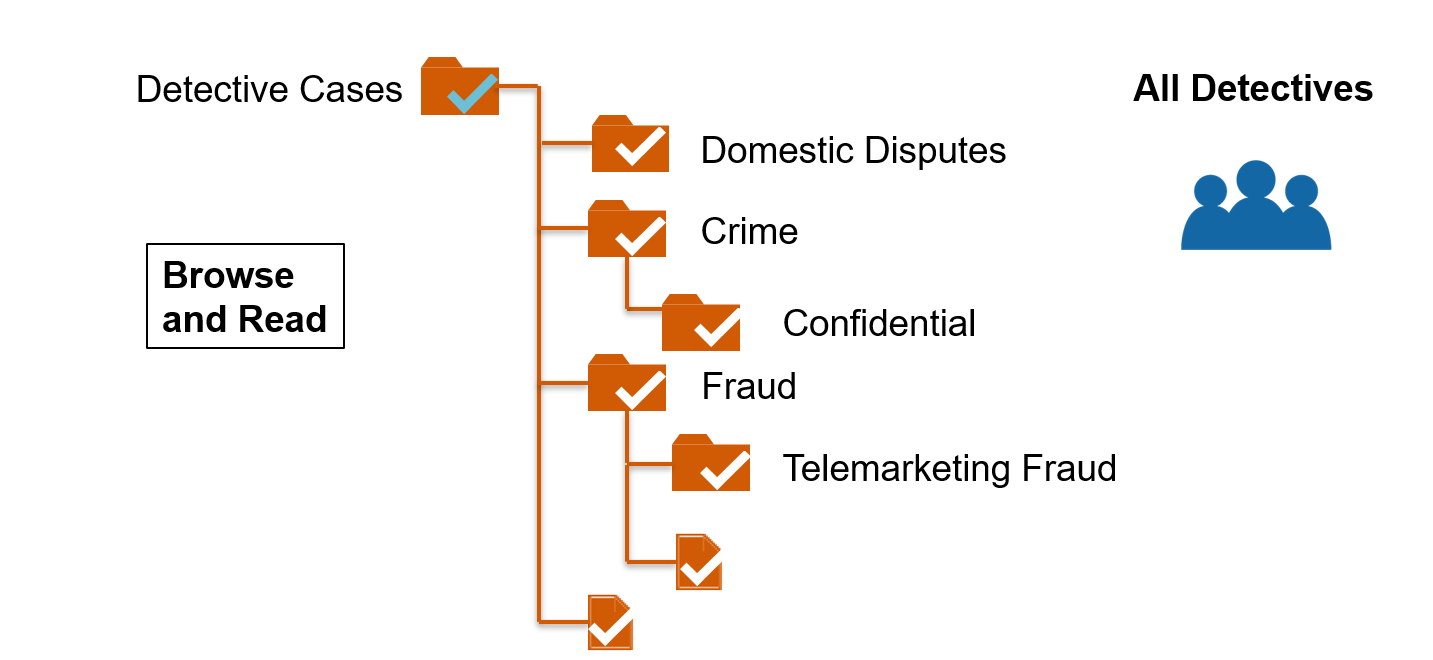
In this example, we're setting up security for a detective agency. We'll start by applying security to one of our root folders: Detective Cases. At this level, we'll give the group "All Detectives" the Browse and Read entry access right to the root folder, and then set the scope so that the entry access right applies to the folder and all of its contents.
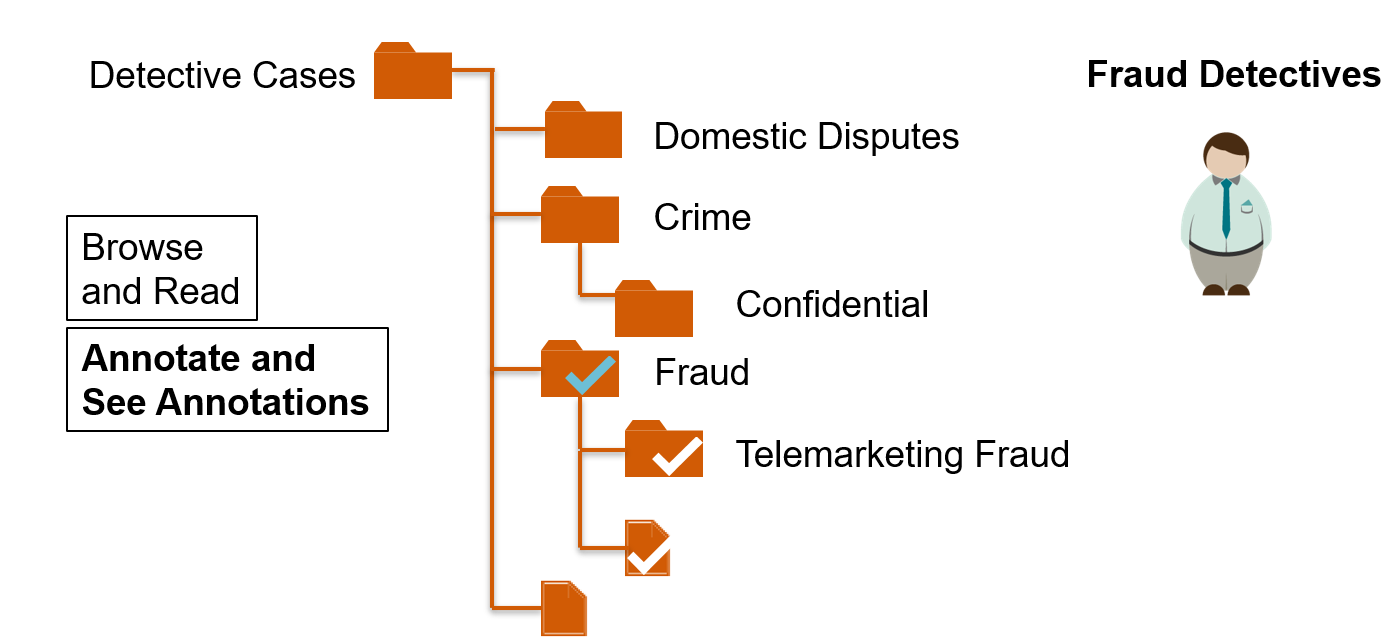
Next, we'll want to give even more access rights to a smaller group of people. Here we've given the Fraud Detectives the ability to annotate and see annotations on the Fraud folder and all the contents of this folder. This way they can leave notes for each other specific to their expertise.
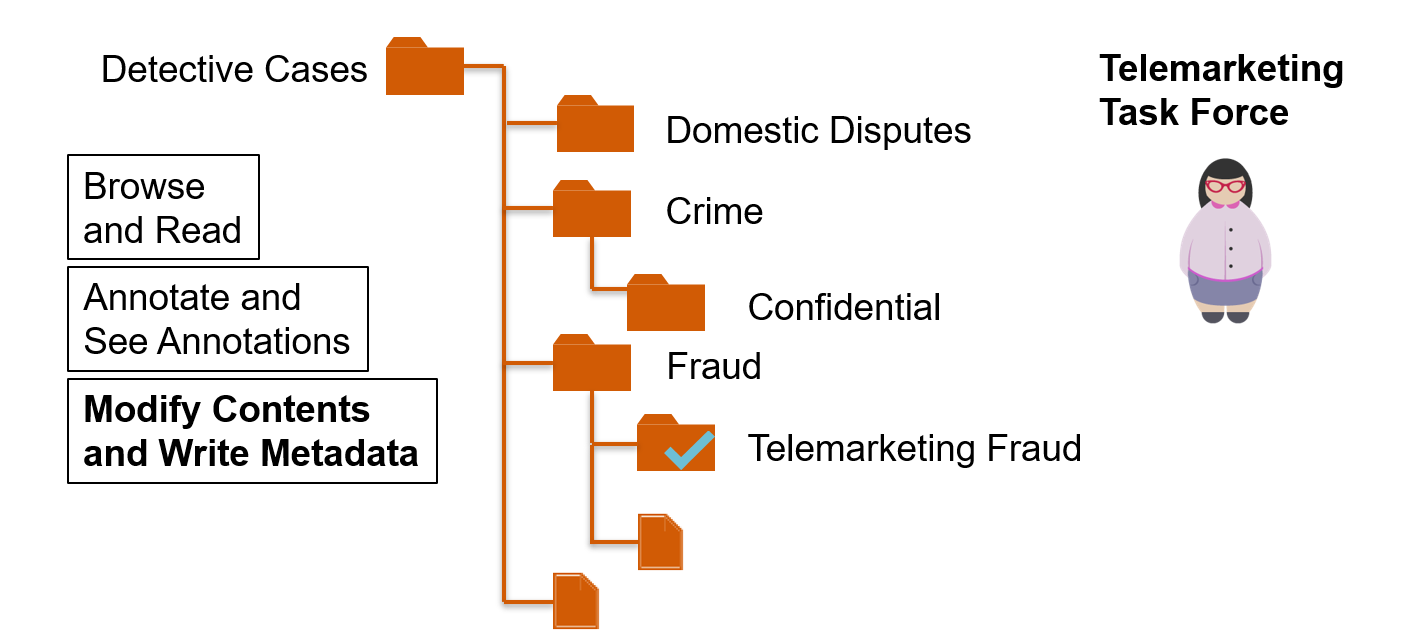
Finally, we'll give the most access to an even smaller group of people. Here we've given the Telemarketing Task Force the ability to Modify Contents and Write Metadata on the Telemarketing Fraud folder and its contents. This way the Telemarketing Task form can fully edit documents relative to their work, the Fraud Detectives can leave advisory annotations, and the broader group of detectives can read, but not edit anything in this folder.
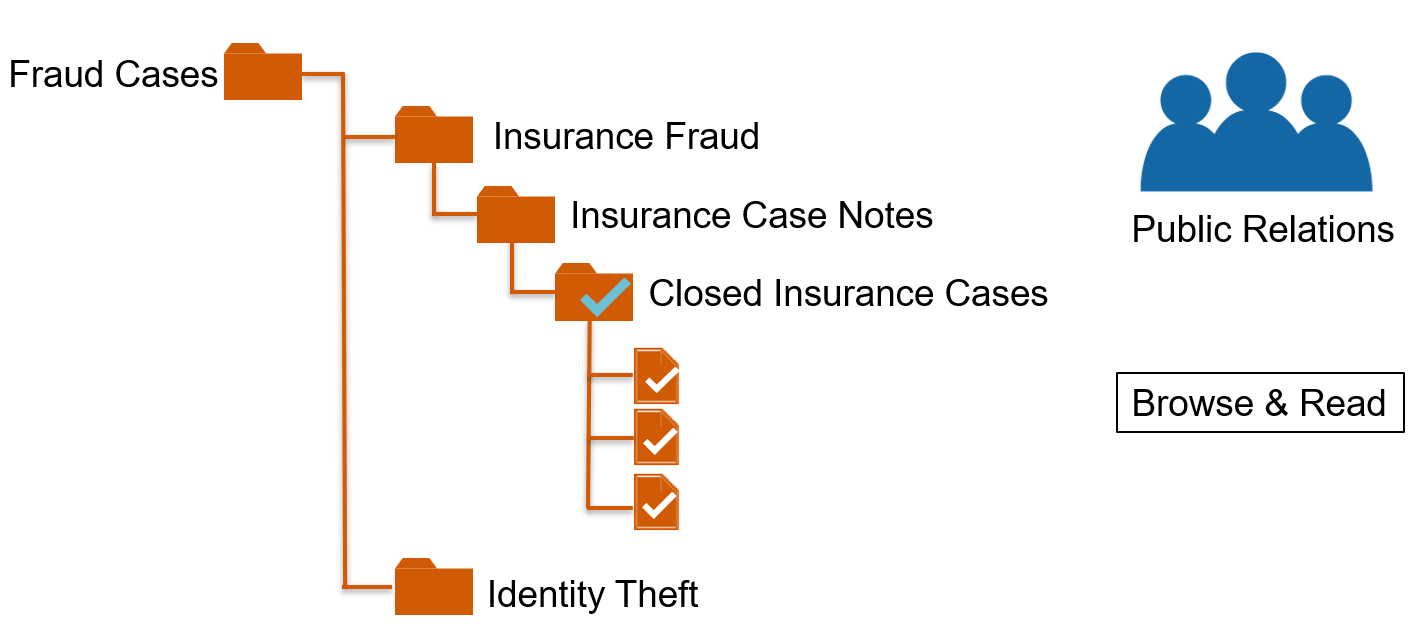
If we want to give a group of people, for example, if outside contractors need access to a specific sub-folder and its contents, there are a couple ways to achieve that. One is to give a group minimal rights to higher level folders with minimal scope, and then more rights to the specific folder they need to interact with. This lets them navigate to the folder they need to, without being able to see other folders in the folder tree.
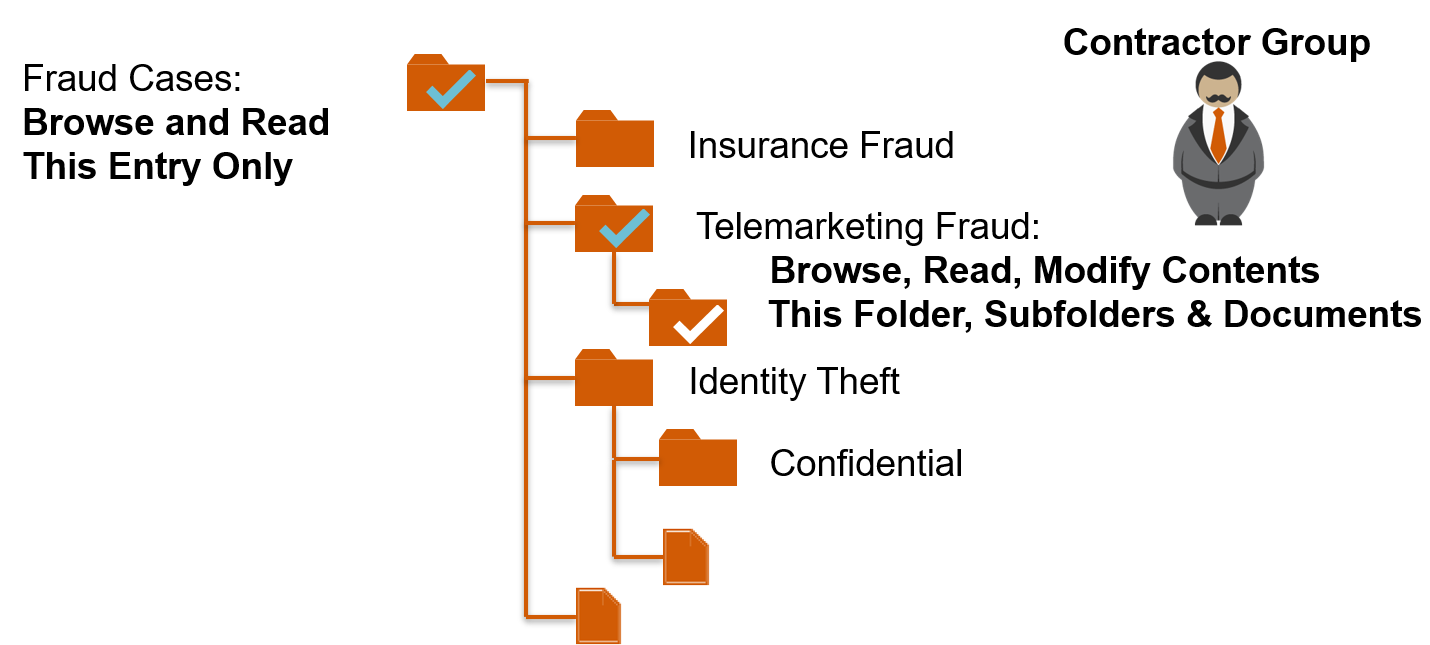
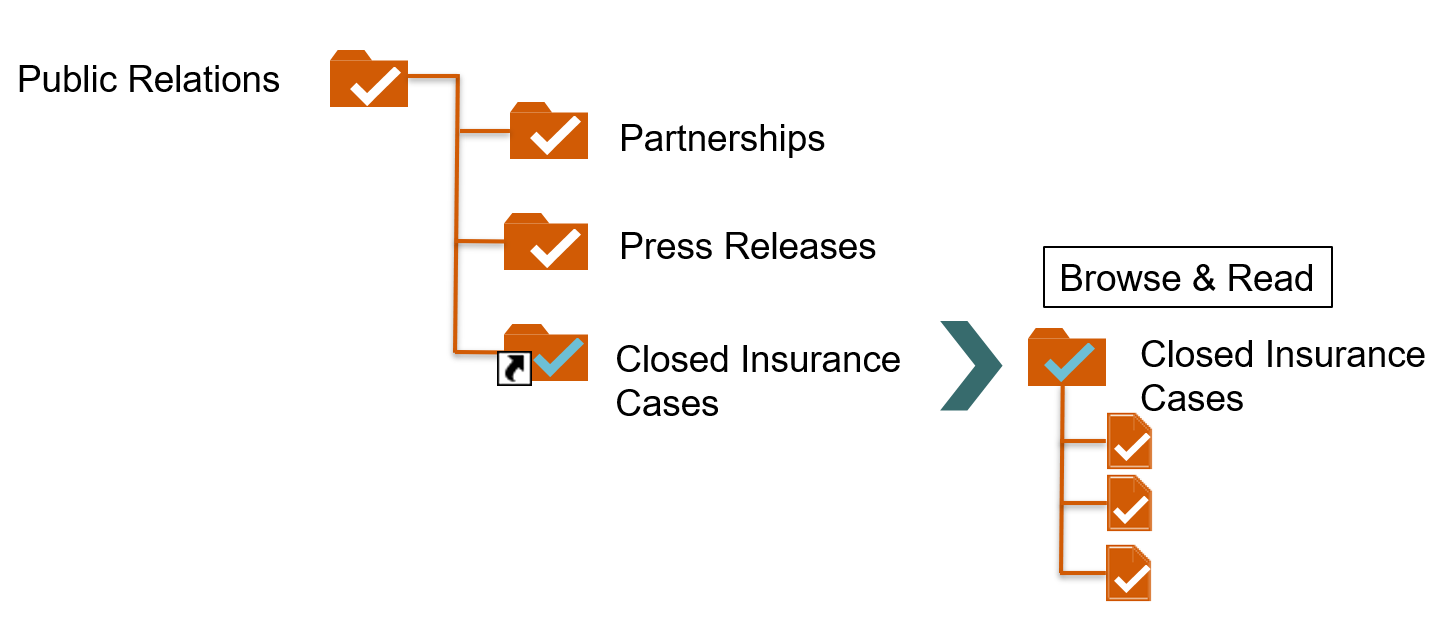
Alternatively, you can apply security for the group directly on the sub folder, but not the root folder, and then create a shortcut to the sub folder in a section of the repository the group does have permission to navigate to.
