This activity sends an email. You can also add an attachment in the email.
To set up this activity:
- Drag the activity from the toolbox pane and drop it in the Designer pane.
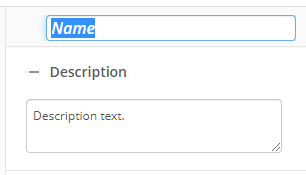
- In the properties pane, type a name and description of the activity.
- (Optional) Use the Enabled checkbox to turn the email activity on or off without the need to remove the activity from the workflow.
- In the Email property box, specify recipients, subject, priority level, and message. Click the Token button (right arrow)
 to add a token. You can type HTML in the message body (e.g., "This is <b>bold</b>." is converted to "This is bold." when the email is sent.
 - Select Attach... to attach a file to the email, select the file from a previous activity (Download Electronic Document or Update Word Document), specify the file name, then click OK.
- In the Advanced Settings property box, click Configure options.... (More information below)
Note: You can also select the entry found in a Find Entry activity when the Generate a shortcut (.lfe) to the document checkbox is selected.
Additional Settings
Use the following options to configure additional settings about the email. When your desired settings are configured, click OK.
Mail Server
- Limit the email body to 25000 characters: Place a limit on the size of an email this activity can send. If this option is selected, emails longer than 25000 characters are truncated.
- Reply to: Enter an alternative email address someone can reply to.
Example: Sally has configured a workflow to send email reminders from workflow@company.com. Replies to these emails go to the workflow@company.com account. However, when an Email activity sends shipping reminder emails, replies to those emails need to go directly to the shipping department. For Email activities that send shipping reminders, Sally can select Reply to and type shipping@company.com.
Settings for All Attachments
- Combine all attachments into one attached zip file: Collect all the attachment files generated by this activity and combine them into a single zip file.
- Exclude each attachment larger than: Set the maximum size for an attached document. If the document is included in a zip file, the zip file's size is used. If you chose to attach a multi-page document as a JPEG or PNG, the combined size of the multiple individual files is used. Documents over the size limit are not attached.
You may want to disable activities if you only want to test specific sections of your workflow. To disable activities:
- Select an activity in the designer pane to highlight it.
- In the Description property box, clear Enable.
