Run Application Action
Use the Run Application Action activity to create, delete, or retrieve data from your integrated system. The activity requires a configured application connection to your Salesforce, Redtail, or Microsoft Dynamics 365 account.
To configure a Run Application Action activity:
- Drag the
 Run Application Action activity from the toolbox pane and drop it in the designer pane.
 - In the properties pane, select a connection profile. To create or manage connections, click the Manage connections link, which opens a new Application Connections window.

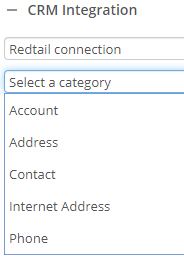
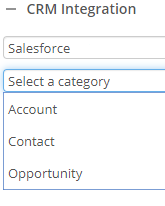
- Select an action category. Categories will be based on the selected connection properties.


Note: Above images are for example only, actual categories may vary depending on the connection properties.
- Select the action to perform. Depending on the selected application, you will be presented with different actions.
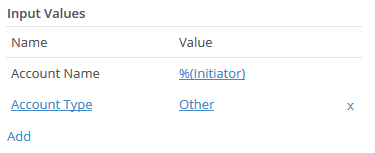
- Under Input Values, select the desired values you want to input in your integrated system. Use Workflow tokens to insert dynamic values based on the running workflow. For creation and update actions, this is where you specify what you want to change in the integrated system. In addition to default values required by the system, you can click Add to insert additional information.

Note: Refer to the associated CRM product documentation for input value requirements.
- Under Output Tokens, take note of the output tokens created upon completion of the Run Application Action activity. The value of these tokens can be used later in your workflow. Rename the token names as desired. For example, after creating an new account, the system will return the Account Id of the newly created account.

Important: If a custom object is altered or deleted, the connection profile and the activities associated will not automatically be notified of those changes. First refresh and save the connection profile, then refresh, save, and republish the workflow to receive the updated changes to the custom objects.
