Overview of Laserfiche Scanning
Laserfiche Scanning lets you use a scanner to capture paper documents and store them in Laserfiche. While scanning, you can perform image enhancements such as rotating or deskewing a page, generate text from the scanned documents, and store additional information about the documents along with them.
You can also use Laserfiche Scanning to import images already on your computer. For instance, if you have already scanned documents and saved them on your computer, you can use Scanning to perform image processing and store them in your repository.
Launching Scanning and Selecting a Scanning Mode
To open and begin scanning, click the Scan![]() button.
button.
Note: You may be prompted to allow your browser to download scanning. Once downloaded, you will need to install it.
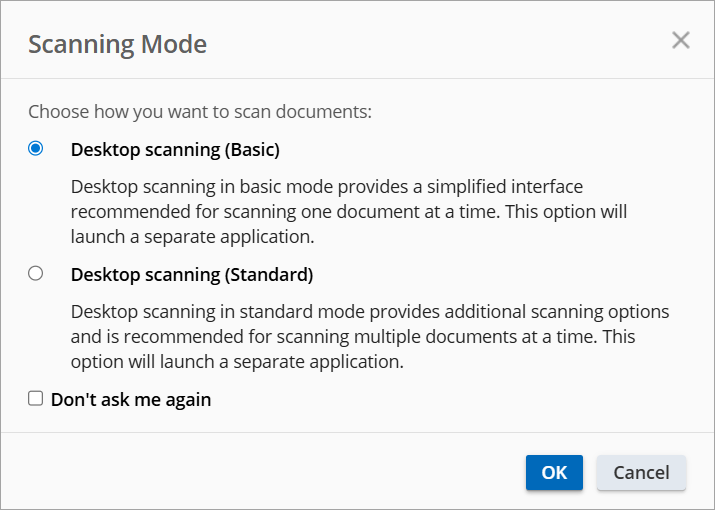
When you open scanning, you will be prompted to choose to scan using basic mode or standard mode.

- Basic mode provides a simplified interface recommended for scanning one document at a time to a single destination. All pages scanned will be part of the same document.
- Standard mode includes everything in basic mode, plus additional scanning options and is recommended for scanning multiple documents at a time.
Both scanning options will open a separate application.
The first time you scan to Laserfiche from a particular computer, you will be prompted to install the scanning component. Once you have installed Scanning, you may be prompted to restart your computer. If you do not need to restart your computer, you will need to close and re-open your browser and then click the Scan![]() button again to begin scanning.
button again to begin scanning.