Regional Settings
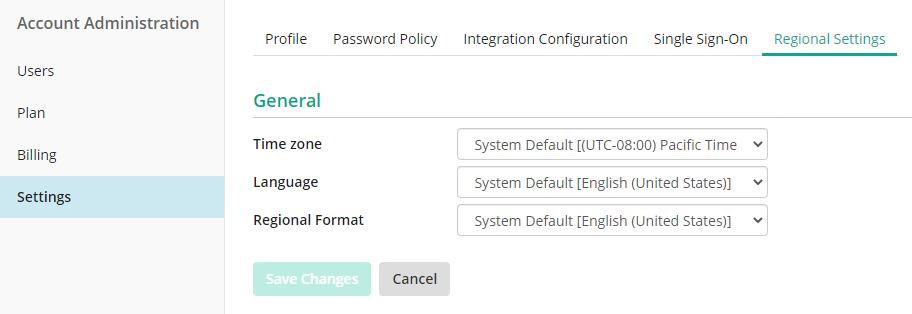
Laserfiche Cloud allows administrators to set an account-wide default for regional settings. Individual users can choose to set different options that take precedence over the system default.
Regional settings apply to the sign-in page, the app picker, the repository, and tasks inbox, forms submissions, and process reports. Support will be expanded to administrative portions of Laserfiche Cloud in the future. Language support for the Laserfiche Cloud service includes English (United States), French (Canada), and Spanish (Latin America).
Configuring Default Account-Wide Regional Settings
- Sign in to Laserfiche Cloud and navigate to Account Administration. This requires the Account Administration role.
- Select Settings and view the Regional Settings tab.

- Configure a default time zone, language, and regional format for the account. Regional format includes number and date formats.
Configuring Individual Regional Settings
- Sign in to Laserfiche Cloud.
- Click on your username in the upper-right corner and select the My Account option.
- On the My Account page, select the desired time zone, language, and regional format.
- Click Save to save your selections.
Regional settings currently have no impact on:
- Time zones used in workflows and business processes. Workflow and business processes use their work schedule settings to determine the time zone. Work schedules will not be affected by account-level time zone settings at this time.
- Date and number formats in workflows and business processes. Workflow and Forms engines will not use the account-level locale settings at this time.
- Public Portal connections. As connections to Public Portal are anonymous, browser locale will be used to determine the language, time zone and number and date formats.