Configuring Single-click reCAPTCHA

Setting Up Single-click ReCAPTCHA
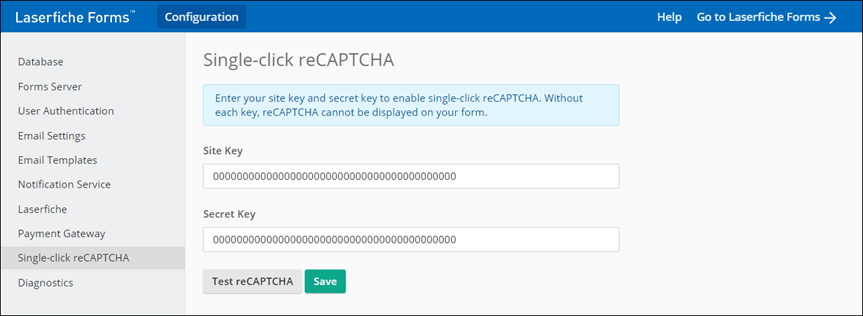
- Open the Laserfiche Forms Configuration page to the Single-click reCAPTCHA tab.

- Type the site key and secret key provided on the reCAPTCHA site. Both keys are necessary to enable single-click reCAPTCHA.
Note: You cannot currently use site keys or secret keys that contain special characters (i.e., any of the following characters: "!", "@", "#", "$", "%", "^", "&", "*", ".", "+", "(", ")", "{", "}", "[", "]", "\", ",", "/", "?", "'", ";", ":", """, "~", "`", or the space).
- Optional: Click Test reCAPTCHA to ensure the keys work.
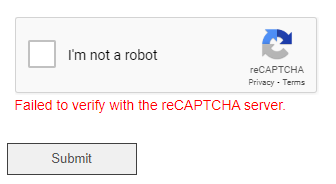
Note: Forms instances must be able to reach Google's reCAPTCHA verification endpoint at https://www.google.com/recaptcha/api/siteverify. Outbound firewalls and/or network proxies may block this traffic. If a Forms instance cannot reach the endpoint, users performing reCAPTCHA validation will receive an error message stating "Failed to verify with the reCAPTCHA server."

- Click Save.