Linked identity providers (previously labeled proxied providers) allow Active Directory and LDAP users to authenticate through SAML identity providers by adding the Active Directory or LDAP Identity Provider under the SAML identity provider. Primarily used for organizations transitioning from Windows authentication to SAML authentication.
Adding a Linked Identity Provider
Active Directory (AD) or Lightweight Directory Access Protocol (LDAP) identity providers can be configured as linked identity providers between Laserfiche Directory Server and a SAML identity provider.
- Add an AD or LDAP user to Laserfiche Directory Server. Check to make sure this user has not been registered in Laserfiche Directory Server under the SAML identity provider.
- Grant the AD or LDAP user access to a Laserfiche application by adding them to a Group with application permissions.
- In Laserfiche Directory Server, under the Identity Providers tab, choose the SAML identity provider that will be used to authenticate AD or LDAP users.
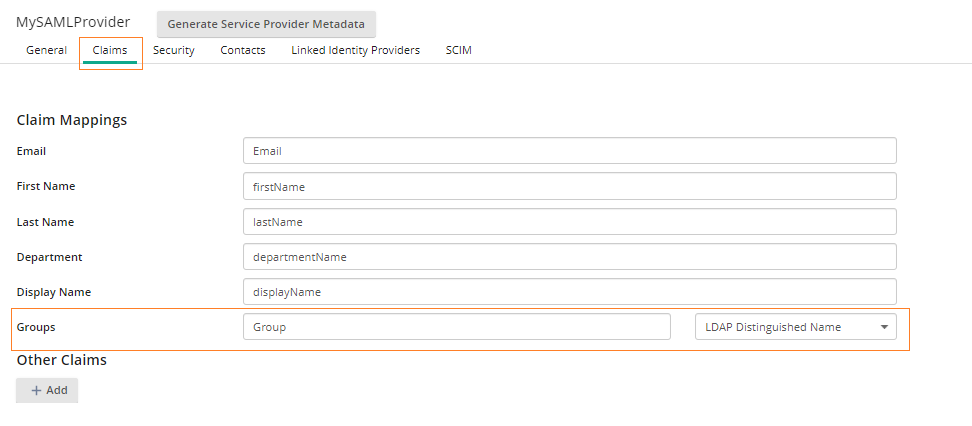
- In the Claims tab, add the Groups claim. There must be a group claim mapping set prior to adding a linked identity provider. See the image below for an example.
Note: The group value must be either AD SID or LDAP Distinguished Name (DN). Microsoft Entra ID has a minimum requirement for including the AD SID and does not support the LDAP DN.
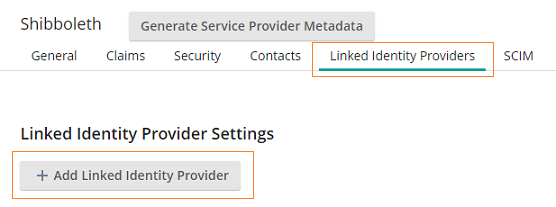
- In the Linked Identity Providers tab, click Add Linked Identity Provider.
- Add the Identity Provider, Identifying Attribute, and Attribute Format. Once finished, click Save.
- Identity Provider: Choose an AD or LDAP identity provider.
- Identifying Attribute: The SAML provider determines the Identifying Attribute. SAML provider may not include this information by default.
Note: The SAML provider determines the Identifying Attribute. You can find this by looking at the SAML provider's configuration or intercepting the SAMLResponse generated for a SAML sign in to find the attribute name. The SAMLResponse is Base64 encoded. To learn more, navigate to Intercepting the SAML Response.
Note: All Active Directory (AD) or LDAP groups must be included on the SAML token or their membership will be ignored.
- Attribute Format: Select an attribute format from the drop-down menu.
- AD SID and AD SID - Base64 Binary are available for:
- Active Directory identity providers
- Active Directory LDAP identity providers that are retaining AD SIDs
- LDAP Distinguished Name is available for:
- Active Directory LDAP identity providers, regardless of AD SID retention
- UPN is available for (Directory Server 10.4.4 and later):
- Active Directory identity providers
- AD SID and AD SID - Base64 Binary are available for:
- Navigate to the end application's sign in page. Use the SAML provider to sign-in as the AD or LDAP user. If this does not work, repeat the steps in the Adding a Linked Identity Provider section.
Note: Prior to configuring AD or LDAP identity providers as linked identity providers, you must have the AD or LDAP identity providers set-up. To learn more, navigate to Adding an Active Directory Identity Provider.

Note: To learn more about SAML claim mappings, navigate to Creating Claim Mappings.
