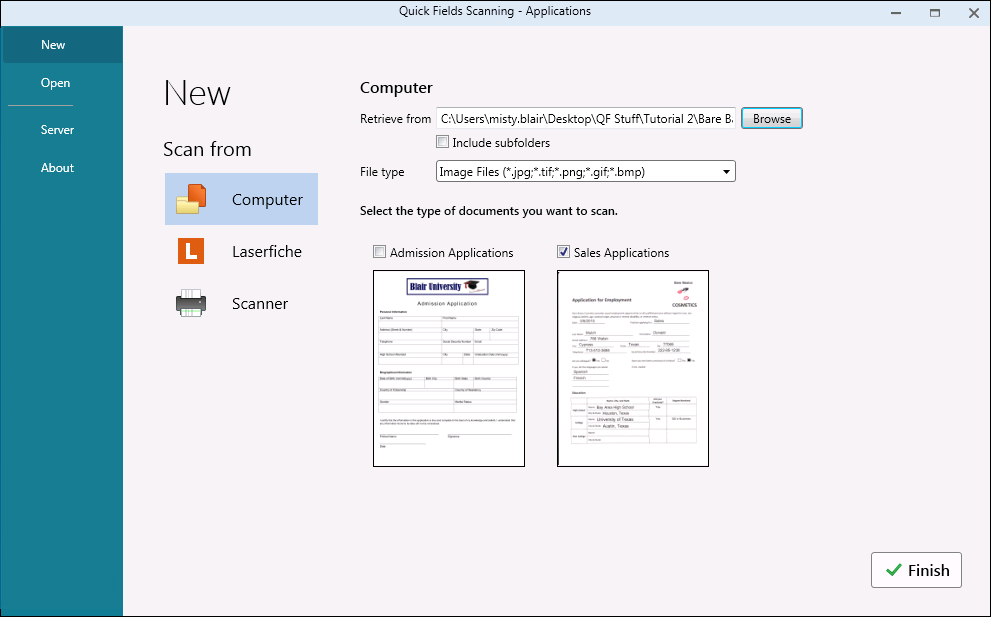
When you first open Quick Fields Scanning, you will be required to ![]() enter the Quick Fields Server URL you want Quick Fields Scanning connected to. Once the Quick Fields Server URL is provided, you can choose to create a new workspace, open an existing workspace or session, or edit your Quick Fields Server.
enter the Quick Fields Server URL you want Quick Fields Scanning connected to. Once the Quick Fields Server URL is provided, you can choose to create a new workspace, open an existing workspace or session, or edit your Quick Fields Server.
New
Create a new workspace and define ![]() where your documents will be scanned from.
where your documents will be scanned from.
Open
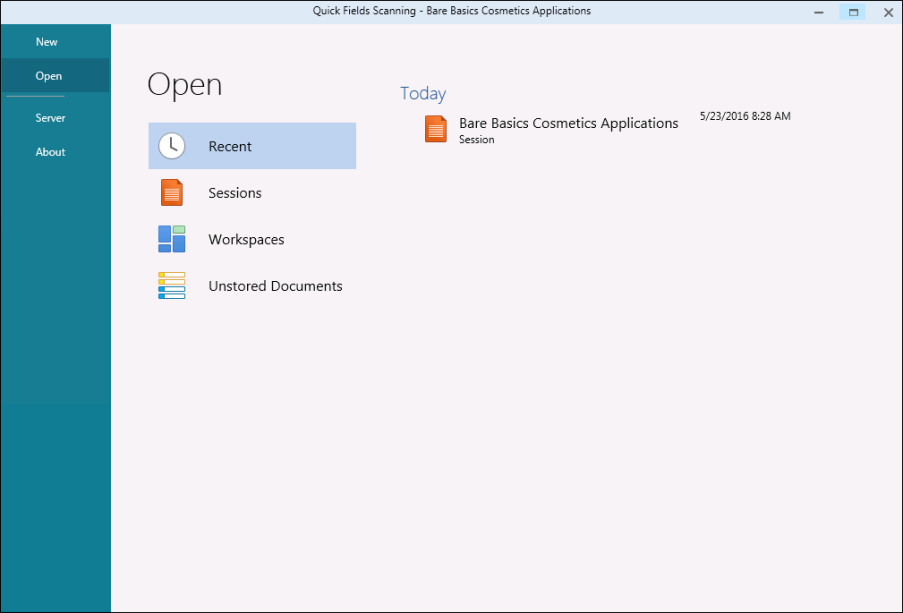
Workspaces saved to your computer and sessions stored on the Quick Fields Server can be opened in Quick Fields Scanning. To open a workspace or session, use one of the following options:
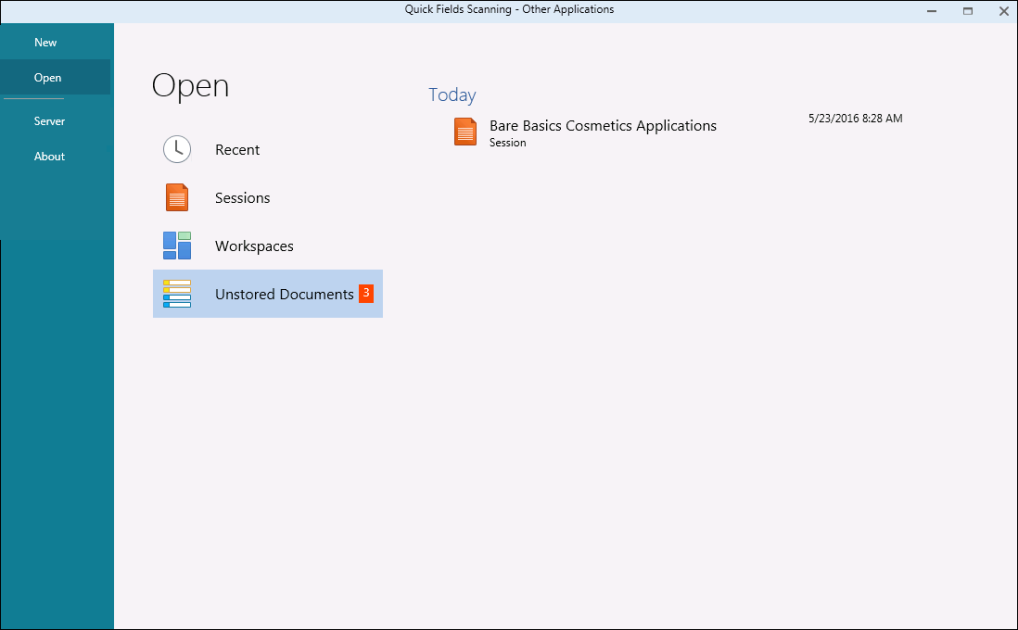
 Recent: Lists the most recent sessions or workspaces that were open, organized by the most recent date. Double-click the workspace or session you want to open.
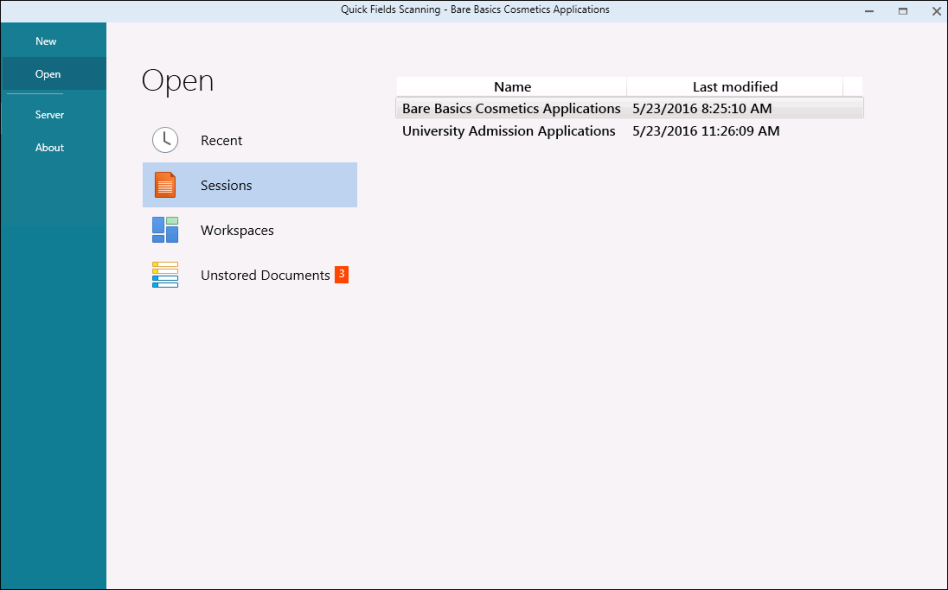
 Sessions: Lists all available sessions (and when they were last modified) on the Quick Fields Server. You can sort the sessions by their name or last modified date. Hover over the session name to see its description. Double-click the session you want to open.
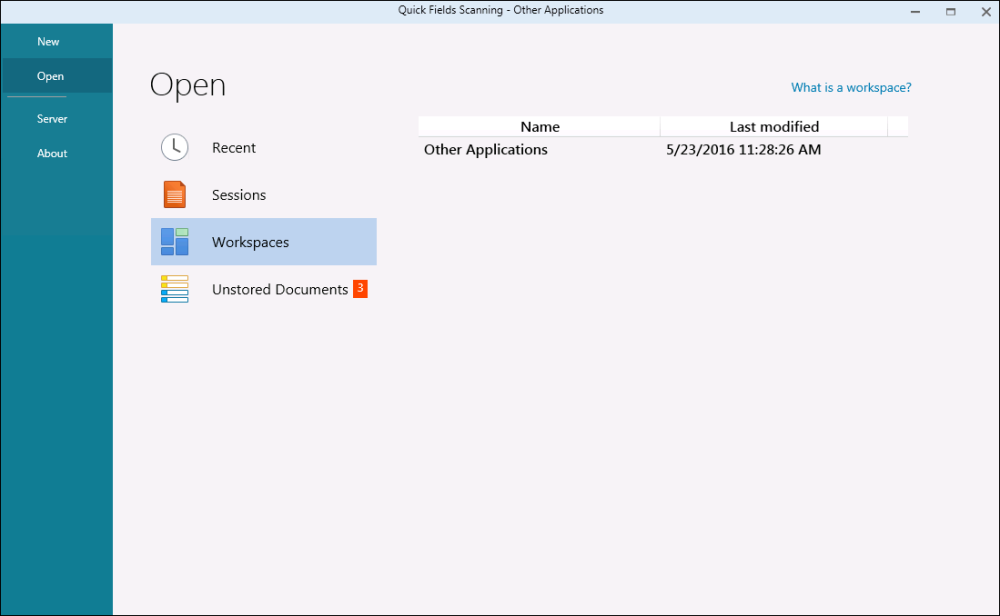
  Workspaces: Lists all available workspaces saved to your computer (C:\ProgramData\Laserfiche\Quick Fields\Workspaces). You can sort the sessions by their name or last modified date. Double-click the workspace you want to open. You can delete a workspace from this list by pressing the Delete key.
 Unstored Documents: Lists all workspaces or sessions that were closed without storing all the scanned documents. You can easily see how many documents have not been stored by looking at the notification number to the right of Unstored Documents. Double-click a workspace or session to open it in Quick Fields Scanning and see the unstored documents.
Note: The Recent section will be displayed by default.
Once you have opened an existing session or workspace, you will be directed to the main Quick Fields Scanning application.
Server
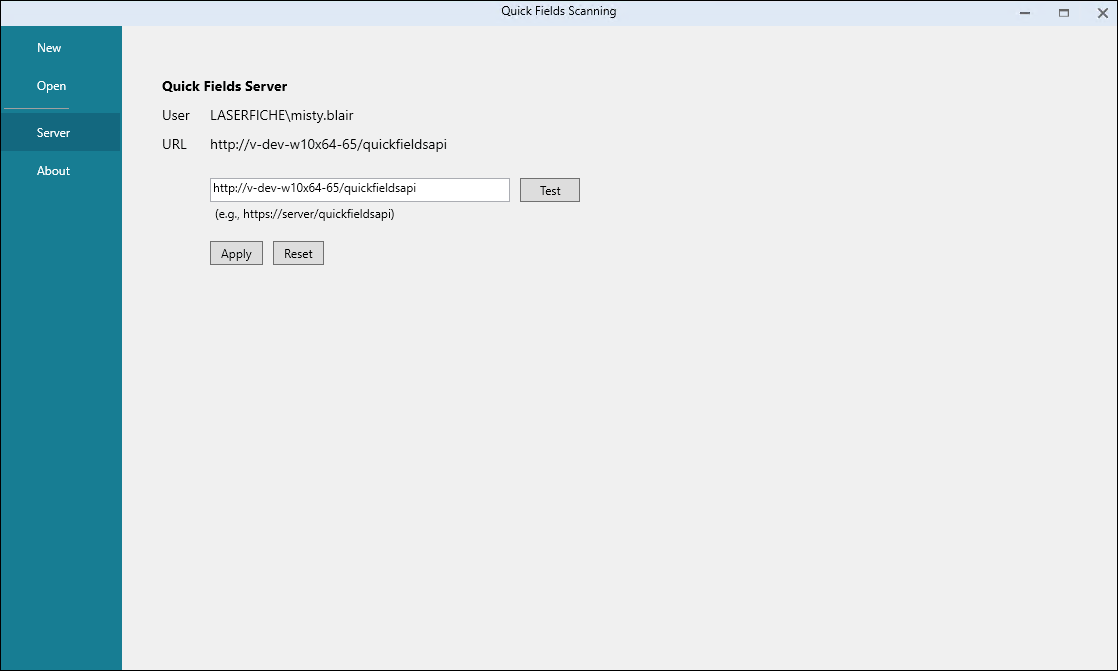
Click ![]() Server if you want to modify the Quick Fields Server URL that the instance of Quick Fields Scanning is accessing. For example, the Marketing department uses a "Marketing" server and the Sales department uses a "Sales" server. Marketing will need to set up Quick Fields Scanning to access the Marketing server, while Sales will need to set up Quick Fields Scanning to access the Sales server.
Server if you want to modify the Quick Fields Server URL that the instance of Quick Fields Scanning is accessing. For example, the Marketing department uses a "Marketing" server and the Sales department uses a "Sales" server. Marketing will need to set up Quick Fields Scanning to access the Marketing server, while Sales will need to set up Quick Fields Scanning to access the Sales server.
To modify the Quick Fields Server
- Under URL, enter the desired Quick Fields Server URL in the following format:
http://ServerMachineName/quickfieldsapi
- ServerMachineName: Name of the machine where the Quick Fields Server is installed.
- Click Test to test the connection.
- If the test is a success, click Apply.
- If the test fails or the Quick Fields Server URL is entered incorrectly, clicking Reset will reset the value to the current Quick Fields Server URL value.
Note: Quick Fields Scanning will automatically sign in as the user signed into the machine running Quick Fields Scanning.

