Post-Processing
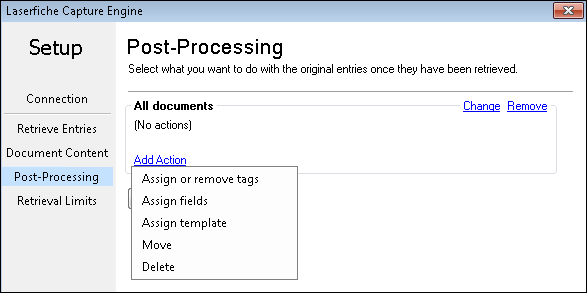
![]() Post-Processing section in the Laserfiche Capture Engine dialog box allows you to define what will happen to the original documents and shortcuts once they are scanned into Quick Fields. To do this, group the entry types by the actions you want performed on them.
Post-Processing section in the Laserfiche Capture Engine dialog box allows you to define what will happen to the original documents and shortcuts once they are scanned into Quick Fields. To do this, group the entry types by the actions you want performed on them.

Example: If all the original documents and the document shortcuts should be archived, define the group's entry types as Documents and document shortcuts and add the Move action to it. Click the Browse button  to navigate to where the documents should be moved. You can also use tokens to define a folder path. To archive the original document shortcuts and not the actual documents, change the group's entry types to Document shortcuts.
To define a group of documents and/or shortcuts to be processed
- Click Add Group. By default, the first group added contains all documents. You can change these entry types by clicking Change and selecting the types of entries you want to process: Documents, Document shortcuts, Electronic documents, and/or Electronic document shortcuts).
- Once you have defined the types of entries for the group, click
 Add Action to add processing actions to these entries.
- Assign or remove tags: Selecting this option opens the Select Tags dialog box where you can assign or remove tags.
- Assign fields: Selecting this option opens the Select Fields to Assign dialog box where you can search for and select fields to assign to the entries. Once fields are selected, click OK. Click Set value next to each field you selected to assign field values. You can select Choose fields to modify the selected fields.
Note: If Allow editing of list fields is selected in the Options dialog box, you will be able to select a value from the drop-down menu or enter your own value into the text box when configuring a value for a list field. If this option is not selected, you will only be able to select a value from the drop-down menu. However, when the list field is behaving as only a drop-down menu, typing characters will scroll to the values that begin with the group of characters you enter.
- Assign template: Selecting this option displays a drop-down menu where you can select the template you want assigned to the entries. If the original entries have a template already assigned to them, the fields in that template that have field values will be retained and appended to the new template you choose. The ones without values will be removed. If you want to remove the original template and all its fields (whether they have values or not) select Remove all fields associated with the original entry's template. This will completely replace the original template and fields with the new template and fields.
- Move: Selecting this option allows you to click the Browse button and define a location to move the original entries to. You can use tokens in the folder path.
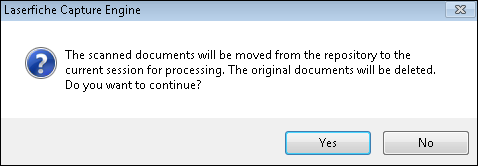
- Delete: Selecting this option will delete the original entries. Select Confirm deletion before scanning to display a deletion confirmation message before scanning.
- To remove a group, click Remove. To remove an action, click the trash can
 next to it.