ScanConnect
ScanConnect enables you to use ISIS scanning drivers. A collection of ISIS drivers is included with ScanConnect. A list of supported scanners can be found on the Laserfiche Support Site. If your scanner is not listed, manually install any ISIS drivers your scanner's manufacturer has provided.
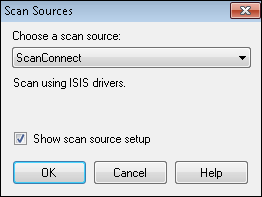
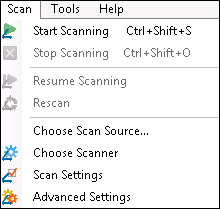
- From the Scan menu, select Choose Scan Source.
- In the Scan Sources dialog box, choose
 ScanConnect from the drop-down menu. Select Show scan source setup and click OK.
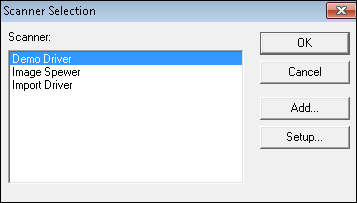
 - Choose a scanner from the Scanner Selection dialog box. If your scanner is not listed, install the scanner's ISIS driver. Click OK.
- To configure additional settings, select Scan Settings or Advanced Settings from the Scan menu. The settings available will depend on your particular scanner.
- On the Quick Fields Scanning Start Page, select New, then Scanner.
- Select ScanConnect as the scan engine and configure the basic settings (paper source, paper size, and color).
- Select the checkbox next to the type of documents you want to scan, then click Finish.
- Quick Fields Scanning will open.
- Click Scan Settings from the ribbon.
- The settings available will depend on your particular scanner.

Note: If a session is configured to use ScanConnect in Quick Fields, then published to the Quick Fields Server, a scanner operator can open the session in Quick Fields Scanning and modify the ScanConnect settings.