Administration Console Sessions
You can access sessions stored on the Quick Fields Server (with appropriate permissions) from the Quick Fields Administration Console.
In the Quick Fields Administration Console
- Click Sessions in the top toolbar.
- A list of sessions on the Quick Fields Server you are connected to will be displayed in the left pane. You can
- Search for sessions in the Search by session name search box at the top of the page.
- Click the column header to sort by that specific column. For example, clicking Name in the Name column will sort the sessions in alphabetical order by name.
- Hover over a column header to display its filter button
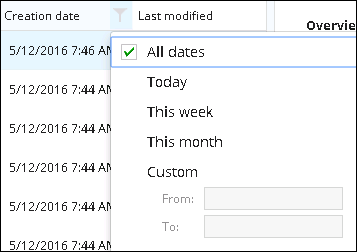
 . Press the filter button to display different column filters for that specific column. For example, clicking the filter button in the Creation date column header
  displays options to filter by a date range. You can also filter by multiple columns.
- Clicking on a session name in the left pane will display its details in the right pane.
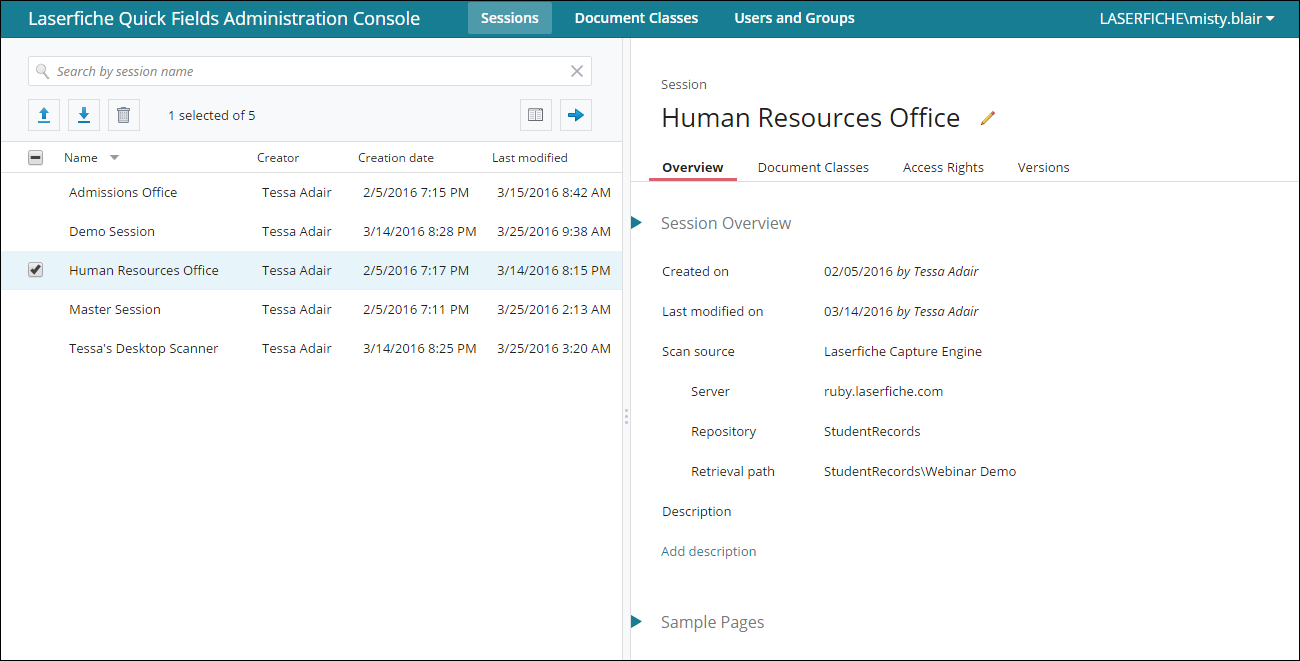
- Selecting the checkboxes next to multiple sessions lets you delete and download multiple sessions at a time.
Import: Imports a session (in zip format) that was previously downloaded from the Quick Fields Administration Console.
- Click the Import button
 .
. - Browse to the previously downloaded session (in zip format) you want to import and click Open.
- If there are name conflicts, you will see a Name Conflict dialog box. Hover over each option for an explanation of what it does. Choose if you want to:
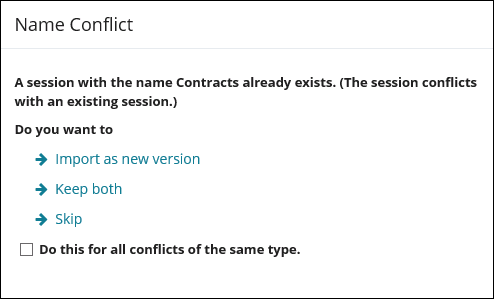
- Import as new version The session will be imported as a new version of the existing session on the Quick Fields Server.
- Keep both: The session will be imported and automatically renamed. The existing session on the Quick Fields Server will not be affected.
- Skip: The existing session on the Quick Fields Server will be used and the new session will not be imported. When importing multiple sessions, this option will only cancel the import for the session that encountered the name conflict. All other sessions will be imported normally.
- The import status will be displayed in the Import Sessions dialog box. Click Close when finished.
Download: Downloads selected sessions in zip format.
- Select the checkboxes next to the sessions you want to download.
- Click the Download button
 .
. - Confirm the download in the Download Sessions dialog box by clicking Download.
- Choose where you want the downloaded zip files saved.
Delete: Deletes the selected sessions.
- Select the checkboxes next to the sessions you want to delete.
- Click the Delete button
 .
.
Configure Columns: Lets you modify the displayed columns.
- Click the Configure Columns button
 .
. - In the Configure Columns dialog box, drag columns from Available columns to Displayed columns to display them. Drag each column up or down to reorder the columns displayed. Drag them from Displayed columns to Available columns to hide them.
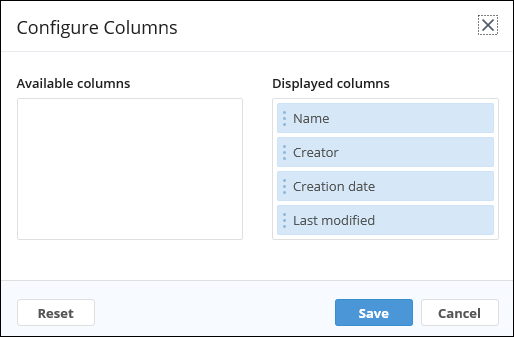
- Click Save to save the column display or Reset to reset the columns to the default display.
Details Pane: Displays or hides the details of the selected session.
- Click the right arrow to hide the Details Pane
 . Click the left arrow to display the Details Pane
  .
.
Session Details
Clicking on a session name in the left pane of the Sessions section of the Quick Fields Administration Console will display that session's details in the right pane. You can rename a session by clicking the Rename button  to the right of the session name at the top of the details pane.
Overview
The Overview section in the right pane displays session overview information and the sample pages associated with the session.
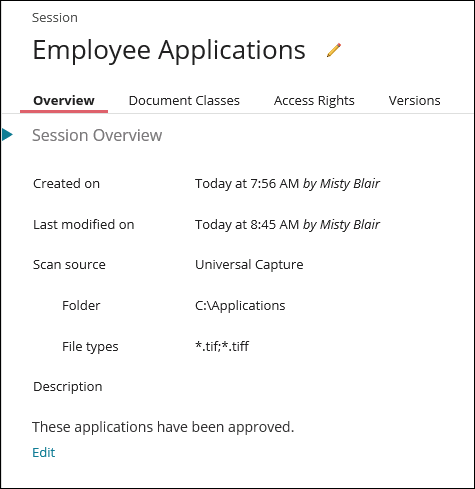
Session Overview
- Created on: Date the session was published from Quick Fields or imported via the Quick Fields Administration Console to the Quick Fields Server.
- Last modified on: Date the session was republished to the Quick Fields server after being modified in Quick Fields. The modified date will also update if you restore a version or import a new one. Changing the session name, description, etc will not update the modification date.
- Scan source: The scan source being used for the selected session.
- Laserfiche Capture Engine: If the session is using Laserfiche Capture Engine, the Laserfiche Server, repository, and retrieval path or search syntax used to retrieve documents from Laserfiche will be displayed.
- Universal Capture: If the session is using Universal Capture, the folder from where the documents will be retrieved and the types of files to be retrieved will be displayed.
- Physical scanner: If a physical scanner is used, the type of scan engine will be displayed: Scanner (TWAIN), Scanner (ScanConnect), Scanner (WIA).
- Description: Description of the session. Click Add description to add a description. Click Edit to modify an existing description. Click the Esc key to exit the description edit box.
Sample Pages
Pre-Classification and document class sample pages associated with the session will be listed here as thumbnails. Click one to preview it.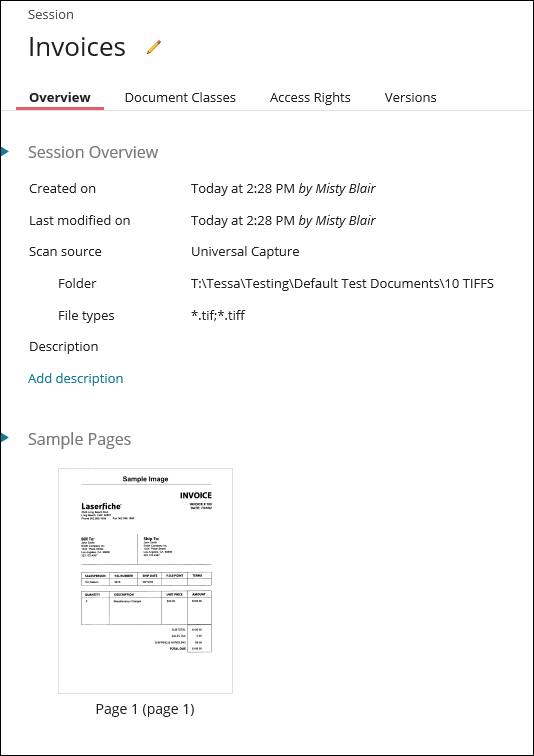
Note: Sample pages that are electronic files cannot be previewed.
Document Classes
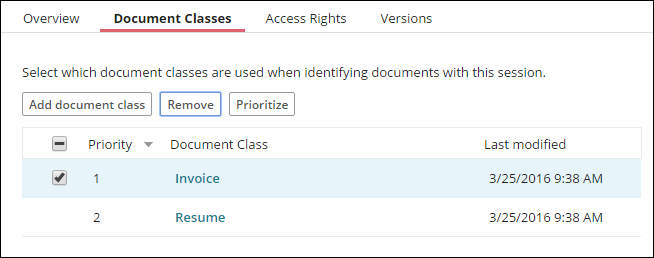
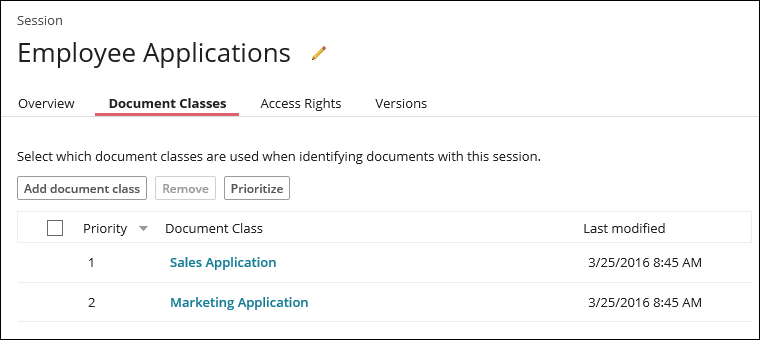
The ![]() Document Classes section in the right pane displays a list of document classes linked to the selected session. Click the name of a column to sort by that column.
Document Classes section in the right pane displays a list of document classes linked to the selected session. Click the name of a column to sort by that column.
Add document class
In Quick Fields 10 and later, sessions and document classes exist independently of each other on the Quick Fields Server but can be linked together. This allows sessions and document classes to be more modular with less duplication. For example, if you are scanning large batches of multiple types of documents, you can link the document classes to a session for identification purposes. If you are scanning one type of document, you can use that one document class to identify those scanned documents and do not need to link to a session for identification. In other cases, you may find it useful to link a single document class to multiple sessions. When that document class is updated, it will be updated across the sessions it's linked to, instead of duplicating document classes across sessions.
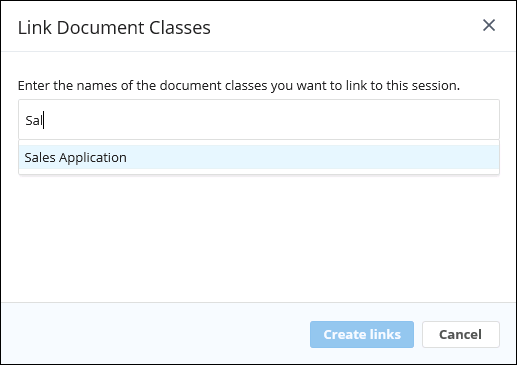
- To link document classes to the selected session, click Add document class and start typing the name of the document class you want to link. Select the desired document class from the list that appears and click Create links.
- To unlink a document class, select it from the list and click Remove. Confirm that you want to remove the link between the document class and the session by clicking Remove links in the dialog box. The document class will not be removed from other sessions it's a part of, nor will it be removed from the Quick Fields Server.
Prioritize
The order in which document classes run can affect the speed of document identification. For example, if the majority of documents processed are employment applications, place the "Employment Applications" document class first so they are identified up front. Otherwise, all employment applications will be passed through other document class identification stages uselessly.
- Click the Prioritize button to open the Prioritize Document Classes dialog box.
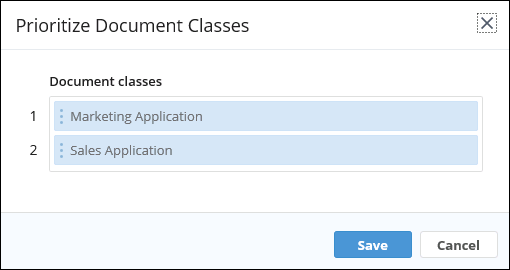
- Drag and drop the document classes to reorder them appropriately and click Save.
Note: The document classes will be listed by priority by default.
Access Rights
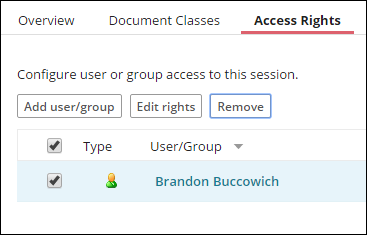
The Access Rights section displays the users and groups who have access to the selected session and what level of access they have. Click the name of a column to sort by that column.
Note: Administrators will always have full access and users without any access rights will have view only access by default. See Quick Fields Security for more information.
Note: You must have the appropriate privileges to configure access rights for users and groups.
- Click Add user/group.
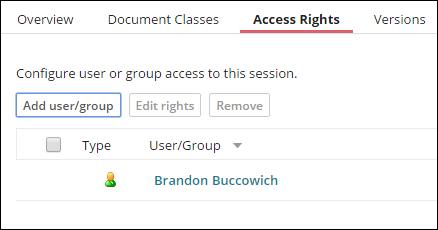
- In the Add Users/Groups dialog box, start typing the name of the user or group you want to add, then select the desired user or group from the list that appears.

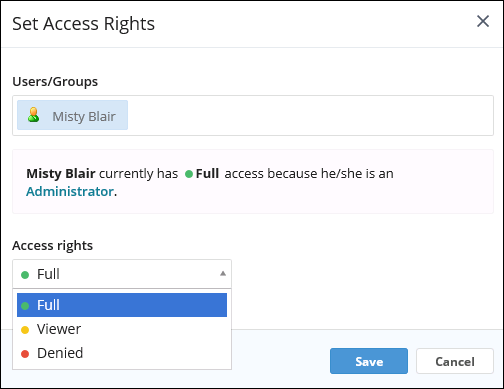
- Under Access rights, select if you want the added user or group to have Full rights, Viewer rights, or no rights.
- Full: The user or group will have full access to the session. They will be able to see, modify, and run the session in the Quick Fields Administration Console, Quick Fields, and Quick Fields Scanning.
- Viewer: The user or group will only be able to view and run the session in the Quick Fields Administration Console, Quick Fields, and Quick Fields Scanning.
- Denied: The user will not have any access to the session in the Quick Fields Administration Console, Quick Fields, or Quick Fields Scanning.
- To edit the rights of a specific user or group, select the checkbox to the left of the user or group and click Edit rights. In the Set Access Rights dialog box, modify the user or group's rights and click Save.
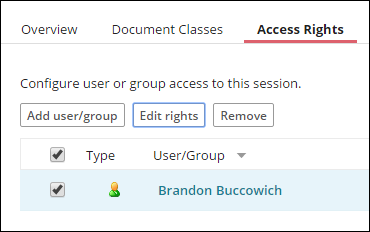
- To remove a user or group, select the checkbox to the left of the user or group and click Remove.
For more information, see the Quick Fields Server Security topic.
Versions
The Versions section displays the current and old versions of the selected session. You can filter the list of versions by when they were created or who created them.
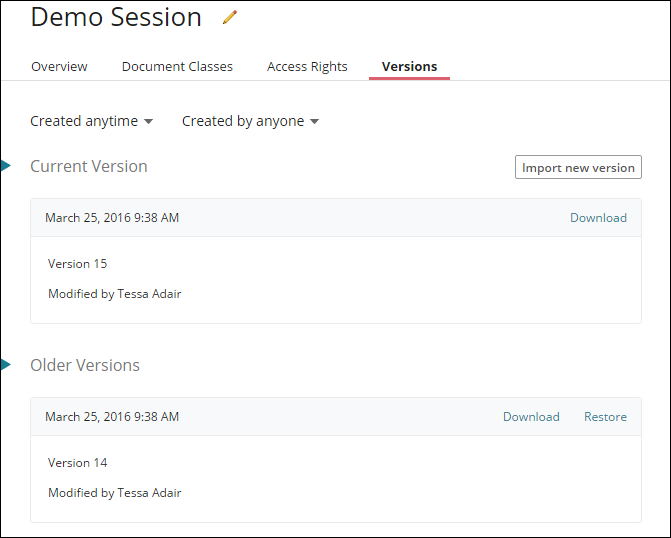
- Click Created anytime to filter by all dates, today, this week, this month, or define a custom date range.
- Click Created by anyone and select the user you want to filter by.
Current Version
Displays the current version, the date it was versioned, and who it was modified by. Click Download to download the current version.
Older Version
Displays a list of the session's previous versions, the dates they were versioned, and who they were modified by. Click Download next to the older version you want to download. Click Restore next to a version to designate it the current version. The restored version will replace the current version.
To import a new version
- Click Import new version.
- Browse to the session file (zip format) you want to upload as the new version.
