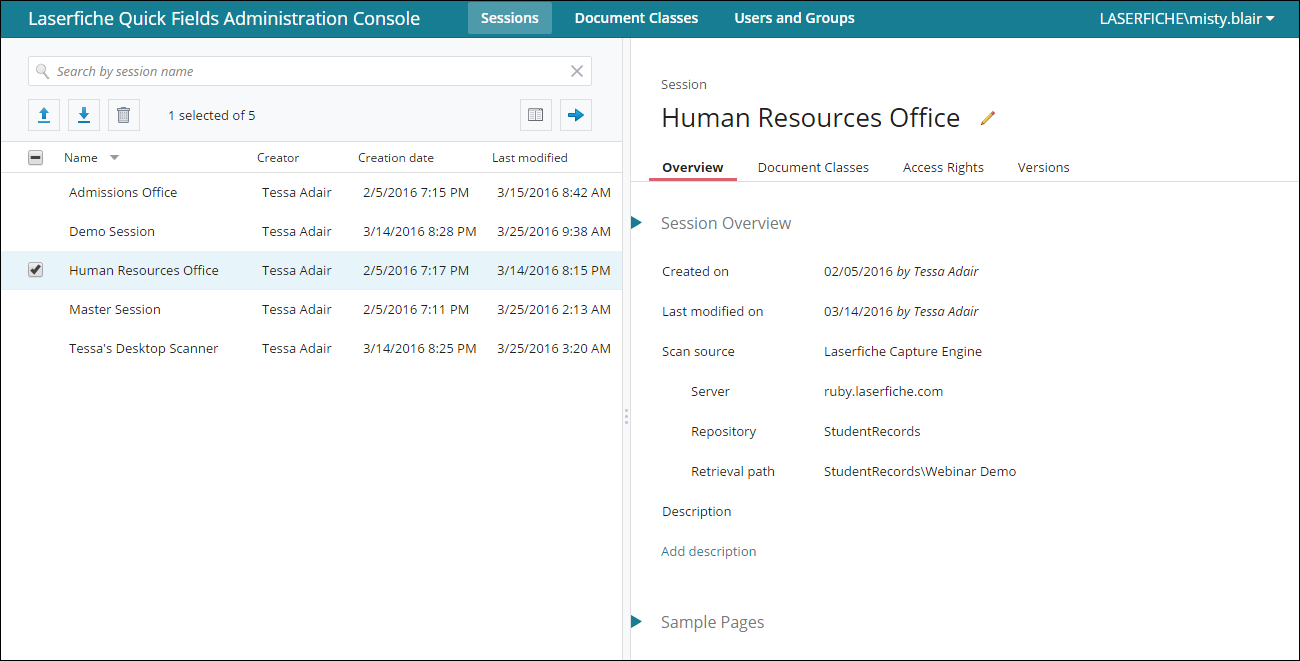
Quick Fields Administration Console
The Quick Fields Administration Console lets you manage sessions and documents classes stored on your Quick Fields Server. Once created in Quick Fields, sessions and their document classes can be published to the Quick Fields Server, where they will be accessible from the Quick Fields Administration Console and Quick Fields Scanning.

Details about sessions and documents classes (when they were created, modified, their sample pages, access rights, versions, etc.) can be viewed in the administration console. You can also add or remove users and groups and assign session and document class rights appropriately.
The Quick Fields Administration Console gives you an easy way to transport sessions and document classes to other Quick Fields Servers using the download and import options.
To access the Quick Fields Administration Console, do one of the following
- Double-click the icon on the desktop.
- From the Start menu, select Laserfiche, Quick Fields, Quick Fields Administration Console.
- Enter http://QuickFieldsServerName/QuickFields in the URL box of an internet browser. QuickFieldsServerName is the name of the machine on which Quick Fields is installed and the syntax is not case sensitive.
Once you have opened the Quick Fields Administration Console, you will be able to work with:
To access the documentation from the software, click the drop-down arrow next to your username in the top right corner of the page and select Help. You can also select About to read information about the Quick Fields Administration Console and Server.
Note: If Anonymous is displayed as the user name, disable Anonymous Authentication and enable Windows Authentication under Authentication in the ISS Manager.