Quick Fields Scanning Panes
The panes in Quick Fields Scanning display information about your session or workspace, and let you modify scanned documents. The panes can be displayed or hidden to suit your needs, and will be remembered when closing and re-opening Quick Fields Scanning and workspaces.
Quick Fields Scanning Document List Pane
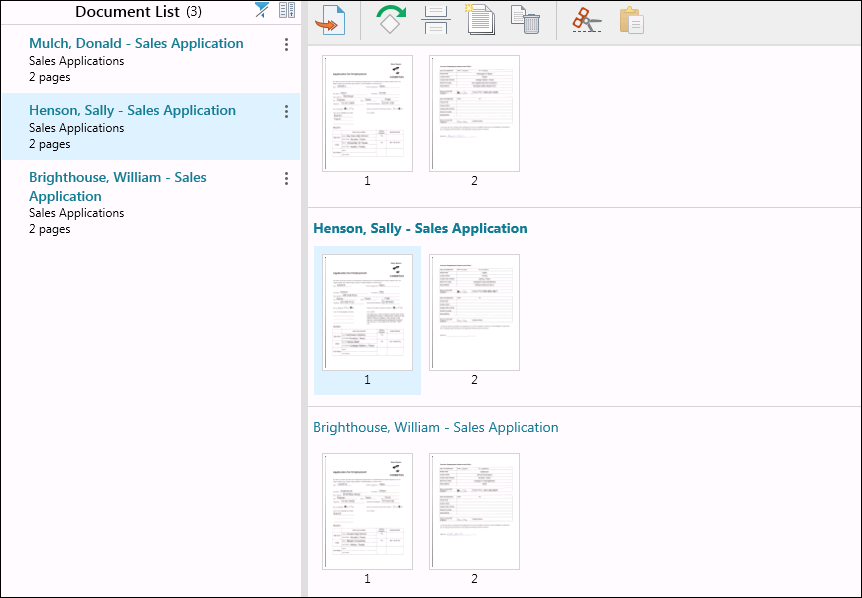
The Document List Pane displays a list of scanned and processed documents. Under each document name you will see which document class identified the document and how many pages it has.
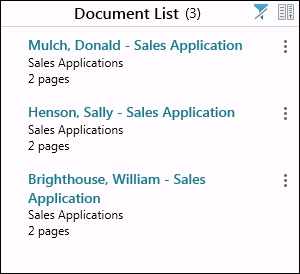
This pane lets you
- Click the More actions button
 to the right of the document and choose to open the document, assign a document class to it, rename it, reprocess it, store it, or delete it.
 - Filter the documents in the list by clicking the Filter button
 at the top of the list. This filter lets you
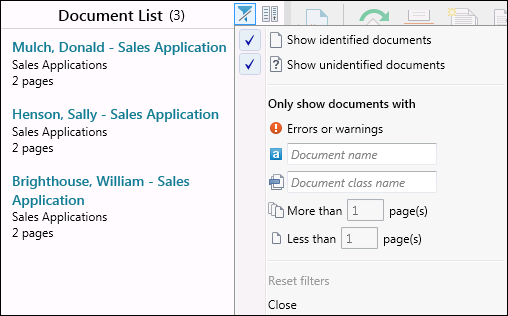
- Only show documents that have been identified.
- Only show documents that have not been identified.
- Only show documents that contain errors or warnings.
- Only show documents with a specific name. The list will filter as you start typing the document name.
- Only show documents identified as a specific document class. The list will filter as you start typing the document class name.
- Only show documents that have more than a certain number of pages. For example, if you select More than __ page(s), and then type 2 in the box, documents with 3 or more pages will be displayed.
- Only show documents that have less than a certain number of pages. For example, if you select Less than __ page(s), and then type 5 in the box, documents with 4 pages or less will be displayed.
- Select Reset filters to reset the filters to their default state.
- Select Close or click outside the filter box to close the filters.
- To hide the identification information and number of pages, press the Expand/Collapse button
 at the top of the Document List. To reverse this action, press the Expand/Collapse button again.
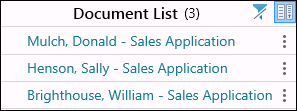
The document selected in the Document List Pane will also be selected in the Pages View.
Quick Fields Scanning Metadata Pane
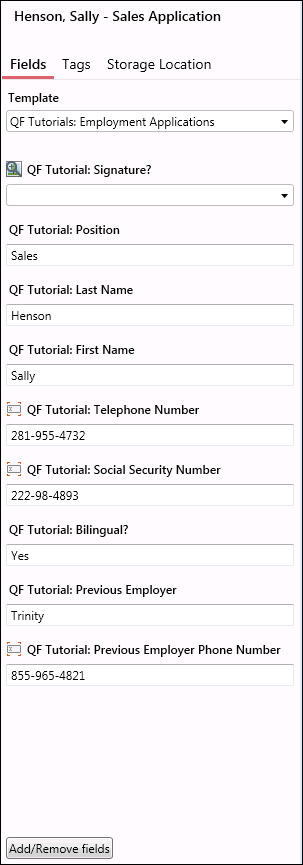
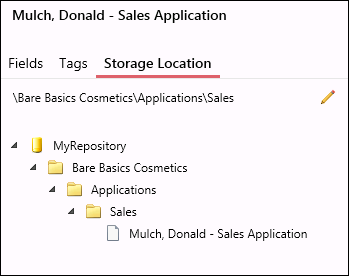
The Metadata Pane lets you view and modify the selected document's name, template, fields, tags, and storage location.
Document Name
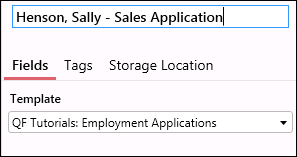
When a document is selected, its name will be displayed at the top of the Metadata Pane. Click on the document name to edit it.
Note: If multiple documents are selected, and they are assigned different document classes, their templates and fields will not be editable.
Fields
Clicking Fields in the Metadata Pane displays the selected document's current template with populated field values. You can change the template, modify the field values, and even add or remove fields from the documents. Selecting multiple documents allows you to change the template and fields of more than one document at a time.

Tags
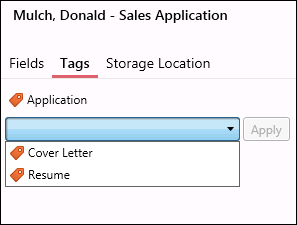
Clicking Tags in the Metadata Pane displays tags currently assigned to the selected document and lets you assign other tags to the document.
Storage Location
Clicking Storage Location in the Metadata Pane displays where the selected documents will be stored once sent to the repository. A reflection of your repository folder structure will be displayed allowing you to add new folders, delete folders, move documents around, etc.
Quick Fields Scanning Messages Pane
The Messages Pane displays information generated by the processes run on the documents, including general information, warnings, and errors. Clicking the down arrow  will expand the message and clicking the up arrow
  will collapse it. You can also click the Filter button
  to filter by message type (information, warnings, errors), or click the Download button
  to download the messages locally as a text file.
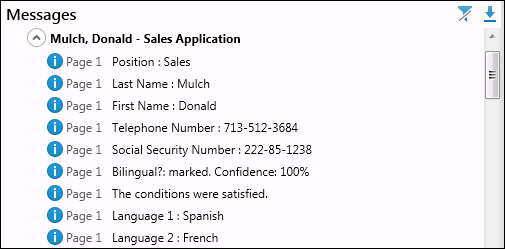
Note: When a session has multiple document classes associated with it, multiple identification processes may run on documents. All these processes are displayed in the Processing Information Pane in Quick Fields. The Messages Pane in Quick Fields Scanning will only display the identification processes associated with a document's specific document class.
Quick Fields Scanning Pages View
The Pages View lets you see the documents listed in the Document List Pane as thumbnails, instead of viewing the documents in a list. This allows you to preview the document's pages and drag and drop pages between documents. For example, if a page was scanned as part of the incorrect document, it can easily be moved to the correct document by dragging the page's thumbnail to the correct document. You can also rearrange pages within the same document.
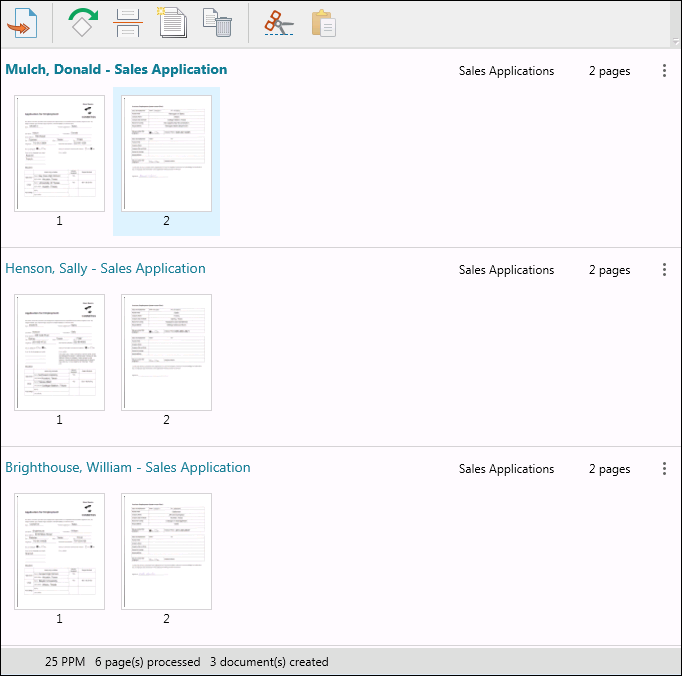
At the top right of each document's thumbnails, you can see its document class and number of pages. You can also click the More actions button  for additional options for working with the document.
At the bottom of Quick Fields Scanning, you will see how many pages were scanned per minute, how many pages were processed, and how many documents were created.
Quick Fields Scanning Document View
The Document View is displayed when a document is opened and contains the Image Pane, Text Pane, and Thumbnails Pane.
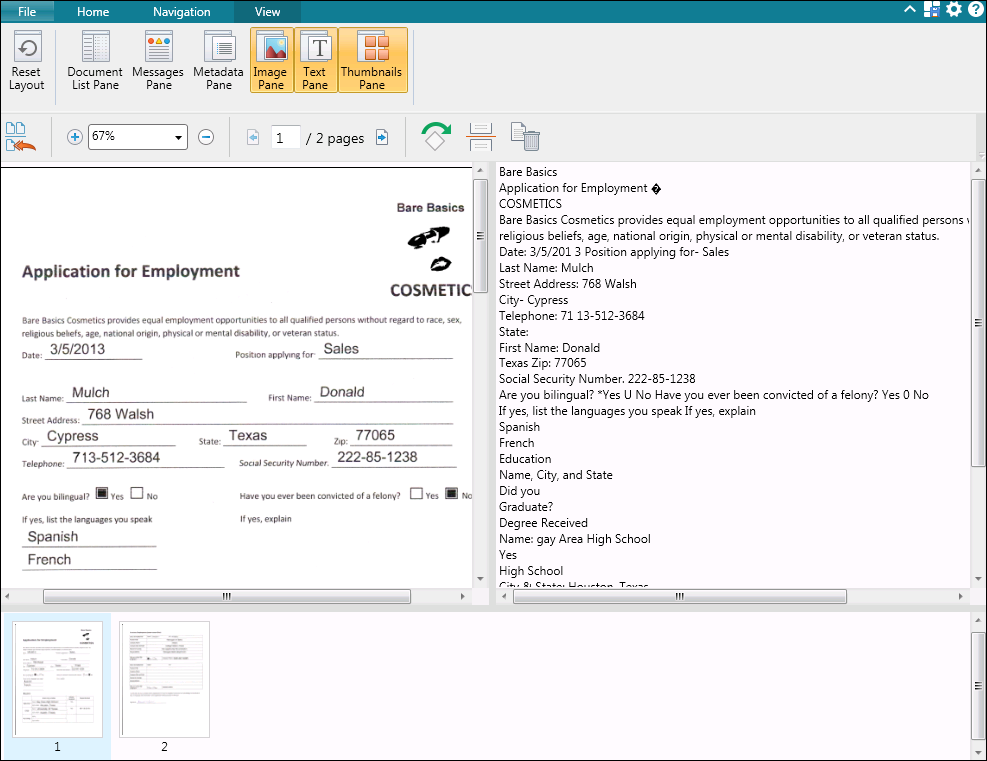
Image Pane
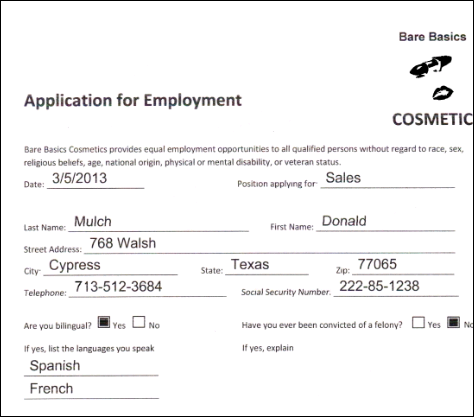
When a scanned document is opened from the document list or thumbnails, the image is displayed in the Image Pane so you can review the document, make sure it has been processed appropriately, and rescan if necessary.
Text Pane
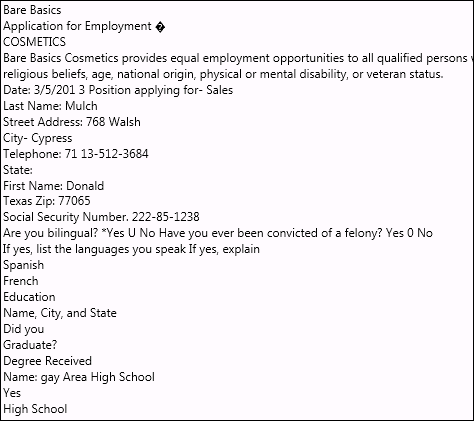
The Text Pane displays the extracted or OCRed text of the scanned document.
Thumbnails Pane
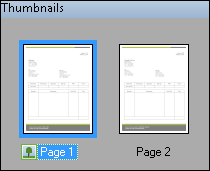
The Thumbnails Pane displays thumbnail images of each page in the open document, which allows you to navigate among and modify pages in a different view. You can rearrange the pages by dragging and dropping thumbnails in different locations within the same document, or by dragging them over another document in the Document List pane.
