Creating a Process
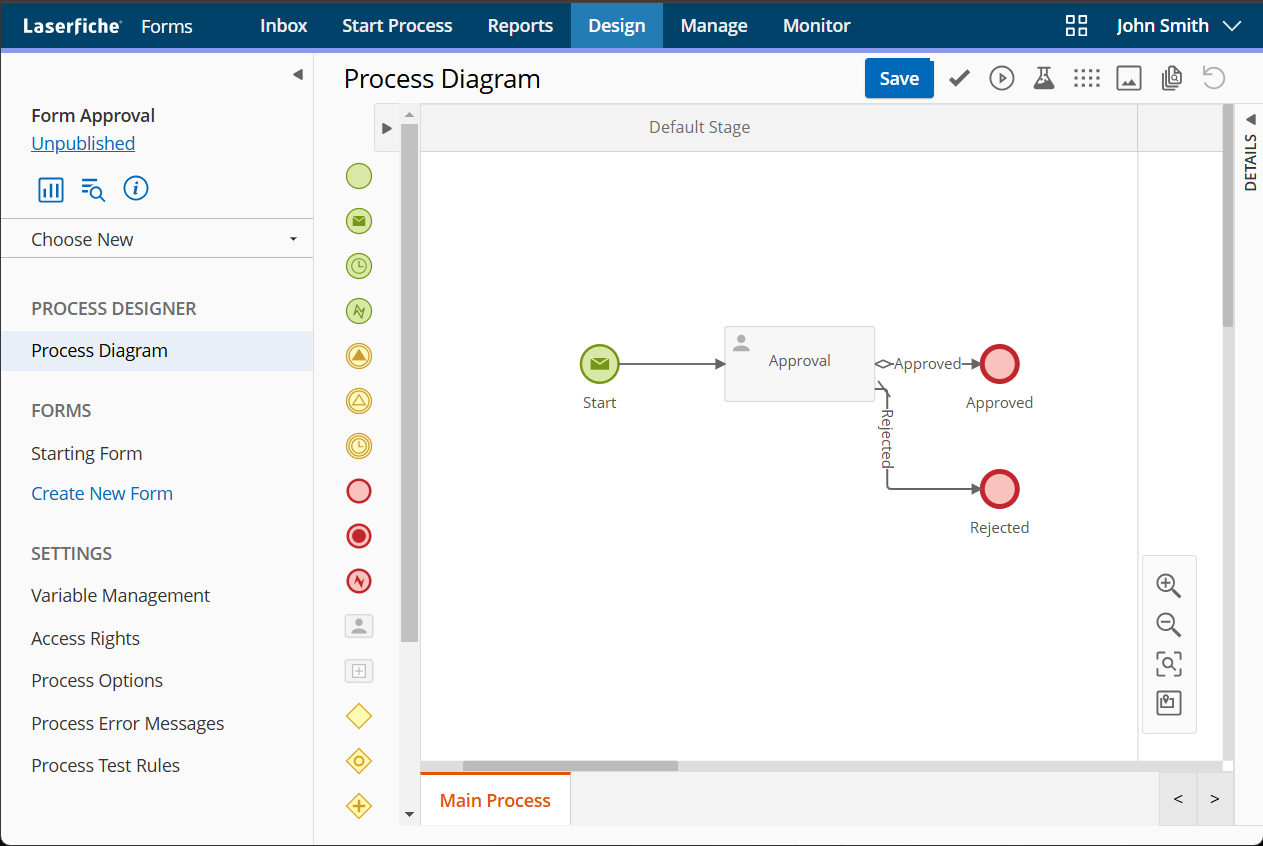
In the process designer, you can build and configure a selected process using BPMN objects.
Tip: Before you begin, make sure you understand the business process well enough to translate it into the appropriate objects. Much of the difficulty in designing a business process comes from a lack of knowledge about how the process works or how to use BPMN. See the Defining and Diagramming Business Processes white paper for more information on understanding your business process.

Use the objects on the left of the process designer to build your process. You can use the following types of objects:
Each business process must have a start event and an end event. However, a sub-process does not need a start or end event.
- Go to Design, and a dialog will open.
- Select a process template.
- Blank Process Provides a blank canvas, where you can start building your process.
- Form Submission Provides a pre-configured process for capturing form submission information and a pre-made form. Use this to capture but not process information. No additional configuration is necessary.
- Form Approval Provides a pre-configured process that starts with a form submission and has an approval step and has a pre-made form.
- Upload Use this option to import a process (as a .xml file).
- Business Process Library Provides many different pre-configure processes for various uses.
- Type a name for the process.
- Click Create.
- In the process designer, drag and drop a start event onto the canvas.
- Drag other objects from the left to add it to the canvas. Connect one object to another using Sequence Flows.
- Right-click one or more objects and select Make a copy.
- Drag a sequence flow from an existing object to a blank spot on the canvas and then select an element.
- Select a sequence flow that connects to objects and then click the plus button on the sequence flow.
- Right-click the canvas and then select an element.
- Drag an object and drop it onto a sequence flow.
- Double-click each object to configure it on the right.
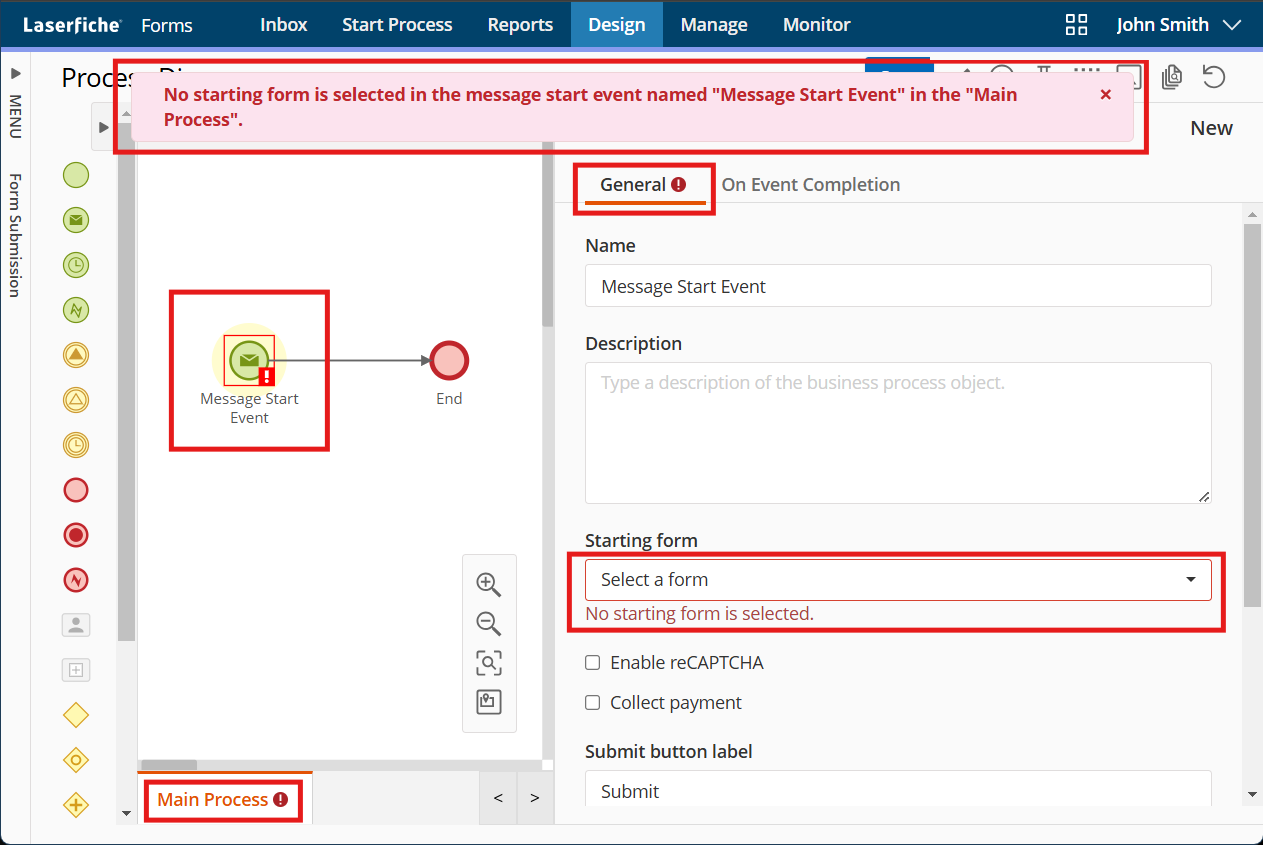
- When you are done, click the validate button
 in the top right to check for validation errors in your process. Validation errors are displayed on the process in the following places:
- At the top of the modeler, you can view details about the error.
- On the process object.
- On the tab title in the right pane.
- In the section that is not configured in the right pane, along with details about the error.
- On the tab title on the bottom.

- Click Save.
Tip: You can add an object to the canvas quickly in the following ways:
You can also copy and paste objects from one process onto another.
Note: You can multiselect objects on the canvas to move and delete multiple objects.
Note: After building a process in the process designer, you must publish it before the process can be used.
Additional Options
- Deleting Activities: Right-click an activity and select Delete. On touch devices, select the object and then the Delete button
 in the toolbar.
 - Auto Spacing: Use this option
 to remove the space around the canvas.
 - Downloading as an Image: Use this option
 to download the process as an image.
 - Viewing Documentation: Use this option
 to download the documentation written in right pane.
 - Reverting: Use the revert button
 to go back to your last saved version of the process.
 - Using Minimap: Use the minimap to help you orientate yourself in the process. You can also use it to zoom in and out of the process.
Process Options
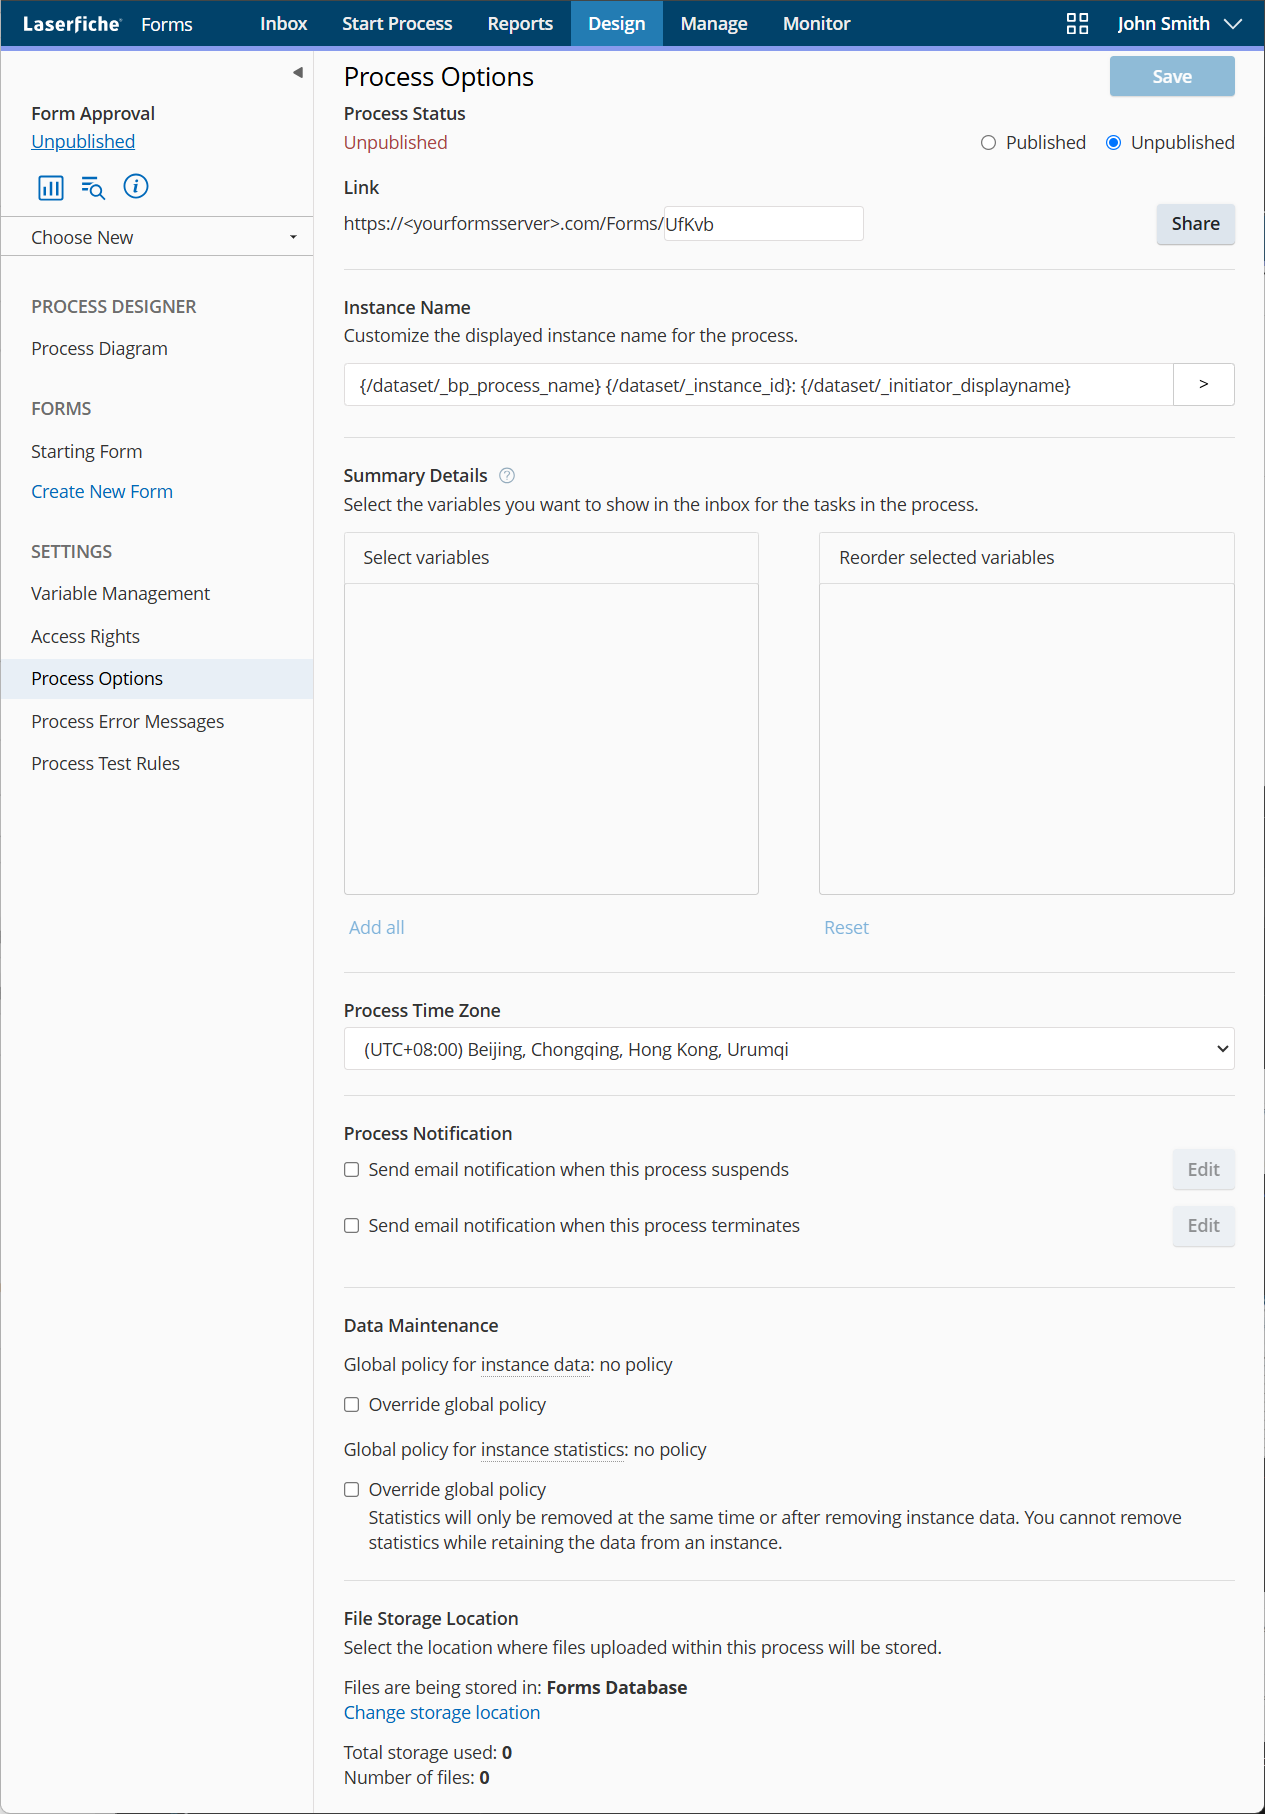
You can provide a custom name for process instances, set up an email notification when the process terminates, and more in Process Options. Learn more

Overwriting Processes
This feature lets you modify processes without taking them out of production, making changes to the live version, or losing data captured in the live version.
- Download the process in Manage in the production environment.
- Upload the process in a test environment, and make changes.
- Save the new changes, and download the process in Manage in the test environment.
- Upload the process in the production environment.
- Click Overwrite.
Copying Objects Between Processes
You can multi-select objects from one process, and then copy and paste the objects within the process or onto another process. Some of the object configuration may not copy from one process onto another, because the newer process may not have those configurations.
- To multi-select objects, press and hold CTRL and drag your mouse over the elements you want to select. You can also press and hold CTRL and select each element.
- To copy multiple objects, multi-select the objects and then either press CTRL + C or right-click the objects and then select Copy.
- To paste, press CTRL + V. Once pasted, the objects appear in a hover state to allow you to choose the exact location where you want to place them.
Related Topics