Adding Users To A Group
There are multiple methods of adding users to a preexisting group.
Note: To create a new group, navigate to the Creating a Group.
Add Users by Clicking + Add to Group Button
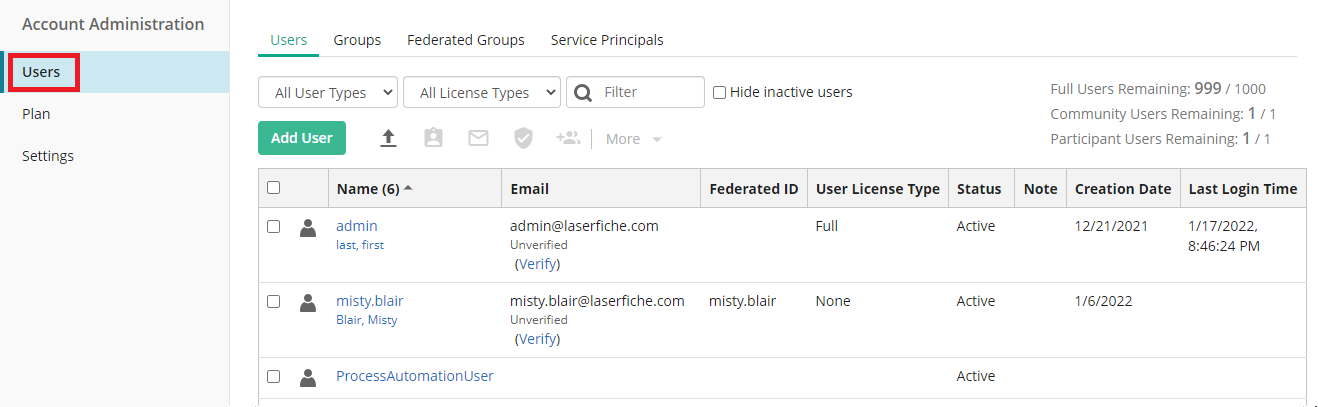
- In the Account Administration pane, click Users.
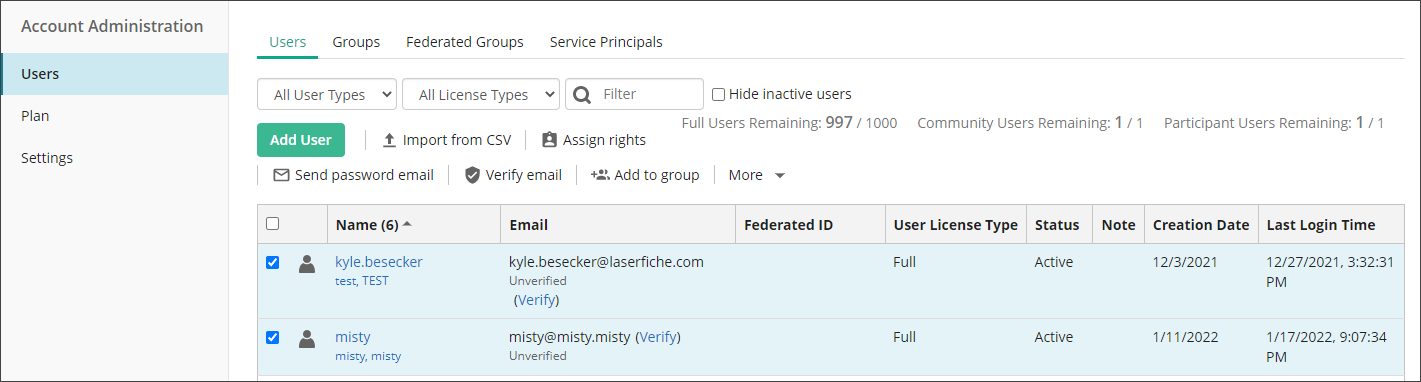
- Select the check-boxes for the users that will be added to your group.
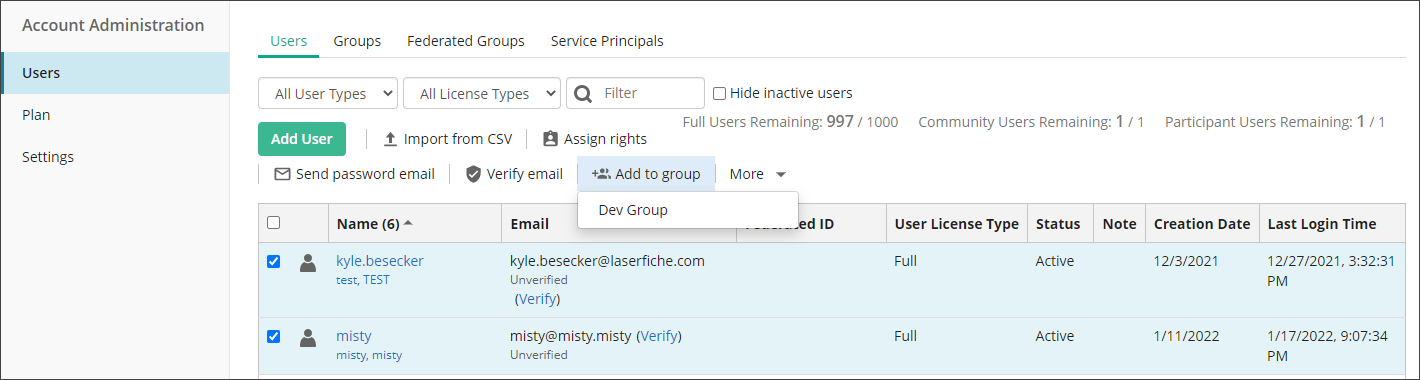
- Hover over the Add to group button. In the drop-down menu, click the name of the group to which the selected users will be added.
- In the Add to group dialog box, review the group member list and click OK.
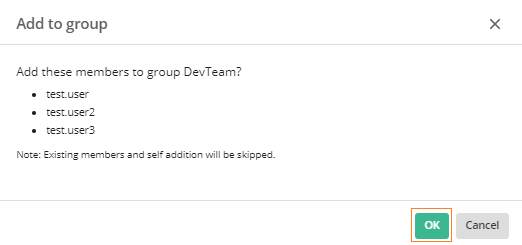
- A green banner will appear on the top of your page saying Members added to group successfully.

If you do not see the green banner, repeat the steps in the Add Users by Clicking + Add to Group Button section or use the Edit Group page in Account Administration to add users as shown in Editing a Group.
Note: To modify or assign rights to users in a group, navigate to Security and Access section in the Creating a Group page.
Tip: Assign rights at the group level as much as possible. Access rights can be set on either individual users or on groups, but setting rights on groups and allowing the users within the groups to inherit those rights will result in needing fewer manual configuration to accomplish the same purpose, and therefore will be easier to troubleshoot and less prone to error in the future. In general, the more manual configurations you need to accomplish something, the greater overhead for administration in the future.
Add Users on Edit Group Page
Users can be added by navigating to the Edit Group page in Account Administration.
To learn more about adding, deleting, or assigning rights to users in a group, navigate to Editing A Group.