Configuring the Payment Gateway Integration
You can:
- Set up multiple Braintree and Authorize.Net accounts.
- Set up one gateway for sandbox mode before switching to a second gateway for production mode.
- Use different gateways for different types of transactions or currencies.
To configure your Braintree merchant account information
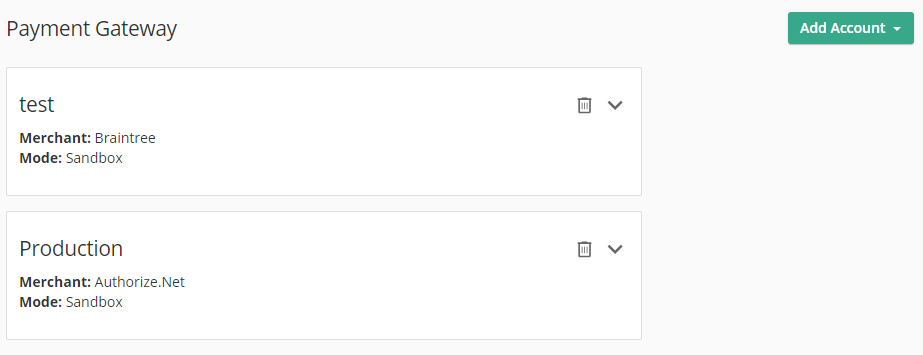
- Open the Laserfiche Forms Configuration page to the Payment Gateway tab.
- Select Add Account and then Add Braintree Account in the top right.
- Optional: Select Sandbox Mode when testing your processes, so that you do not transfer real funds.
- Under Name, specify a name that is unique to all of your payment gateway integrations.
- Under Merchant ID, specify the unique identifier for your gateway account. Learn more about merchant IDs.
- Under Currency, specify the currency type you want to display.
Example: When you select “USD - US Dollar($)”, a User Task displays the following next to the total amount.

- Under Public Key, specify your user-specific public identifier provided by Braintree. Learn more about public keys.
- Under Private Key, specify your user-specific private identifier provided by Braintree. Learn more about private keys.
- When you are done, click Save.
Note: A linked PayPal Sandbox account is required to use PayPal Checkout in Sandbox mode when using this payment gateway with a new form. Please see https://developer.paypal.com/braintree/docs/guides/paypal/testing-go-live#linked-paypal-testing.
Note that all payment processing is handled by Braintree through the Braintree Drop-in UI. Laserfiche Forms does not store or have access to submitted payment information. For example, when saving a draft, no payment information can be saved.
To configure your Authorize.Net merchant account information
Note: Before using an Authorize.Net payment gateway, enable the Transaction Details API. You can do this by signing in to your Authorize.Net account and enabling the API in Account > Settings > Transaction Details API.
- Open the Laserfiche Forms Configuration page to the Payment Gateway tab.
- Select Add Account and then Add Authorize.Net Account in the top right.
- Optional: Select Sandbox Mode when testing your processes, so that you do not transfer real funds.
- Under Name, specify a name that is unique to all of your payment gateway integrations.
- Under Payment Gateway ID, enter the unique identification number provided by Authorize.net.
- Under Currency, specify the currency type you want to display.
- Under API Login ID, enter your 8+ character API login ID, which is used to connect your form to Authorize.Net.
- Under Public Client Key, enter your public client key provided by Authorize.Net.
- Under Transaction Key, enter your 16+ character transaction key, which is also used to connect your form to Authorize.Net.
- Under Optional Configuration, match the options you selected in Authorize.Net. If you do not match your filter settings with those on Authorize.Net, payment transactions will fail.
Note: Forms 10.4.2 now supports all billing fields in the authorize.net payment gateway including Company, Address, City, State, Country, Phone, Fax, Email, and Customer ID fields.
- When you are done, click Save.
Example: When you select “USD - US Dollar($)”, a User Task displays the following next to the total amount.
PCI Compliance Information
The Payment Card Industry Data Security Standard (PCI DSS) provides a data security framework of industry-recognized controls for handling credit card information.
The Forms Braintree and Authorize.net integrations collect all cardholder data within an Iframe and send it to a third party, so that the Laserfiche Forms Server does not store any cardholder data. This simplifies PCI compliance, as both Braintree and Authorize.net are PCI-compliant frameworks. You should still complete a Self-Assessment Questionnaire (SAQ) for PCI compliance validation. The PCI DSS SAQs provide a framework for evaluating compliance for merchants not required to submit an official PCI DSS Report on Compliance. For more information on completing a self-assessment, please see the PCI Security Standards Council website at: https://www.pcisecuritystandards.org/pci_security/completing_self_assessment.