Follow the steps below to configure enable SCIM support in Laserfiche Directory Server.
- Sign in to Laserfiche Directory Server. Navigate to the Settings tab.
- SCIM 2.0 Only: In the General tab, locate the Enable Laserfiche SCIM Service section and set the toggle to Yes. Existing TLS certificates configured in the Laserfiche Directory Server Configuration Utility will be shown.
- Click the Identity Providers tab. Choose your configured SAML identity provider.
- In the right pane, click the SCIM tab.
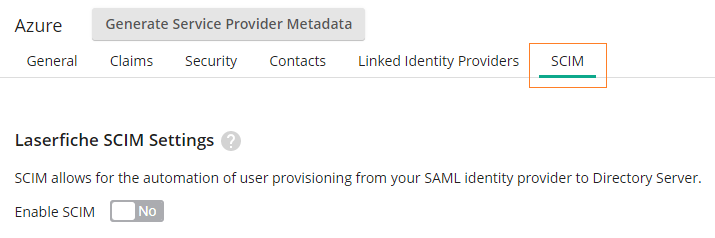
- Under Laserfiche SCIM Settings, set Enable SCIM to Yes.
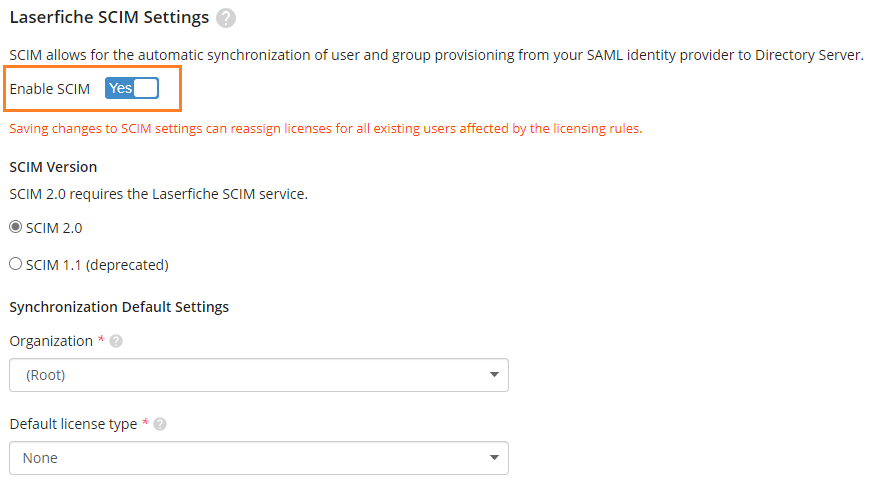
- Configure default options:
- Organization: Choose an organization using the drop-down menu. When your SAML directory synchronizes with Laserfiche Directory Server, incoming users and groups will be placed in the default organization selected here.
- Default license type: Choose a license type using the drop-down menu. When your SAML directory synchronizes with Laserfiche Directory Server, incoming users and groups will be assigned the license type selected here.
Note: If the selected license type is not available, then incoming users will be registered in Laserfiche Directory Server without a license and an error will be logged in the event viewer.
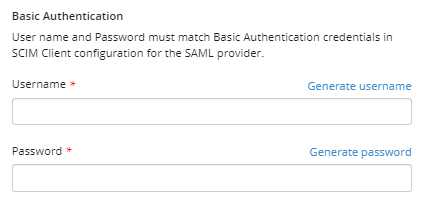
- SCIM 1.1 Only: Under Basic Authentication, fill user name and password. User name and password. The user name and password entered here will be used when configuring Okta. It does not correspond to any existing user in Directory Server or Okta.
Note: You must create a new user name and password under Basic Authentication or click generate username or generate password for these credentials to be automatically generated.
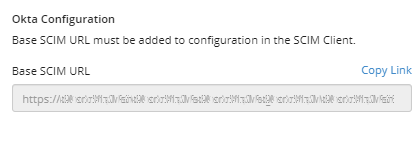
- SCIM 1.1 Only: Under Okta Configuration, the Base SCIM URL is defaulted to the HTTPS Directory Server endpoint.Click Copy Link next to Base SCIM URL in Laserfiche Directory Server to copy the Base SCIM URL. Paste the URL into SCIM connector base URL in Okta.
- Optional (Directory Server 11 Update 6 and later): Configure group licensing rules to automatically assign different license types to users of different groups during the SCIM synchronization process. A rule monitors a single Entra ID or Okta group. Each rule can then automatically assign a license to users of the group as group membership changes. You can configure Directory Server to process SCIM licensing rules on a set schedule.
- To finish, click Save.
Note: If you have not configured a SAML identity provider in Laserfiche Directory Server, navigate to Adding a SAML Identity Provider.
Note: Basic Authentication credentials in Laserfiche Directory Server must match the Basic Auth credentials in Okta. To learn more, please see Configuring SCIM in Okta.
Note: To learn more, please see Configuring SCIM in Okta or Configuring SCIM in Microsoft Entra ID.
Note: It is recommended to have the Okta provisioning agent communicate with Laserfiche Directory Server over HTTPS. The Base SCIM URL link generated in Laserfiche Directory Server is defaulted to the HTTPS Directory Server endpoint. To learn more about configuring Okta's provisioning agent without HTTPS, see Troubleshooting SCIM Errors.
Note: For the next step in configuring SCIM, please see Installing the Provisioning Service, Configuring SCIM in Okta or Configuring SCIM In Microsoft Entra ID.