Custom Queries
In the Input step of processes that connect to outside data sources, you can create custom SQL queries. Custom queries should be used when you want to do something that is not supported by the main user interface. You can use it to sort your results, choose randomly from them, or even append them together into one string so they all get combined (later to be turned into a multi-value field by pattern matching).To write queries, you will need to be familiar with the appropriate SQL syntax and the parameter naming conventions for your data source.
To create a custom query
- From the Input step of Field Lookup (Real-Time Lookup) or Lookup, select Writing a custom query from the Configure your query by drop-down menu, then click inside the Query box.
- The Custom Query Editor dialog box will open.
- Under Custom Query, specify a custom query.
- Under Parameter Names, specify parameter names if applicable (see below). Under Type, you can specify the type of data being looked up (Date, Time, String, etc.). Under Parameter Values, specify corresponding values—you can use the token button (right arrow)
 to insert any available token.
 - Optional: When configuring parameters, typing information into one parameter line will automatically add another parameter line for you to configure. Specify as many parameter names, types, and values as you need. To remove a parameter, click the trash can
 at the end of the parameter line.
 - When you are finished, click OK.
- Optional: You can click Test at the bottom of the Input step to see how many results were returned or if there were any errors. Clicking Edit enables you to edit your query.
Warning: Clicking Test actually runs the query so be careful to not run a query that will do something you do not want to do (e.g., drop a table).
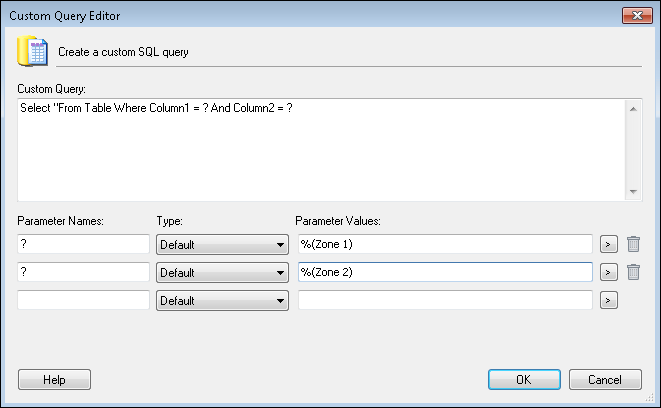
Parameter Names: How to specify the parameter names depends on how you are connecting to the data source:
- When using an ODBC connection, you cannot use named parameters.
 Use "?" for each parameter name. They will be interpreted in the order in which they are listed.
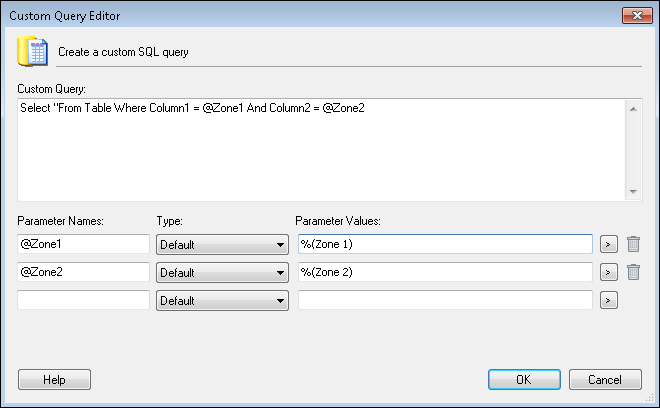
 - With any other type of connection, use the naming convention specific to that connection. Named parameters can be used more than once in the query without being listed more than once in the parameter list.
Note: Tokens generated by custom queries will not be automatically available in the Results stage. You can use them by specifying them in the format %(Column.Column Name) for Real-Time Lookup and %(Lookup Process Name_Column Name) for Lookup, replacing the text in italics with your own information. The column name may or may not be case sensitive, depending on your data source.