Field Lookup (Real-Time Lookup)
![]() can be used in various stages of processing, including to update information during Revision. Field Lookup matches one or more values extracted from a document with a column or columns in a third-party database. When a match is found, any value from the corresponding row in the database can be used to identify a page, populate a field, determine the document name, or determine where the document will be stored. The lookup will pull data from the first row whose columns match the specified inputs. The lookup can begin when a field is updated, when a specified key is pressed, or when the document is processed.
can be used in various stages of processing, including to update information during Revision. Field Lookup matches one or more values extracted from a document with a column or columns in a third-party database. When a match is found, any value from the corresponding row in the database can be used to identify a page, populate a field, determine the document name, or determine where the document will be stored. The lookup will pull data from the first row whose columns match the specified inputs. The lookup can begin when a field is updated, when a specified key is pressed, or when the document is processed.
Note: Field Lookup works similarly to the Lookup process available in processing, but can run during Revision and does not have access to additional tokens generated by other processes.
Example: A school district is scanning student records. Each student record has the student's ID in the top right corner. The school district has an external database containing each student's name, ID, social security number, and phone number. Quick Fields uses a Zone OCR process to OCR the student's ID in the top right corner of each scanned record and saves it as a token. That token is then compared to the external database. When the student ID that was extracted from the Zone OCR process matches an ID in the database, the other values in the row for that student (name, social security number, and phone number) are returned and used to populate the Name, Social Security Number, and Phone Number fields that are assigned to each student record scanned.
To configure a Field Lookup
- Select the name of the document class.
- At the bottom of the Tasks Pane, select Configure fields. You can also right-click the document class and select Configure fields from the context menu.
- In the Real-Time Processes tab of the Configure Fields for Document Class dialog box, select Add Process and
 Field Lookup.
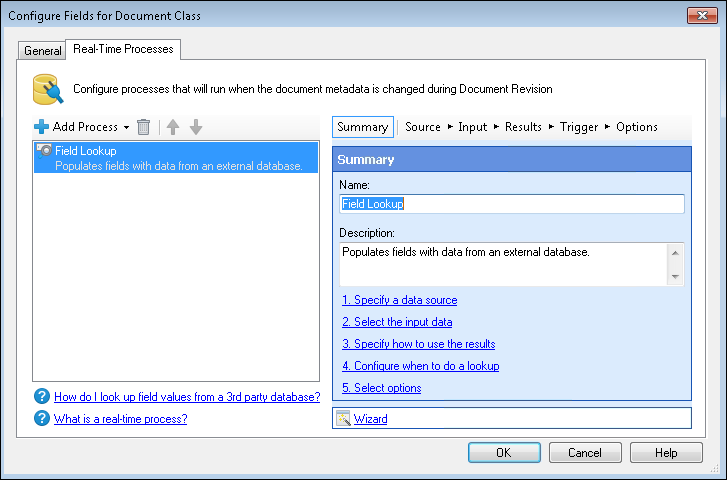
 - In the Summary step, you can specify a name and description for this Field Lookup process to help you or others remember its purpose at a glance.
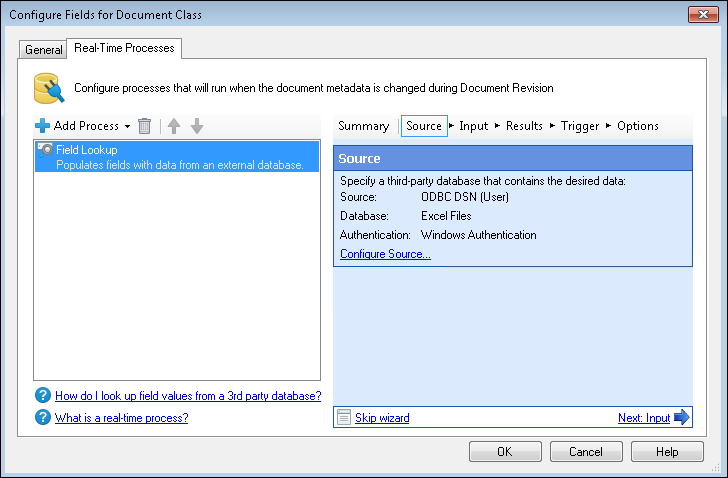
- In the Source step, specify the database to retrieve information from. You have three choices for the Configure Source Wizard: Windows ODBC, Advanced, and Expert.
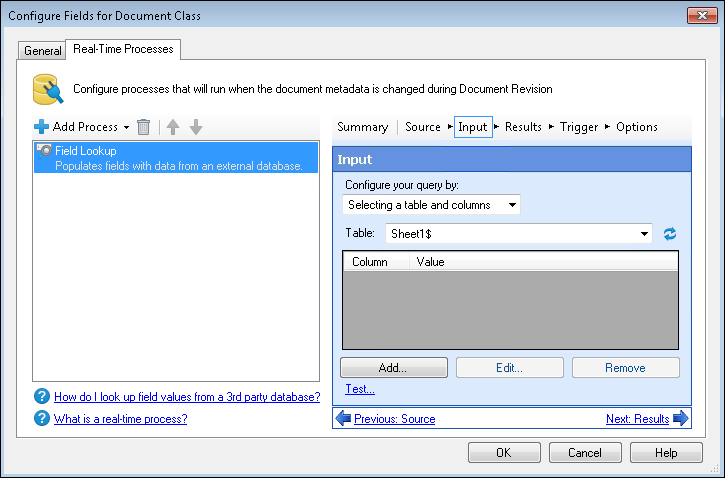
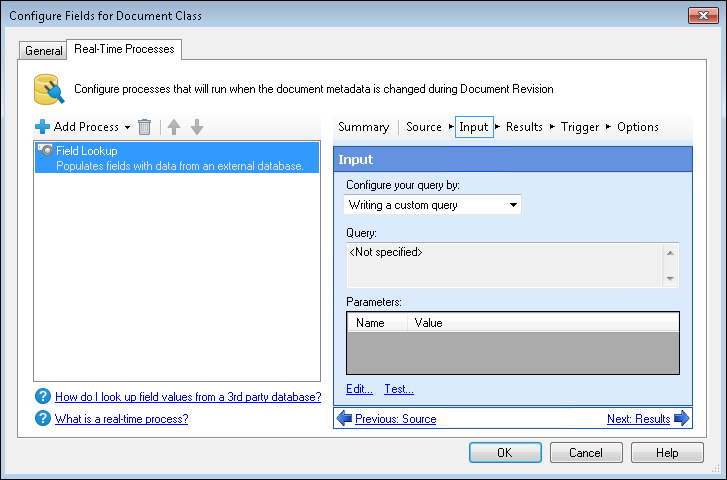
- Once you have configured the database connection, in the Input step, you can specify data to look up in the database.
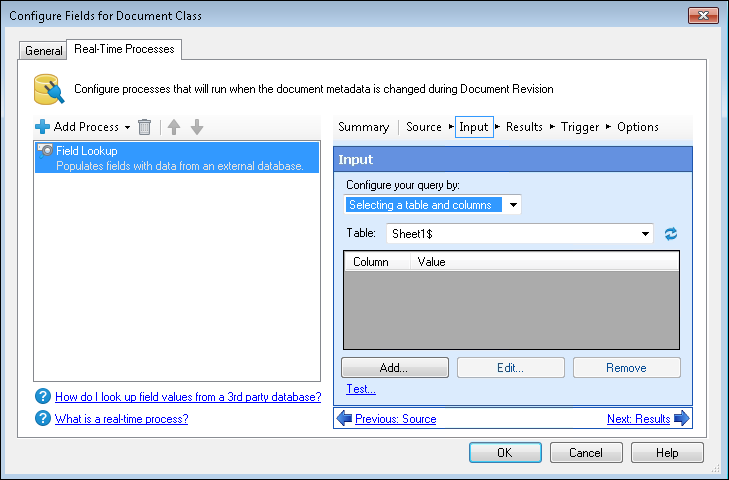
- Under Configure your query by, select if you want to configure it by selecting a table and columns or by writing your own custom query.
- If you selected to configure your query by selecting a table and columns, select the table from the Table list and click Add to choose the data to use in the lookup.
- In the Add Input dialog box, select a column from the database and the token from Quick Fields whose value you want to match and click OK.
- Click Add again to configure an additional item to use in the lookup. Using more than one item will look up all the specified values. This is useful when more than one item in the database may meet some of the specified criteria. You can continue adding queries until they will identify unique columns.
- To modify an input, select it and click Edit. Make your changes and click OK.
- To remove an input, select it and click Remove.
- If you chose to configure your query by writing your own custom query in step 7, click inside the Query box to create a custom SQL query.
Tip: When writing your own query, the token format to use is %(Column.ColumnName) where Column is always the same and ColumnName is what your query specifies. For example, select X as Y from Z would produce a column named Y, so the token would be %(Column.Y).
-
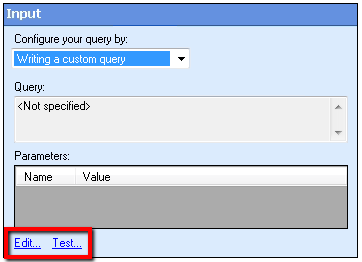
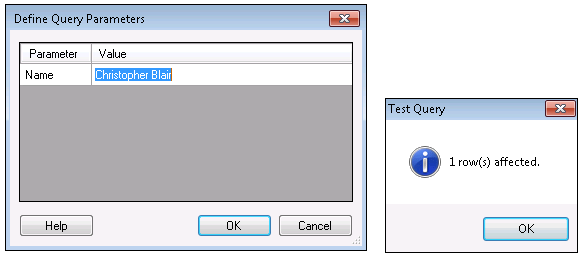
Optional: You can click
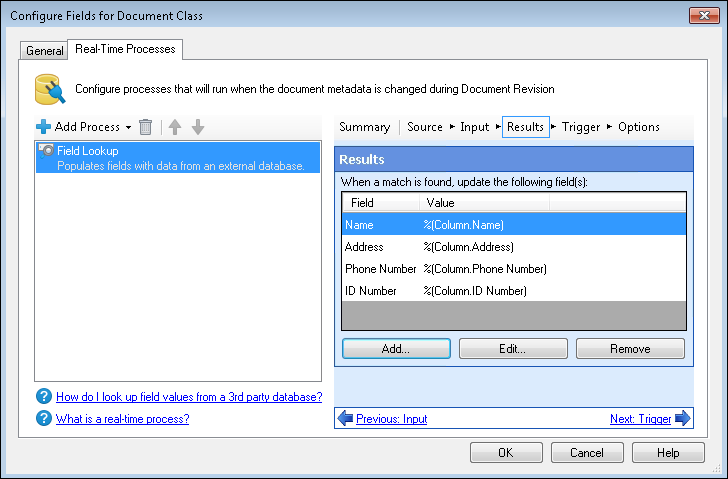
Test at the bottom of the Input step in the Configure Fields for Document Class dialog box to see how many results were returned or if there were any errors. If you are writing your own query, clicking Edit enables you to edit that query. - In the Results step, configure which fields will be updated with what information when the Field Lookup process is run.
- To configure a field, click Add. The Configure Result Action dialog box will open. Select one of the fields associated with your document class and specify a value that will populate the field when the Field Lookup process is run. Column tokens represent information from the database you configured in earlier steps.
- To edit a result action, select it and click Edit. Make your changes and click OK.
- To remove a result action, select it and click Remove.
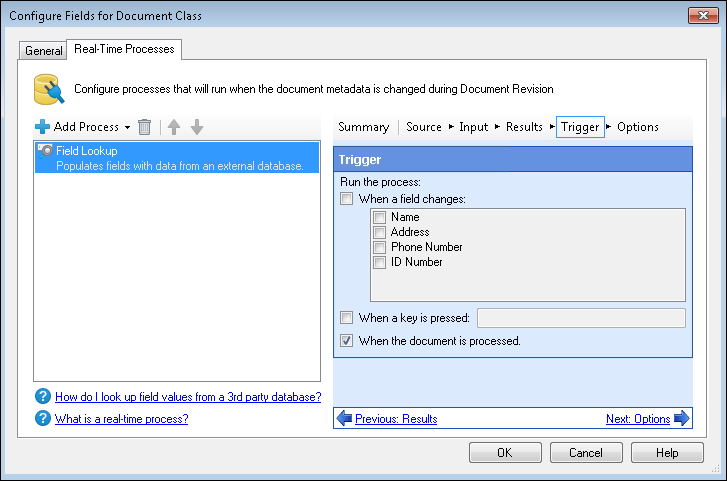
- In the Trigger step, you can configure when the process will run. You can select one or multiple options.
- When a field changes: Select a field or fields.
- When a key is pressed: Select the input box and press the desired keyboard shortcut to trigger the lookup.
- When the document is processed: The lookup will run when the document is processed.
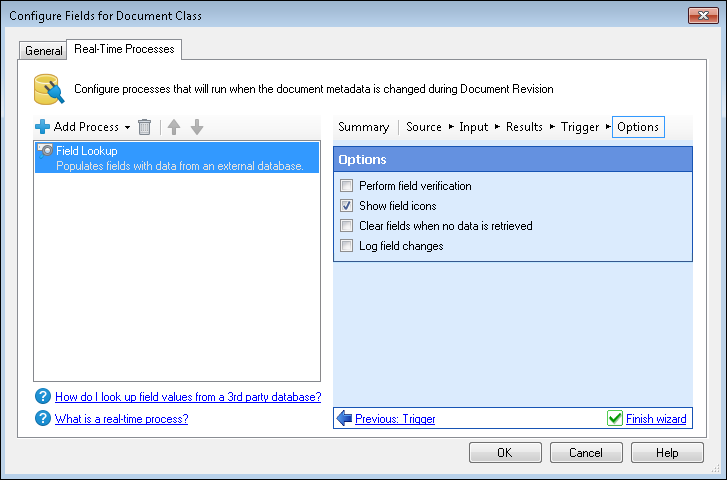
- In the Options stage, you can select additional options for the Field Lookup.

Example: Angelica sets a Field Lookup to trigger when a field changes and when the document is processed. When a document is processed, information from the document will trigger the lookup that populates the fields from information from the database. During Revision, when reviewing the scanned documents and their metadata, she can change the field that is set to trigger the lookup and the data will be updated again.
The choices for when to update a process are:
Note: If you are using more than one input value, it is better to run the lookup after processing, when all the values have been generated.
The options are:
- Perform field verification: Fields will be marked as unverified if the lookup returns no data.
- Show field icons: The template will display "input" and "output" icons next to the appropriate fields.
- Clear fields when no data is retrieved: If the database contains no data, the field will be cleared.
- Log field changes: Changes will be logged to the output pane.
Note: Some processes come with the basic Quick Fields installation, and some must be purchased as add-ons. Contact your reseller for more information.