Manage File Types
To add a custom file type list
- Do one of the following:
- Select
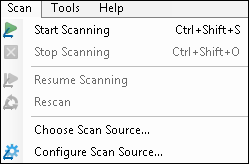
 Configure Scan Source under Scan in the menu bar.
 - Click the Configure Scan Source button on the Universal Capture toolbar.
- Select
- Click Manage file type lists under Retrieve Files in the Universal Capture dialog box.
- Click Add.
- In the New File Type List dialog box, under List name, provide a name for the new list of file types. A list name is required.
- Under File types, select a file type from the drop-down list or manually enter one.
Note: Ensure the file type conforms to the following syntax: *.filetype. For example, *.avi or *.doc.
Note: Use *.* to retrieve all file types.
- Click Add.
- Continue to add file types as you see fit. Adding more than one file type in this dialog box broadens the file retrieval scope.
Example: Chris creates the following file type list: *.html;*.htm;*.css. He performs Universal Capture once on a directory that contains three .html files, one .htm file, and four .css files. In this scenario, eight files will be captured. Note that semicolons (;) are used to separate file types.
- Click OK to close the New File Type List dialog box.
- Click OK to close the File Type Lists dialog box.
- Click OK to close the Universal Capture dialog box.
- The custom file type list you created is now available from the File Type drop-down menu on the Universal Capture toolbar in Quick Fields and Quick Fields Scanning.