Role Editor
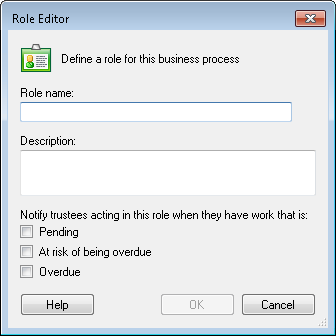
A role is the title of a participant or group of participants in a business process, such as manager, records manager, or approver. The Role Editor dialog box lets you define the role in the business process and configure the notification settings for that role in the business process.

To open the Role Editor
- Add the Business Process Step activity to the Designer Pane.
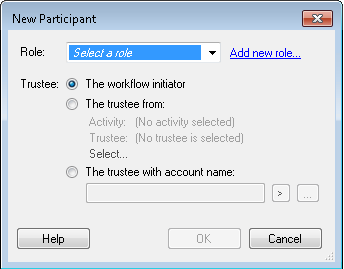
- Select the activity and then click Add Participant from the Participants property box.
- From the New Participant dialog box, click Add new role to open the Role Editor.

- Configure the business process role, as necessary.
- Role Name: Type the name of the business process role.
- Description: Optionally type a description of the role.
- Notify trustees acting in this role when they have work that is: Select the checkbox(es) corresponding to the desired notification settings.
Learn more.
Note: Notification settings should be configured in conjunction with the Server Timers node in the Workflow Administration Console.
Select the settings that will apply to the trustee who is assigned this role by choosing one of the following notification options:
- Pending: Any action that must be taken before the business process will move to the next activity is considered pending.
- At risk of being overdue: If the business process step is within 10 percent of the time allotted (Due Date) for the current step, it is considered "at risk."
- Overdue: The business process step as passed the allotted due date.
Example: If a business process step has a due date of 10 days from today, an "at risk" notification will be sent on the day before the due date occurs.
Note: If notification options are not selected, notifications will not be sent.
- Click OK to save the role.