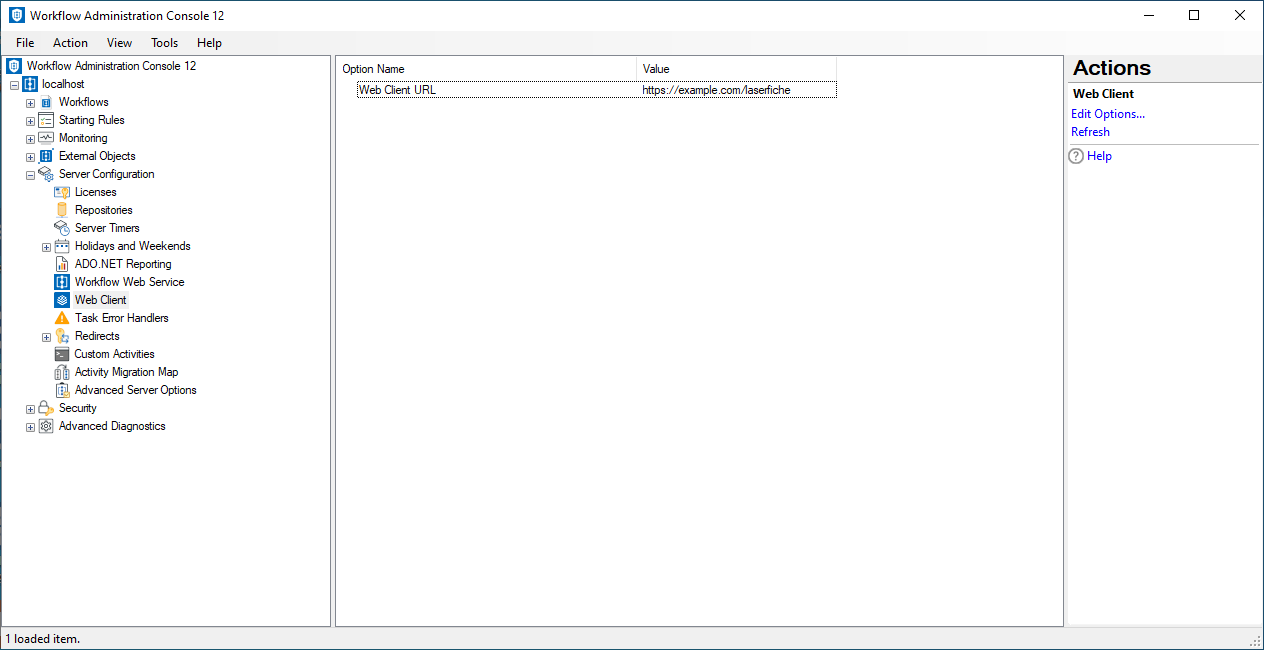
The Web Client node, under Server Configuration in the Workflow Administration Console, lets you configure the URL of the Laserfiche Web Client used by Workflow.
Configuring the Web Client URL enables Workflow to generate links to repository entries in the Laserfiche Web Client. For example, users can open entries from workflow instance details in the Web Client or copy links to those entries from the Entries tab.
Note: By default, the Web Client URL is not configured on the Workflow Server. You can configure it to enable integration with the Web Client.
To open this node
- In the Workflow Administration Console's Console Pane, expand the Server Configuration node.
- Select Web Client. The center Details Pane displays the configured Web Client URL.
To configure the Web Client URL
- In the Console Pane, select the Web Client node.
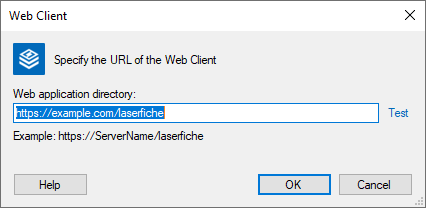
- Click Edit Options in the Actions Pane, or double-click the Web Client URL item in the Details Pane.
- In the
 Web Client dialog box:
 - In Web application directory, specify the URL of the Web Client (for example, https://ServerName/laserfiche).
- Verify the URL by clicking Test.
- Click OK to save the Web Client URL and return to the Workflow Administration Console.
To export the contents of this node in a .csv, .xml, or .txt file
- Select the node in the Console Pane.
- Select View from the main menu.
- Click Export Contents.
- In the Export data dialog box, name the exported file.
- Select CSV File, XML File, or Tab Delimited Text File from the drop-down menu.
- Click Save.