Installing the Laserfiche Office Integration add-in for Microsoft 365
Description
By using the Laserfiche Office Integration add-in for Microsoft 365, you can save Word, Excel, and PowerPoint documents directly to Laserfiche Cloud. Available for use with Microsoft 365 accounts, the Laserfiche Office Integration add-in can save documents along with their metadata for use with Laserfiche workflows or processes.
Requirements
- Microsoft 365 subscription desktop application or Office for the web using modern browsers.
- User mailbox in Exchange Online.
To learn more about these requirements see Requirements for centralized deployment of add-ins.
Configuration
Overview
Before users can access the Laserfiche Office Integration add-in for Microsoft 365, an administrator needs to do two things:
- Connect the add-in to Laserfiche: In the Laserfiche Cloud Developer Console, create a single-page app for the add-in. This lets Office authenticate with Laserfiche.
- Deploy the add-in to users: In the Microsoft 365 admin center, install the add-in and assign it to the users who need it.
This page covers each of these steps.
Regional considerations
Before installing the add-in, consider your user base. What regional center is closest to your user base, and is having a U.S. based landing page an issue or not. If a regional landing page is important, use the region-specific deployment when you deploy the add-in.
Connect the add-in to Laserfiche in the Developer Console
The Laserfiche Office Integration add-in must have a secure connection to Laserfiche, and be granted access to the Laserfiche Account, by creating it as an application in the Laserfiche Developer Console. The following provides the basic steps required, and a link to the Developer Console documentation for additional instructions.
-
Right-click the following link and select Save-as to download the JSON manifest file for the Laserfiche Developer Console console which will be used to create the application in the Developer Console.
-
Sign in to your Laserfiche account. From the app picker, select Developer Console.
Note: To sign in to the developer console, you must have the Developer Console Administrator access right. Learn how to configure access rights.
-
Follow the Create an Application from a Manifest instructions using the JSON manifest file for the Laserfiche dev console downloaded in the first step above.
Note: Do not change the value of clientId or redirectUris in the manifest, or the application sign-in flow will fail.
Deploy the add-in in the Microsoft 365 admin center
Next, add the Laserfiche Office Integration add-in to the Microsoft 365 admin center and assign it to the users who will connect to Laserfiche. Choose the deployment that fits your organization. See Microsoft's documentation for more information about deploying an add-in through the Microsoft 365 admin center.
Standard deployment
The simplest, most compatible deployment. Users are routed through a U.S.-hosted landing page before proceeding to the region-specific sign-in page and system.
Note: Laserfiche systems located outside the U.S. can still use the standard deployment if the brief landing page redirect is acceptable, as the add-in uses region-specific pages afterward.
- Go to the Microsoft 365 admin center and from the left navigation bar, select ... Show all, and then select Settings > Integrated apps.
- Select the Add-ins link near the top of the Integrated apps page.
- Select Deploy Add-in at the top of the page.
- Select Next on the Deploy a new add-in wizard.
- Select Choose from the Store and search for "Laserfiche Office Integration" in the Microsoft Marketplace.
- Select "Laserfiche Office Integration" and make it available to All users or only to Specific users or groups.
Region-specific deployment
Provides a flow that goes directly to region-specific pages, without first redirecting through any U.S.-hosted landing page. To bypass the U.S.-hosted landing page, you must use a custom manifest.
- Navigate to the manifest generation page for the region (United States, Canadian, or European Data Center) closest to most of your users.
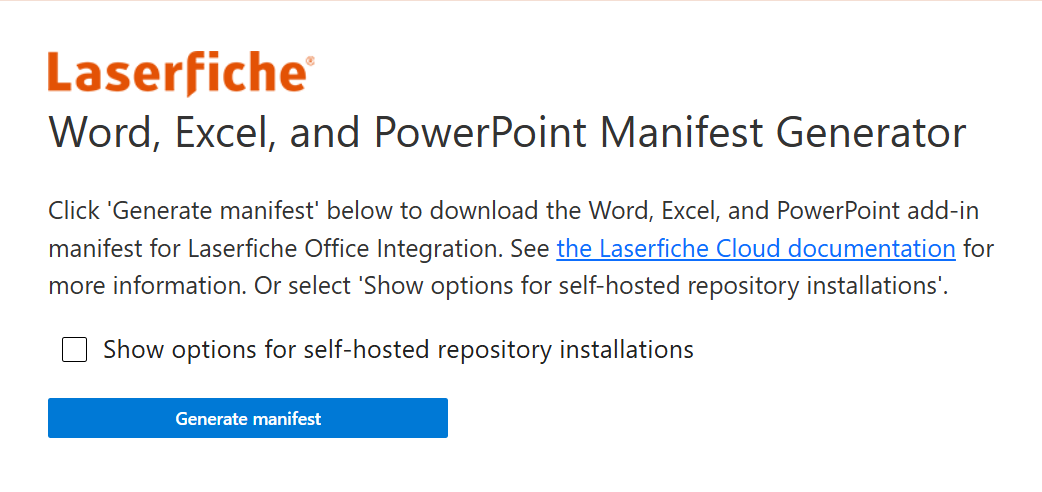
- Click Generate manifest to download a .xml manifest file.
- Go to the Microsoft 365 admin center and from the left navigation bar, select ... Show all, and then select Settings > Integrated apps.
- Select the Add-ins link near the top of the Integrated apps page.
- Select Deploy Add-in at the top of the page.
- Select Next on the Deploy a new add-in wizard.
- Select Upload custom apps.
- In the Choose how to upload app section, select the Choose file button.
- Navigate to the Laserfiche Office add-in manifest file you generated earlier.
- Select Upload.
- On the Assign users page, select who the add-in will be deployed to: All users or Specific users or groups.
- Select Deploy.
Troubleshooting
Note: Any configuration changes with the add-ins can take up to 72 hours to be available to users, as Microsoft 365 admin center caches add-in configuration information.
Issue: When deploying a custom add-in to Everyone from the Microsoft 365 admin center, Integrated apps page, deployment fails with the message "The requested action failed." This is a Microsoft admin center bug (issue 7025) that is tracked on the OfficeDev/office-js GitHub.
Workaround:
- On the Assign users step, select Just me or Specific users or groups with yourself included, then proceed to deploy.
- Return to the Installed Add-ins page, and open the Laserfiche Office Integration add-in.
- Under Assign Users, select Everyone and save your changes.
Issue: A user receives an "Application with the provided client id is not registered or authentication failed" message
Resolution:
- Verify that the application has been created in the Laserfiche Cloud Developer Console.
Issue: A user does not see the add-in in their Office app ribbon
Resolution:
- Verify that the user is using either the Microsoft 365 desktop application or Office for the web.
- Verify that the add-in has been deployed to the correct user or user group.