Adding a Session
When creating a schedule, you have to add a reference to the session you want the schedule to run. You can add a session reference from the Sessions tab and then create a schedule to run that session, or add a session reference in the process of creating a schedule.
To add a session reference from the Sessions tab
- Click Add Session under the Sessions tab.
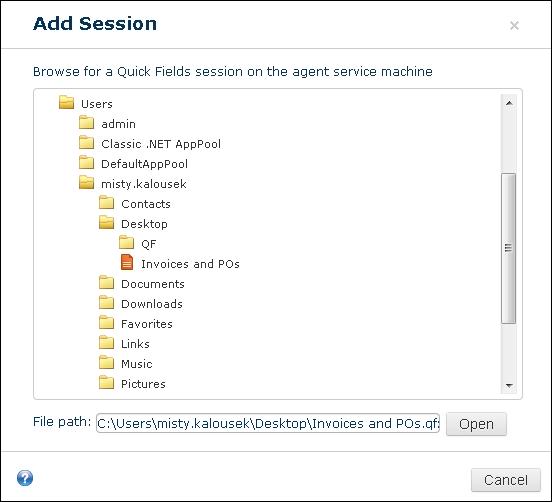
- In the Add Session dialog box, browse to the session, select it, and click Open.
To add a session reference in the process of creating a schedule
- In the Add Schedule dialog box, select the Browse button
 next to Session used to open the Add Session dialog box.
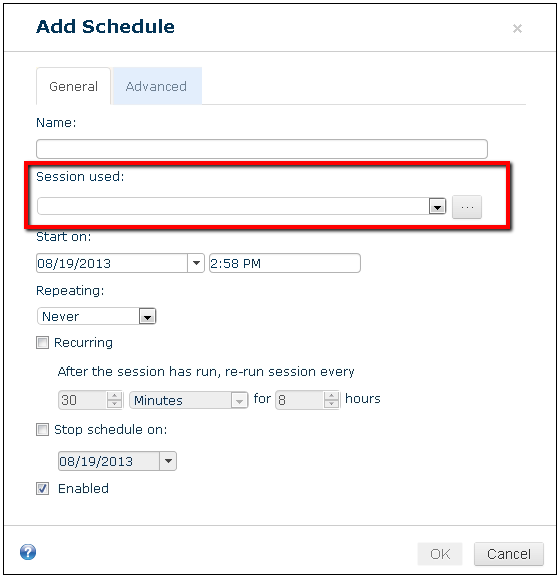
- Browse to the session, select it, and click Open.
Note: If you have previously added a session, you can select it from the drop-down menu instead of re-adding it via Browse.
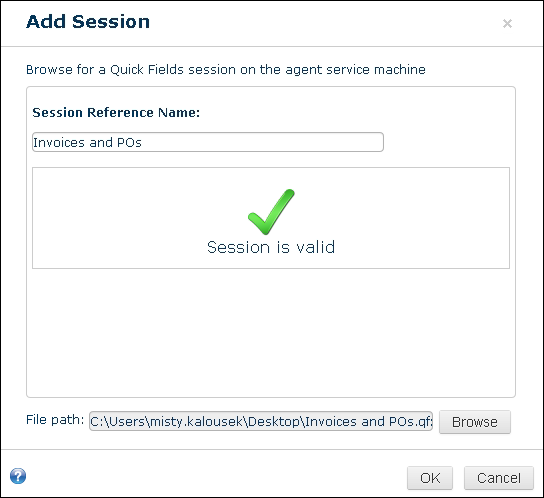
Quick Fields Agent will automatically run the session validation utility on the session. If the validation is successful, a Session is valid message will be displayed. If the validation is not successful, you will see warnings. If there are warnings, open the session in Quick Fields and make the necessary adjustments. Once you have made changes, re-validate the session.