Page Removal
![]() Page Removal
Page Removal ![]() specifies extra pages to be removed from the documents. It is often used to remove pages such as cover sheets or slip sheets that are used for processing but don't need to be stored in Laserfiche, or for removing extra pages generated from double-sided scanning. Page Removal can be used in Page Processing or Post-Processing.
specifies extra pages to be removed from the documents. It is often used to remove pages such as cover sheets or slip sheets that are used for processing but don't need to be stored in Laserfiche, or for removing extra pages generated from double-sided scanning. Page Removal can be used in Page Processing or Post-Processing.
Example: The University of Los Angeles scans financial aid applications with cover sheets printed with bar codes that contain the student identification number. They configure the session so that once the document has been identified using the bar code and the data from it has been used in other processes, Page Removal discards the cover sheets before the documents are stored in Laserfiche.
Note: Deleting pages is permanent, so be sure to copy any information you need from cover sheets before deleting them.
To use Page Removal
- In the Session Configuration Pane, select the stage of processing where you want to use Page Removal.
- In the Tasks Pane, select Page Removal.
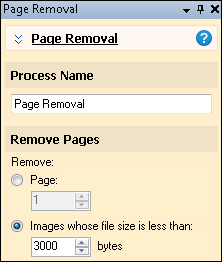
- You can optionally enter a name for the process under Process Name.
- Move through each step of the wizard at the bottom of the pane. You can also click Skip Wizard to display and configure the properties all at once.
- Remove Pages: You can choose whether to remove a certain page from each document or to remove documents with a small file size, which are likely to be blank pages.
- Page: Select a page number.
- Images whose file size is less than: Specify a number of bytes.
Note: Local image enhancements can be used with Page Removal.