If a document you are viewing has text and an image and/or electronic document associated with it, you can press the More Options button 

When viewing text:
- Scroll down to see all the text on a given page.
- Swipe right to go the next page. Swipe left to go to the previous page.
-
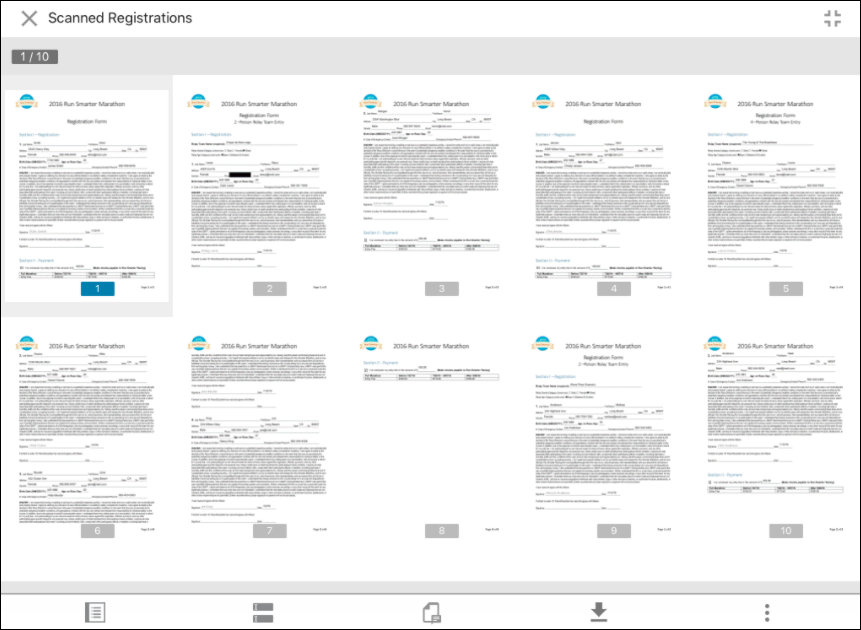
To go to a specific page, press the page number box
 , then press the thumbnail for the page you want to view.
- Press the Metadata button
to view and edit the document's metadata.
- Press the Fields button
to edit the document's fields.
- Press the Annotation button
to view and add annotations to the document.
- Press the Save Offline Copy button
to save a copy of the document offline.
- Press the More Options button
for a variety of options for interacting with the document:
- Press Processes to start a business process on a document.
- Press Rename to give the document a new name.
- Press Edit Laserfiche Pages to rotate, reorder, or delete the page.
- Rotate: Press the rotate button
 to rotate the image 90 degrees clockwise. You must rotate each page individually.
 - Reorder: Press the two arrows
 to reorder the pages in the new document. In the Move current page to dialog box, specify which page the image will become. Type a number in the text box or press the plus and minus buttons. Press OK.
 - Delete: Press the delete button
 to delete the page currently shown.
 Note: If your organization uses Advanced Audit Trail, you may be prompted to choose a reason for deleting pages.
- Rotate: Press the rotate button
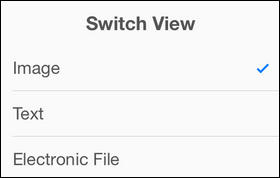
- Press Switch View to switch from the image view to the text view and vice versa.
- Press Jump to Page to quickly jump to a page within the open document.
- Press the Sharebutton to share the document with another app or email a link to it.
- Press Print to print the document.
- Press the Close button
to close the document and return to the document's folder.
