Printing
Printing options apply to both workflows and business processes. To print a business process, follow the guidelines outlined below.
To print
- Open what you want to print in the Workflow Designer. You can print:
- A workflow definition: Open a workflow definition in the Designer Pane.
- A workflow's starting rule or business process rule: Select a workflow in the Rule Manager.
- A collection of starting rules and business process rules: Run a search in the Rule Manager Search Mode.
- A Workflow Statistics Report or chart: Create a Workflow Statistics Report or chart.
- Search Results: Run a search that shows results in the Search Results Pane.
- A workflow's summary: Navigate to the Summary tab of a workflow's properties.
- Charts in the instance details: Navigate to the Details Tab of a workflow's instance details.
- Optional: To make sure that your selection prints correctly, select Print Preview and/or Page Setup under File in the main menu. Use the Print Preview dialog box to see how your selection will look when it prints and the Page Setup dialog box to configure paper sources, orientations, and margins.
- Point to Print and select Print. Or, use the keyboard shortcut CTRL+P.
- Select a printer and configure the desired settings in the Print dialog box.
- Click Print.
Tip: To print a workflow summary, select File from the main menu, point to Print, and select Print Summary. Click Print, and then select Print from the Print Preview dialog box.
Note: To print a chart in the Details Tab, right-click the chart and select Print.
Print Preview
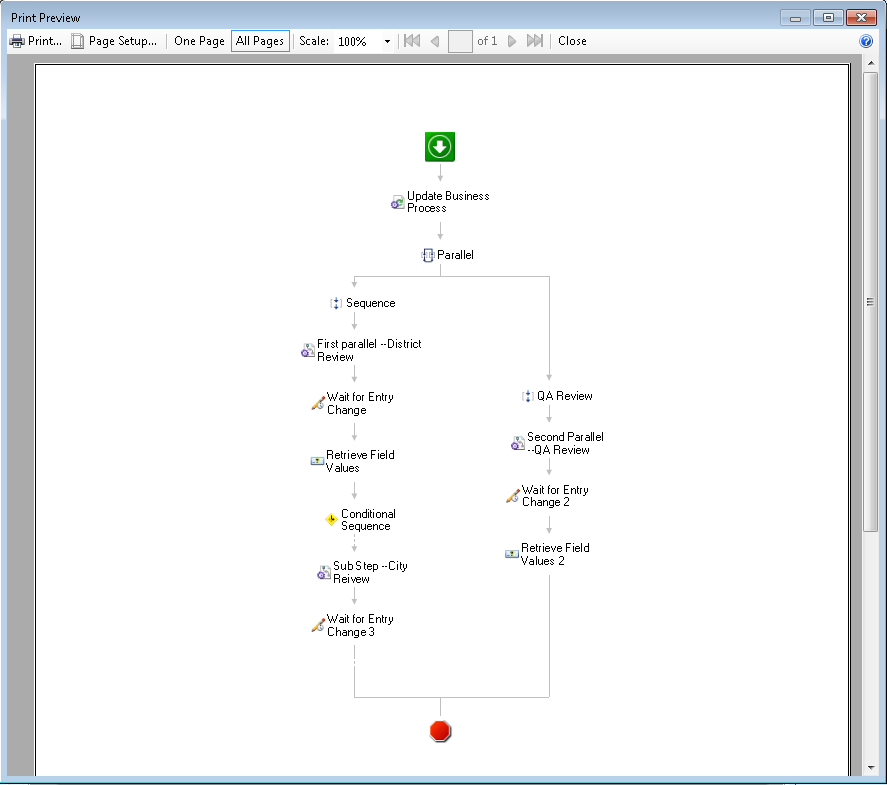
The Print Preview dialog box lets you view workflow or business process definitions, starting rules, search results, the Details tab, workflow statistics report, or workflow summary you are planning to print, before you print it. This allows you to see how it will look on the page and how many pages will be printed. Learn more about printing a workflow definition.

You can review how your workflow or business process will print with the buttons on the Print Preview toolbar. Use the Scale drop-down menu to zoom in on a page, the All Pages button to preview more than one page at a time, the One Page button to view only one page at a time, or ![]() page navigation buttons to go to a specific page.
page navigation buttons to go to a specific page.
To use the Print Preview dialog box
- Open File from the main menu, and select Print Preview.
- Review the page, using the Scale drop-down menu, One Page and All Page buttons, and the page navigation buttons.
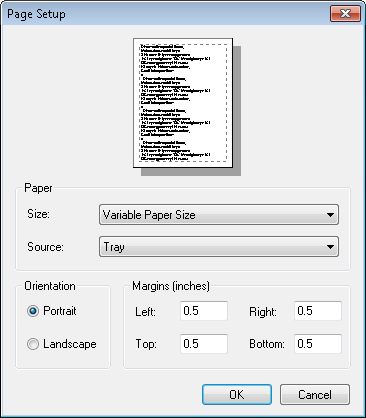
- Click Page Setup to specify a paper size, a paper source, the page orientation (portrait or landscape), and the margin sizes.
- When you are ready to print, click the Print button.
Note: If you are printing workflow summaries from the Workflow Properties dialog box, click Print in the Summary tab to open the Print Preview dialog box.
Page Setup
Before you print a workflow or business process definition, starting rules, business process rules, search results, statistics, the Details pane, or a summary you can configure the ![]() page setup so that the paper selection, page orientation, and margins you want to be used when printing.
page setup so that the paper selection, page orientation, and margins you want to be used when printing.
To configure the page setup
- Select Page Setup under File in the main menu, or select Page Setup from the toolbar in the Print Preview dialog box.
- Configure the following options:
- Paper: Specify a paper size and paper source.
- Orientation: Specify the page orientation (portrait or landscape).
- Margins: Specify each margin size in inches.
- Click OK.

