Attachment
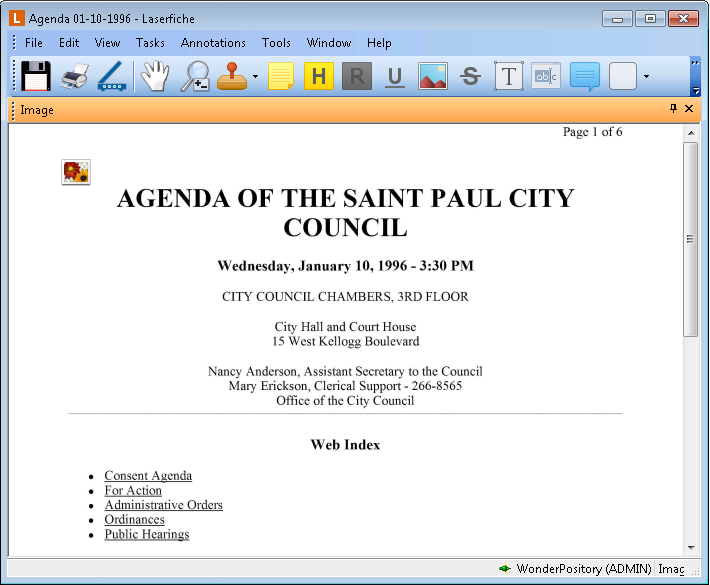
Any file can be attached to an imaged document as an annotation. The attachment icon differs depending on the native application of the file attached. For example, when attaching a Microsoft Word document, the icon displayed is ![]() whereas an image attachment, such as a JPEG image, would display as
whereas an image attachment, such as a JPEG image, would display as  .
.
Once placed, you can launch it in its native application; view its creator, creation date, and the last modification date; view or change the file name; mark it as protected or private; or delete it.
Note: Attachments are stored in volumes. A user without rights to the volume will not be able to access the attachment.
To place an attachment on an image
- Make sure the Image Pane is visible.
- From the toolbar, click Add Attachment
 , select Attachment from the Annotations menu, or right-click the image, point to Add Annotation, and select Attachment to switch to Attachment mode.
 - Select the attachment you want to add to the image and click Open.
-
Click on the image where you want the attachment placed.

- From the document viewer, click Add Attachment in the toolbar or select Attachment from the Annotations menu.
- The Create Attachment Annotation dialog box will open. Browse to the attachment you want to add to the image and click Open. Click OK in the Create Attachment Annotation
- Click on the image where you want the attachment placed.