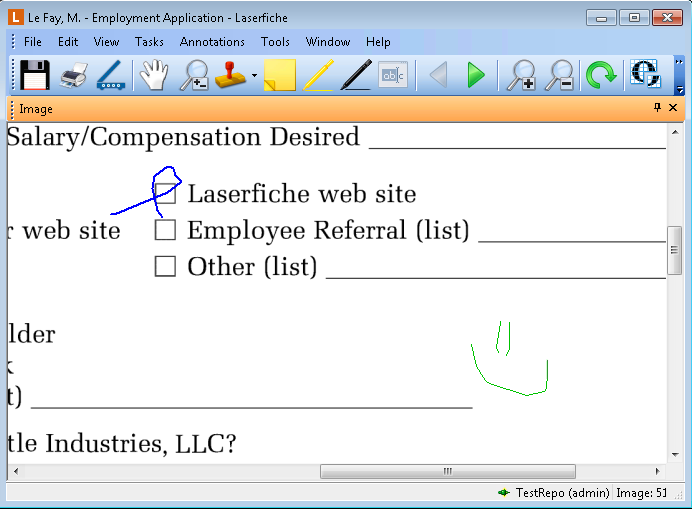
Freehand
A freehand annotation can be placed anywhere on an imaged document. Once placed, you can change its color, opacity, and line thickness. You can also move it to a different location on the image; view its creator, creation date, and last modification date; mark it as protected or private; or delete it.
To add a freehand annotation to an image
- From the toolbar, click Add Freehand, select Freehand from the Annotations drop-down menu, or right-click the image, point to Add Annotation, and select Freehand to switch to Freehand mode.
- Click and drag your mouse to draw the desired freehand annotation on the image.

- Ensure the Image Pane is visible. Then, from the toolbar, click Add Freehand , or select Freehand from the Tools drop-down menu. You can also right-click the image, point to Add Annotation, and select Freehand to switch to Freehand mode.
- Click and drag to draw on the image.
Note: You can join different freehand annotations together, if you draw them within three seconds of each other. After three seconds the separate clicks become separate annotations.