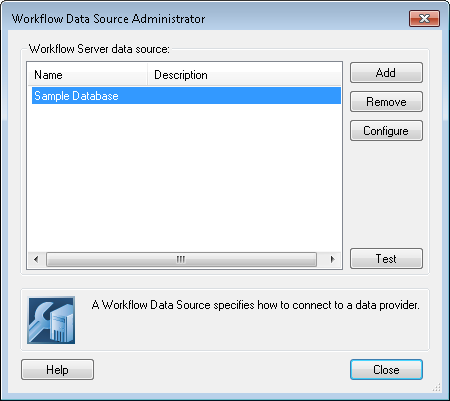
You can configure data sources that the Custom Query, Insert Data, Query Data, and Update Data activities can use with the Workflow Data Source Administrator.
Open the Workflow Data Source Administrator in one of the following ways:
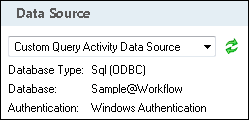
- Add a Custom Query, Insert Data, Query Data, or Update Data activity to the Designer Pane. Select the activity in the Designer Pane. Under Data Source in the Properties Pane, select Manage Data Sources from the drop-down menu.
- Select the Data Sources node in the Workflow Administration Console. Click Manage Data Sources.
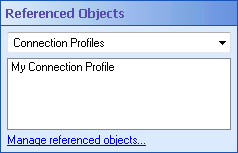
- If you have already configured one or more data sources with a Custom Query, Insert Data, Query Data, or Update Data activity, you can open the Workflow Data Source Administrator from the workflow's Referenced Objects property box. (To view and edit this property box, select a blank area in the Designer Pane and click the Advanced button
 at the top of the Properties Pane.) Select Data Sources from the drop-down menu, and click the Manage referenced objects link. In the Referenced Object Manager, click Manage.

To add or configure a data source
- From the Workflow Data Source Administrator dialog box:
- Click Add, or select a data source and click Configure.
- In the Configure Data Source Wizard, name your data source, and optionally add a description.
- The Configure Data Source Wizard offers three wizards to help you connect to a data source, each with different capabilities for automation and customization. Select a wizard type to configure your data source.
- Direct Connections: Shows all the drivers currently supported by Workflow. Requires knowledge of the settings expected by the data source you configure.
- Windows ODBC: Helps configure the data source drivers by connecting to the Windows ODBC Data Sources settings for a particular Windows user or computer.
- Expert (Connection strings): Allows you to manually configure the connection string. Requires expert knowledge of how to connect to a data source.
- Optional: In the Workflow Data Source Administrator, select a data source and click Test to ensure that you can successfully connect to the data source.
- When you have finished adding and configuring all desired data sources, click Close.

To remove a data source
- Open the Workflow Data Source Administrator.
- Select a data source.
- Click Remove to remove the data source from the Workflow Server.
To assign a different data source to multiple activities in a workflow
Example: The Human Resources department has a new database, and all but one database activity needs to use the new database. Instead of individually updating the Human Resources database activities, you can update all the activities at once with the Reassign option.
