The ![]() Border Padding
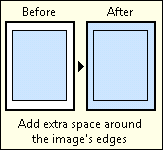
Border Padding ![]() image enhancement adds a white border around the current image. Border padding increases the size and dimensions of the image. It does not scale or change the resolution of the image. The extra space created by Border Padding adds more room for stamps or other annotations added by a later process. You can specify the amount of space that will be added to each border. You can configure padding separately for each side: for example, you might pad the left and right sides of the image, but set the top and bottom to 0 to ensure those dimensions are not altered. The extra space added by Border Padding will always be white, so if you use it on a dark image and then invert the colors, you will end up with a dark border on a light image. To keep the border color consistent with the rest of the background, use Border Padding after Invert on a dark image.
image enhancement adds a white border around the current image. Border padding increases the size and dimensions of the image. It does not scale or change the resolution of the image. The extra space created by Border Padding adds more room for stamps or other annotations added by a later process. You can specify the amount of space that will be added to each border. You can configure padding separately for each side: for example, you might pad the left and right sides of the image, but set the top and bottom to 0 to ensure those dimensions are not altered. The extra space added by Border Padding will always be white, so if you use it on a dark image and then invert the colors, you will end up with a dark border on a light image. To keep the border color consistent with the rest of the background, use Border Padding after Invert on a dark image. ![]() See an example.
See an example.
To use Border Padding
- In the Session Configuration Pane, select the stage of processing where you want to use Border Padding.
- In the Tasks Pane, select Border Padding.
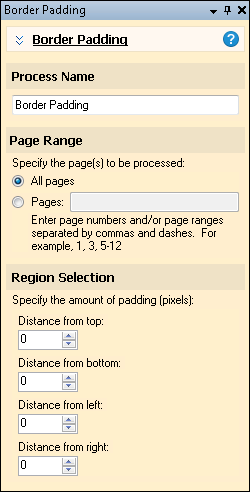
- You can optionally enter a name for the process under Process Name.
- Move through each step of the wizard at the bottom of the pane. You can also click Skip Wizard to display and configure the properties all at once.
- Page Range: When configuring an image enhancement in Page Processing or Post-Processing, you will be prompted to specify a page range. In other stages, default settings will automatically be applied.
- Region Selection: Specify the amount of padding (in pixels) you would like added to each side of the image.
- Optional: To preview how this enhancement will affect scanned images and OCRed or extracted text, test processes. For the best results, add a custom sample page before testing. Adjust and test until you are satisfied with the results.
Note: If zero is entered, no spacing or border will be applied.