The ![]() Crop
Crop ![]() image enhancement removes a specified portion from one or more edges of an image, which can help save processing time when you apply other enhancements.
image enhancement removes a specified portion from one or more edges of an image, which can help save processing time when you apply other enhancements.
You can configure how much should be removed, or specify that one side of the image should not be altered by setting a value of 0 (zero) for that edge. Crop affects the size and dimensions of the image, but does not scale it or change the resolution. Because it reduces the overall size of the image, it also saves disk space when the image is stored in Laserfiche. ![]() See an example.
See an example.
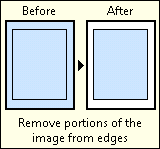
Note: If Crop is configured, it will be performed regardless of the content of the image. Information inside the crop region may be lost. To prevent data loss, configure Crop with care.
To use Crop
- In the Session Configuration Pane, select the stage of processing where you want to use Crop.
- In the Tasks Pane, select Crop.
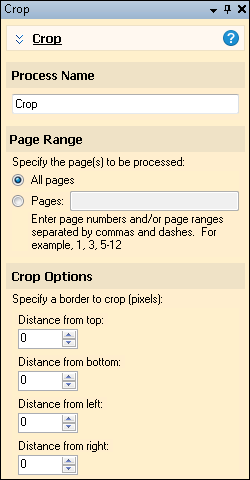
- You can optionally enter a name for the process under Process Name.
- Move through each step of the wizard. You can also click Skip Wizard to display and configure the properties all at once
- Page Range: When configuring an image enhancement in Page Processing or Post-Processing, you will be prompted to specify a page range. In other stages, default settings will automatically be applied.
- Crop Options: Define the region to be removed (in pixels). If zero is entered, the side in question will not be cropped.
- Optional: To preview how this enhancement will affect scanned images and OCRed or extracted text, test processes. For the best results, add a custom sample page before testing. Adjust and test until you are satisfied with the results.