The ![]() Resize
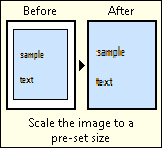
Resize ![]() image enhancement scales an image. An image can be resized by specifying the desired image dimensions in pixels, percentage, or resolution in dots per inch (DPI). Resize will always reduce your image quality, so it should be used very sparingly. If you need to change the image size, it is better to do so by scanning at a lower or higher resolution.
image enhancement scales an image. An image can be resized by specifying the desired image dimensions in pixels, percentage, or resolution in dots per inch (DPI). Resize will always reduce your image quality, so it should be used very sparingly. If you need to change the image size, it is better to do so by scanning at a lower or higher resolution. ![]() See an example.
See an example.
To use Resize
- In the Session Configuration Pane, select the stage of processing where you want to use Resize.
- In the Tasks Pane, select Resize.
- You can optionally enter a name for the process under Process Name.
- Move through each step of the wizard at the bottom of the pane. You can also click Skip Wizard to display and configure the properties all at once.
- Page Range: When configuring an image enhancement in Page Processing or Post-Processing, you will be prompted to specify a page range. In other stages, default settings will automatically be applied.
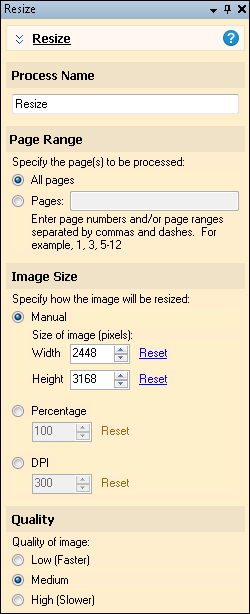
- Image Size: Specify the new image size.
- Manual: Resizes to an exact width and height (in pixels). Regardless of the image's new size, its resolution will not change. This may lead to a lower quality image, as pixels may be stretched or shrunk.
- Percentage: Resizes the image proportionately, maintaining the same resolution and level of quality.
- DPI: Resizes the width and height to a specified DPI (dots per inch).
- Quality: Define a quality level. The higher the quality, the longer this enhancement will take to process.
- Optional: To preview how this enhancement will affect scanned images and OCRed or extracted text, test processes. For the best results, add a custom sample page before testing. Adjust and test until you are satisfied with the results.
Example: If the original image has a resolution of 300 DPI, and it is resized to 600 DPI, the image's width and height will be doubled.
Note: This setting only affects 8 and 24-bit images.

