Strikethrough
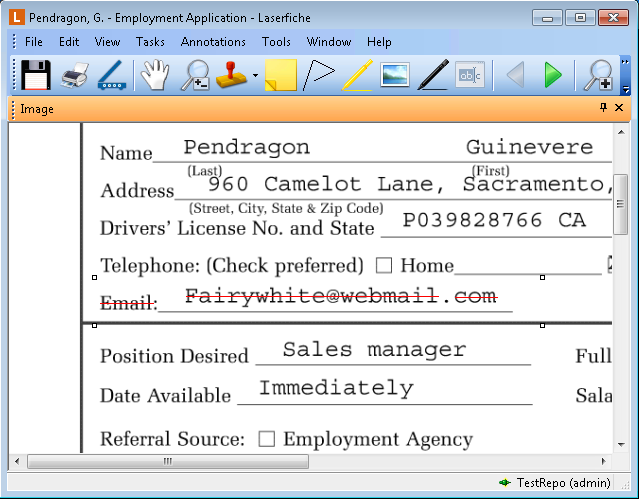
You can strike through elements of an image and/or text, allowing you to mark through a particular portion of an image or a particular line of text. ![]() Show me.
Show me.
To apply strikethrough to an image
- Make sure the Image Pane is visible.
- From the toolbar, click Add Strikethrough
 , select Strikethrough from the Annotations menu, or right-click the image, point to Add Annotation, and select Strikethrough to switch to Strikethrough mode.
- Click and drag your mouse to select the region to be formatted with a strikethrough.
- Make sure the Image Pane is visible.
- From the toolbar, click Add Strikethrough, or select Strikethrough from the Annotations menu. You can also right-click the image, point to Add Annotation, and select Strikethrough.
- Click and drag to select the region you want to add a strikethrough to.
To apply strikethrough to text
- Make sure that the Text Pane is visible.
- From the toolbar, click Add Strikethrough
 , select Strikethrough from the Annotations menu, or right-click in the Text Pane and select Strikethrough to switch to Strikethrough mode.
 - Click and drag to select the desired text.
- Make sure that the Text Pane is visible.
- From the toolbar, click Add Strikethrough or select Strikethrough from the Annotations menu. You can also right-click in the Text Pane and select Strikethrough.
- Click and drag your mouse to select the desired text.
Note: By default, strikethrough formatting on an image will automatically add strikethrough formatting to text associated with that region of the image. Learn more.