Capturing Documents
Quick Fields can capture and process imaged and electronic documents from various sources, including scanners, network drives, and Laserfiche repositories. In Quick Fields, capturing any of these documents from any of these sources is referred to as "scanning." Before you can scan, a Quick Fields session must have been configured that specifies the Scan Source you will use for the session. When you scan, the pages will be entered into Quick Fields, where they will be identified and have data extracted from or added to them according to the order determined in the Session Configuration Pane. Once processed, the documents will appear in the Document Revision Pane, where you can view, modify, and run additional processes on them before storing them in a Laserfiche repository.
Scanning Images and Electronic Documents
When you are working with a Quick Fields session that has already been configured, the scan source will already be set up. You can make adjustments using the toolbars for the scan source.
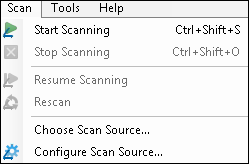
To scan documents into Quick Fields, do one of the following:
- Press the Scan button
 .
. - From the Scan menu, select Start Scanning.

Stop Scanning
You can stop scanning at any time. This is particularly useful when you have many documents scanning without interruption, such as with a sheet feeder or scanning many documents from a network drive or from Laserfiche, and you want to halt the process.
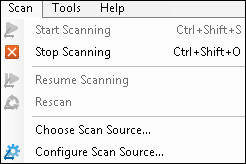
To stop scanning, do one of the following:
- Press the stop scanning button
 .
. - From the Scan menu, select Stop Scanning.

Resume Scanning
If scanning has stopped due to a paper jam or some other reason, you can resume it from the point where it left off. This is particularly important because of how identification works. If you start scanning again without resuming at the point where you left off in processing, pages that would otherwise have been assigned to a document class may be sent to Unidentified Documents. Using the Resume Scanning feature can help prevent this problem.
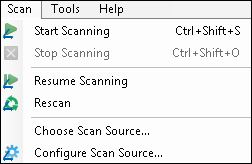
When a scanning session is interrupted and you want to resume, do one of the following:
- Click the Resume Scanning button
 .
. - From the Scan menu, select
 Resume Scanning.